Disney Animation Data Sets
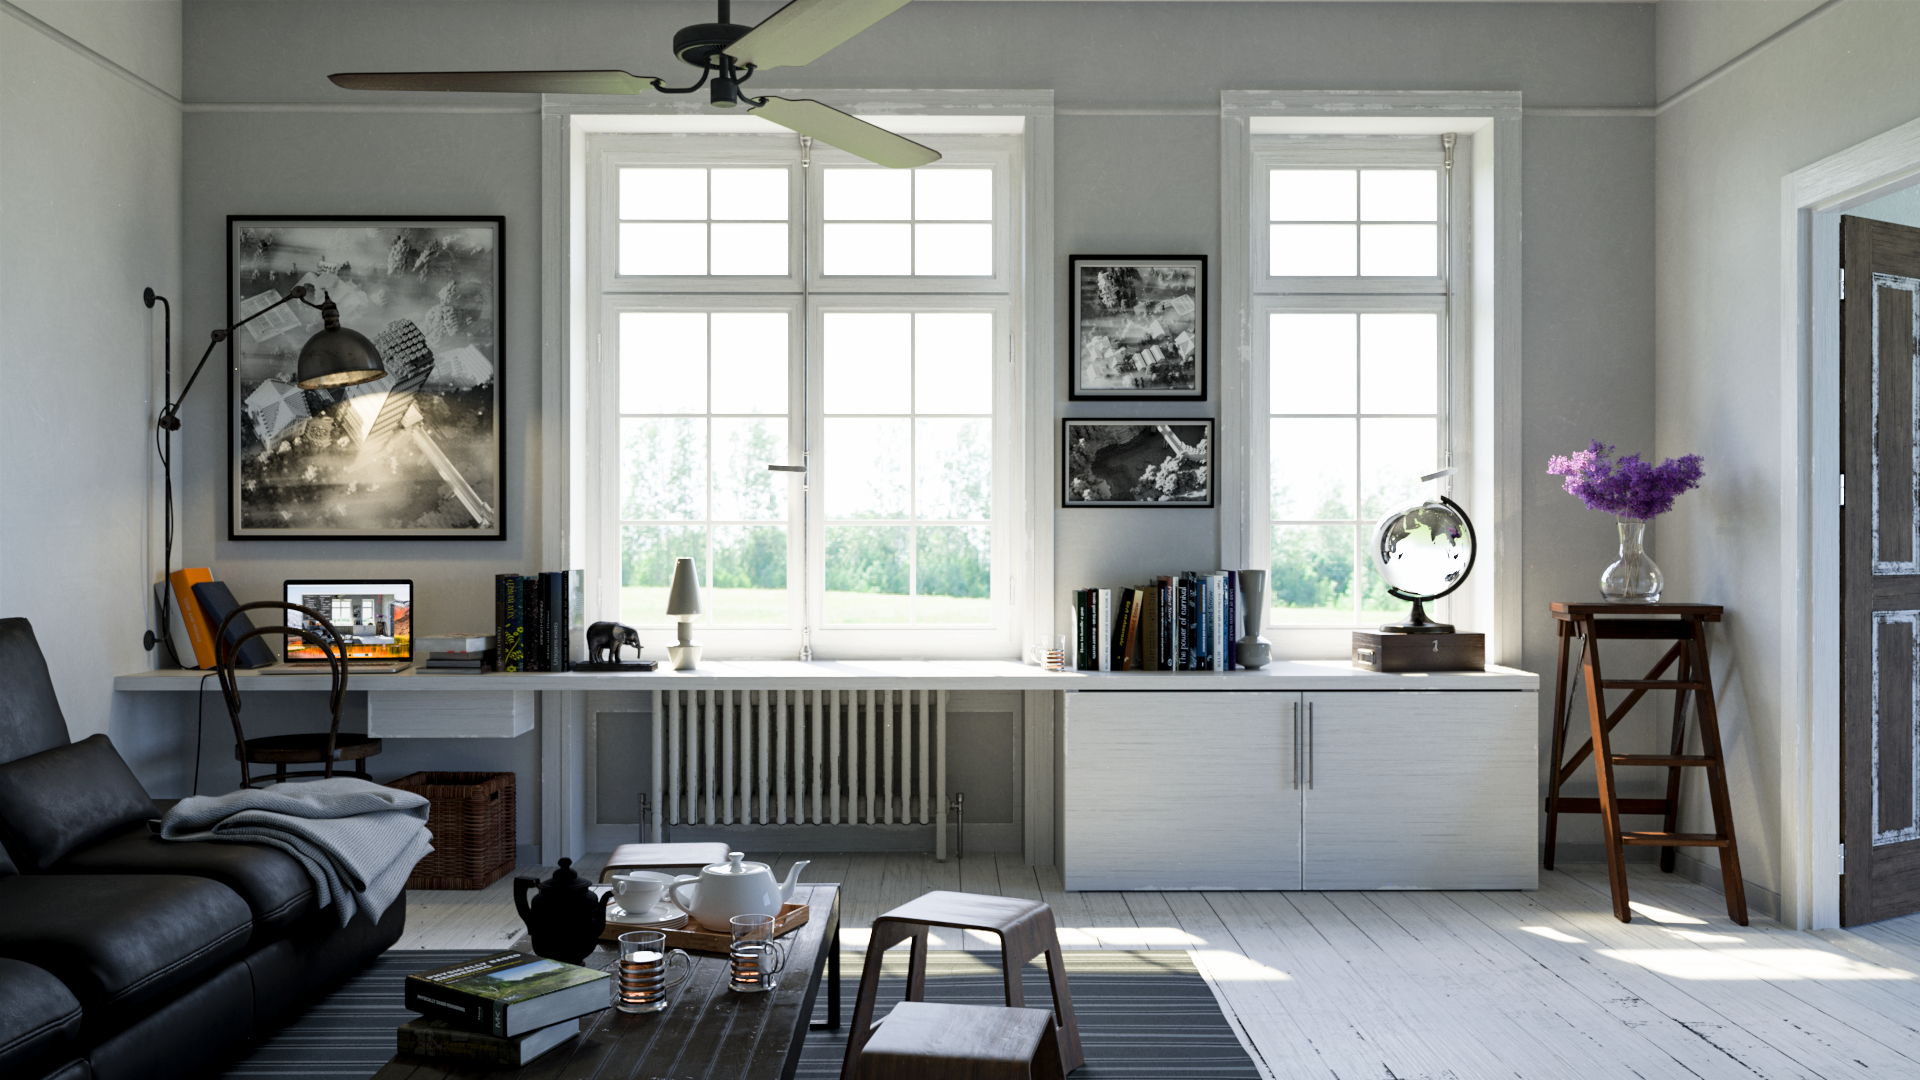
Today at EGSR 2018, Walt Disney Animation Studios announced the release of two large, production quality/scale data sets for rendering research purposes. The data sets are available on a new data sets page on the official Disney Animation website. The first data set is the Cloud Data Set, which contains a large and highly detailed volumetric cloud data set that we used for our “Spectral and Decomposition Tracking for Rendering Heterogeneous Volumes” SIGGRAPH 2017 paper, and the second data set is the Moana Island Scene, which is a full production scene from Moana.

In this post, I’ll share some personal thoughts, observations, and notes. The release of these data sets was announced by my teammate, Ralf Habel, at EGSR today, but this release has been in the works for a very long time now, and is the product of the collective effort of an enormous number of people across the studio. A number of people deserve to be highlighted: Rasmus Tamstorf spearheaded the entire effort and was instrumental in getting the resources and legal approval needed for the Moana Island Scene. Heather Pritchett is the TD that did the actual difficult work of extracting the Moana Island Scene out of Disney Animation’s production pipeline and converting it from proprietary data formats into usable, industry-standard data formats. Sean Palmer and Jonathan Garcia also helped in resurrecting the data from Moana. Hyperion developers Ralf Habel and Peter Kutz led the effort to get the Cloud Data Set approved and released; the cloud itself was made by artists Henrik Falt and Alex Nijmeh. On the management side of things, technology manager Rajesh Sharma and Disney Animation CTO, Nick Cannon, provided crucial support and encouragement. Matt Pharr has been crucial in collaborating with us to get these data sets released. Matt was highly accommodating in helping us get the Moana Island Scene into a PBRT scene; I’ll talk a bit more about this later. Intel’s Embree team also gave significant feedback. My role was actually quite small; along with other members of the Hyperion development team, I just provided some consultation throughout the whole process.
Please note the licenses that the data sets come with. The Cloud Data Set is licensed under a Creative Commons Attribution ShareAlike 3.0 Unported License; the actual cloud is based on a photograph by Kevin Udy on his Colorado Clouds Blog, which is also licensed under the same Creative Commons license. The Moana Island Scene is licensed under a more restrictive, custom Disney Enterprises research license. This is because the Moana Island Scene is a true production scene; it was actually used to produce actual frames in the final film. As such, the data set is being released only for pure research and development purposes; it’s not meant for use in artistic projects. Please stick to and follow the licenses these data sets are released under; if people end up misusing these data sets, then it makes releasing more data sets into the community in the future much harder for us.
This entire effort was sparked two years ago at SIGGRAPH 2016, when Matt Pharr made an appeal to the industry to provide representative production-scale data sets to the research community. I don’t know how many times I’ve had conversations about how well new techniques or papers or technologies will scale to production cases, only to have further discussion stymied by the lack of any true production data sets that the research community can test against. We decided as a studio to answer Matt’s appeal, and last year at SIGGRAPH 2017, Brent Burley and Rasmus Tamstorf announced our intention to release both the Cloud and Moana Island data sets. It’s taken nearly a year from announcement to release because the process has been complex, and it was very important to the studio to make sure the release was done properly.
One of the biggest challenges was getting all of the data out of the production pipeline and our various proprietary data formats into something that the research community can actually parse and make use of. Matt Pharr was extremely helpful here; over the past year, Matt has added support for Ptex textures and implemented the Disney Bsdf in PBRT v3. Having Ptex and the Disney Bsdf available in PBRT v3 made PBRT v3 the natural target for an initial port to a renderer other than Hyperion, since internally all of Hyperion’s shading uses the Disney Bsdf, and all of our texturing is done through Ptex. Our texturing also relies heavily on procedural SeExpr expressions; all of the expression-drive texturing had to be baked down into Ptex for the final release.
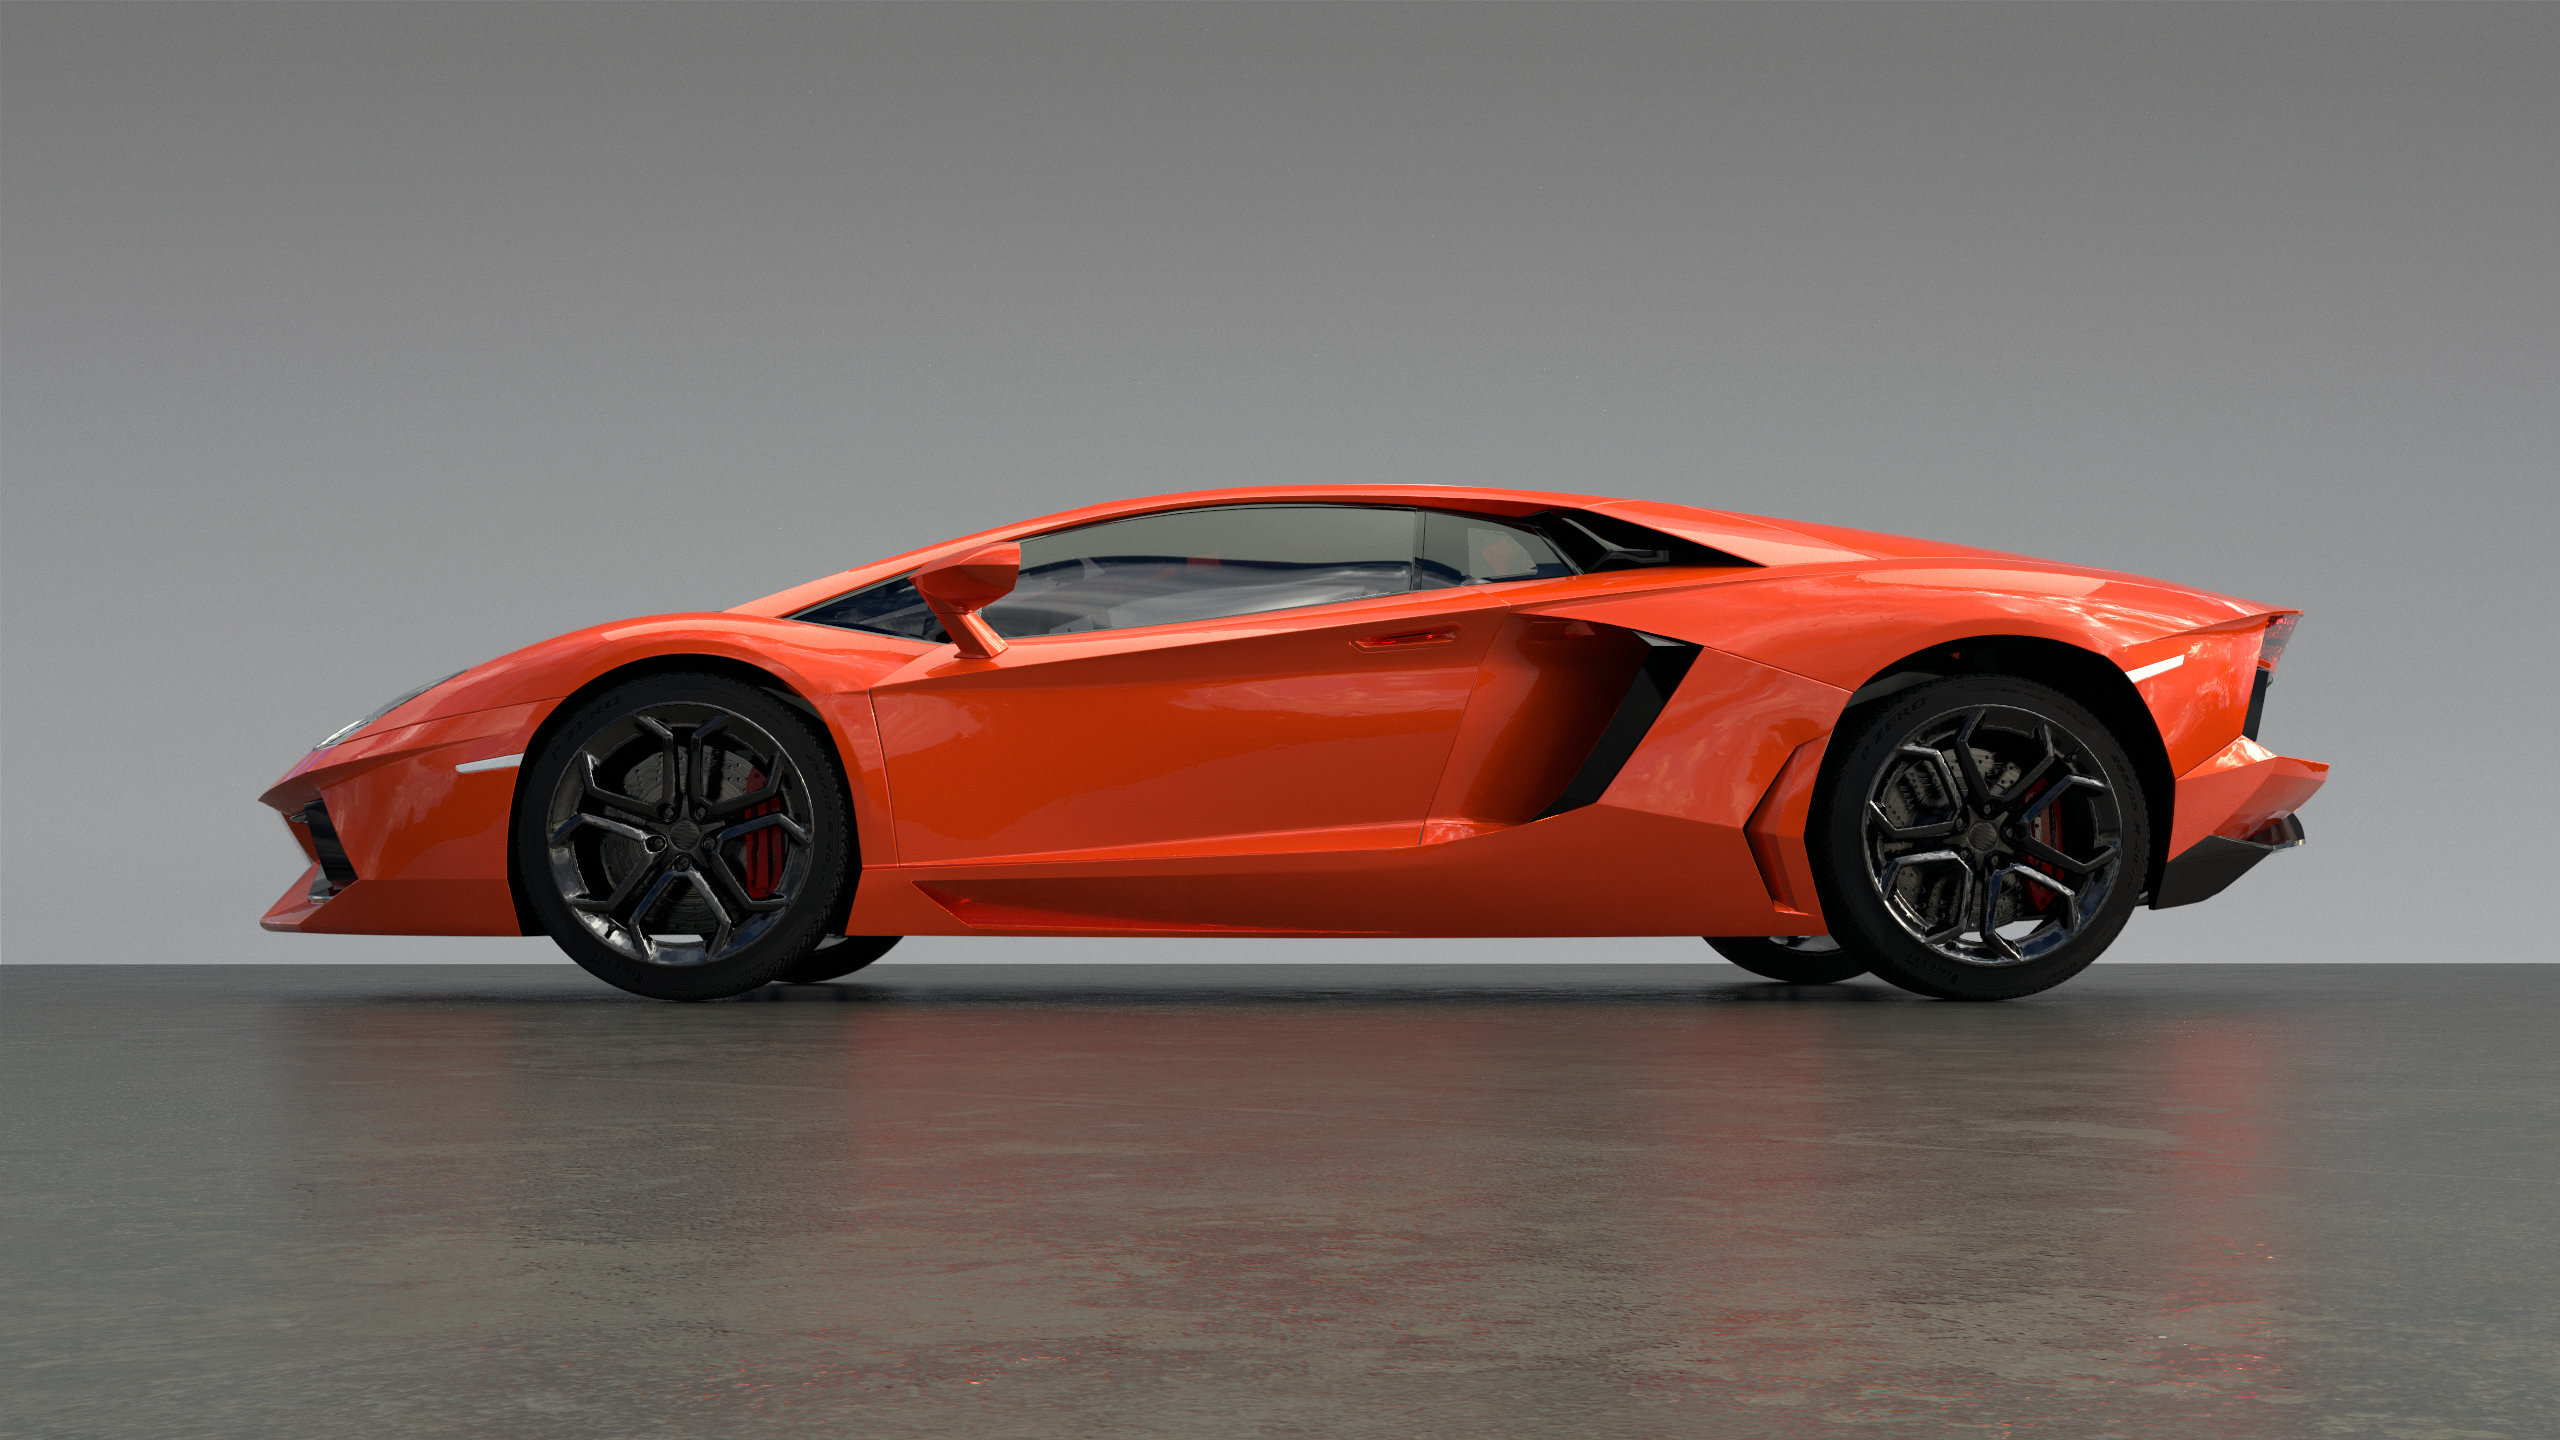
Both the Cloud and Moana Island data sets are, quite frankly, enormous. The Cloud data set contains a single OpenVDB cloud that weighs in at 2.93 GB; the data set also provides versions of the VDB file scaled down to half, quarter, eighth, and sixteenth scale resolutions. The Moana Island data set comes in three parts: a base package containing raw geometry and texture data, an animation package containing animated stuff, and a PBRT package containing a PBRT scene generated from the base package. These three packages combined, uncompressed, weigh in at well over 200 GB of disk space; the uncompressed PBRT package along weighs in at around 38 GB.
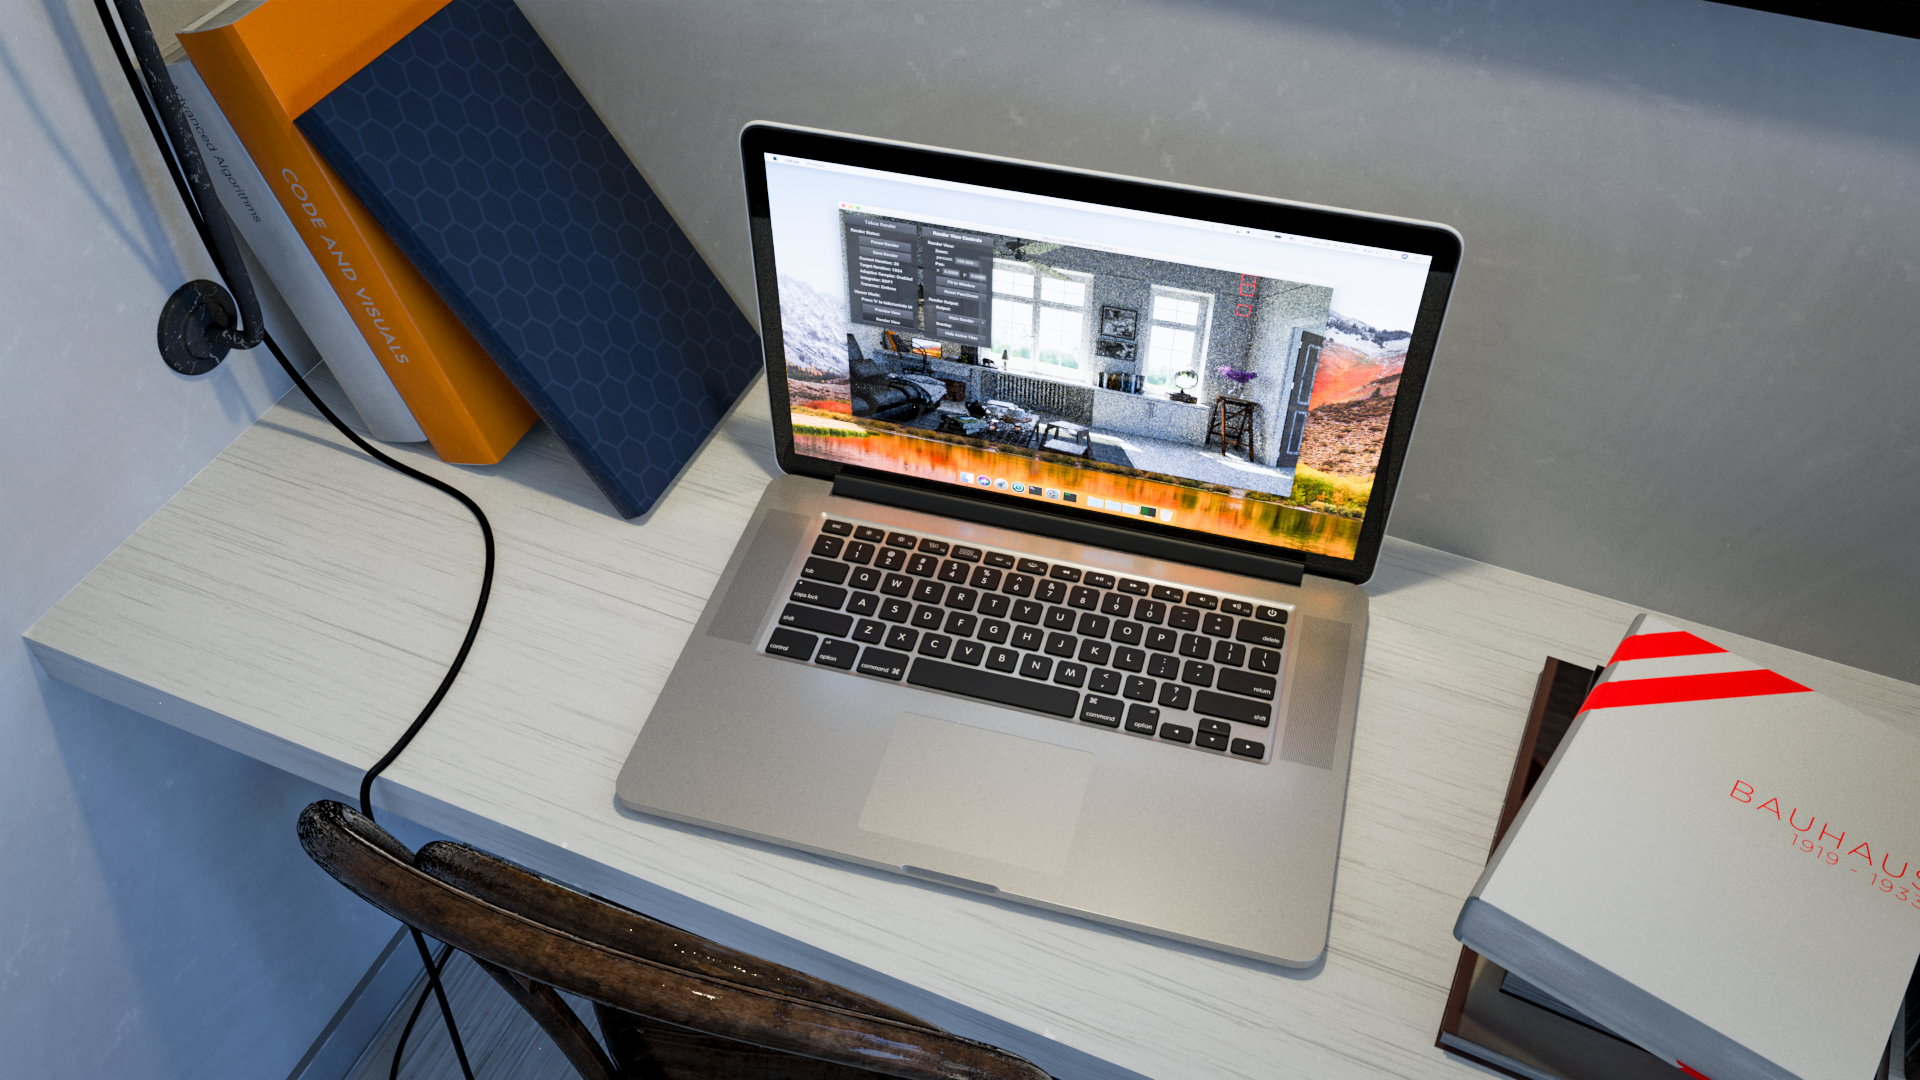
For the Moana Island Scene, the provided PBRT scene requires a minimum of around 90 GB if RAM to render. This many seem enormous for consumer machines, because it is. However, this is also what we mean by “production scale”; for Disney Animation, 90 GB is actually a fairly mid-range memory footprint for a production render. On a 24-core, dual-socket Intel Xeon Gold 6136 system, the PBRT scene took me a little over an hour and 15 minutes to render from the ‘shotCam’ camera. Hyperion renders the scene faster, but I would caution against using this data set to do performance shootouts between different renders. I’m certain that within a short period of time, enthusiastic members of the rendering community will end up porting this scene to Renderman and Arnold and Vray and Cycles and every other production renderer out there, which will be very cool! But keep in mind, this data set was authored very specifically around Hyperion’s various capabilities and constraints, which naturally will be very different from how one might author a complex data set for other renderers. Every renderer works a bit differently, so the most optimal way to author a data set for every renderer will be a bit different; this data set is no exception. So if you want to compare renderers using this data set, make sure you understand the various ways how the way this data set is structured impacts the performance of whatever renderers you are comparing.
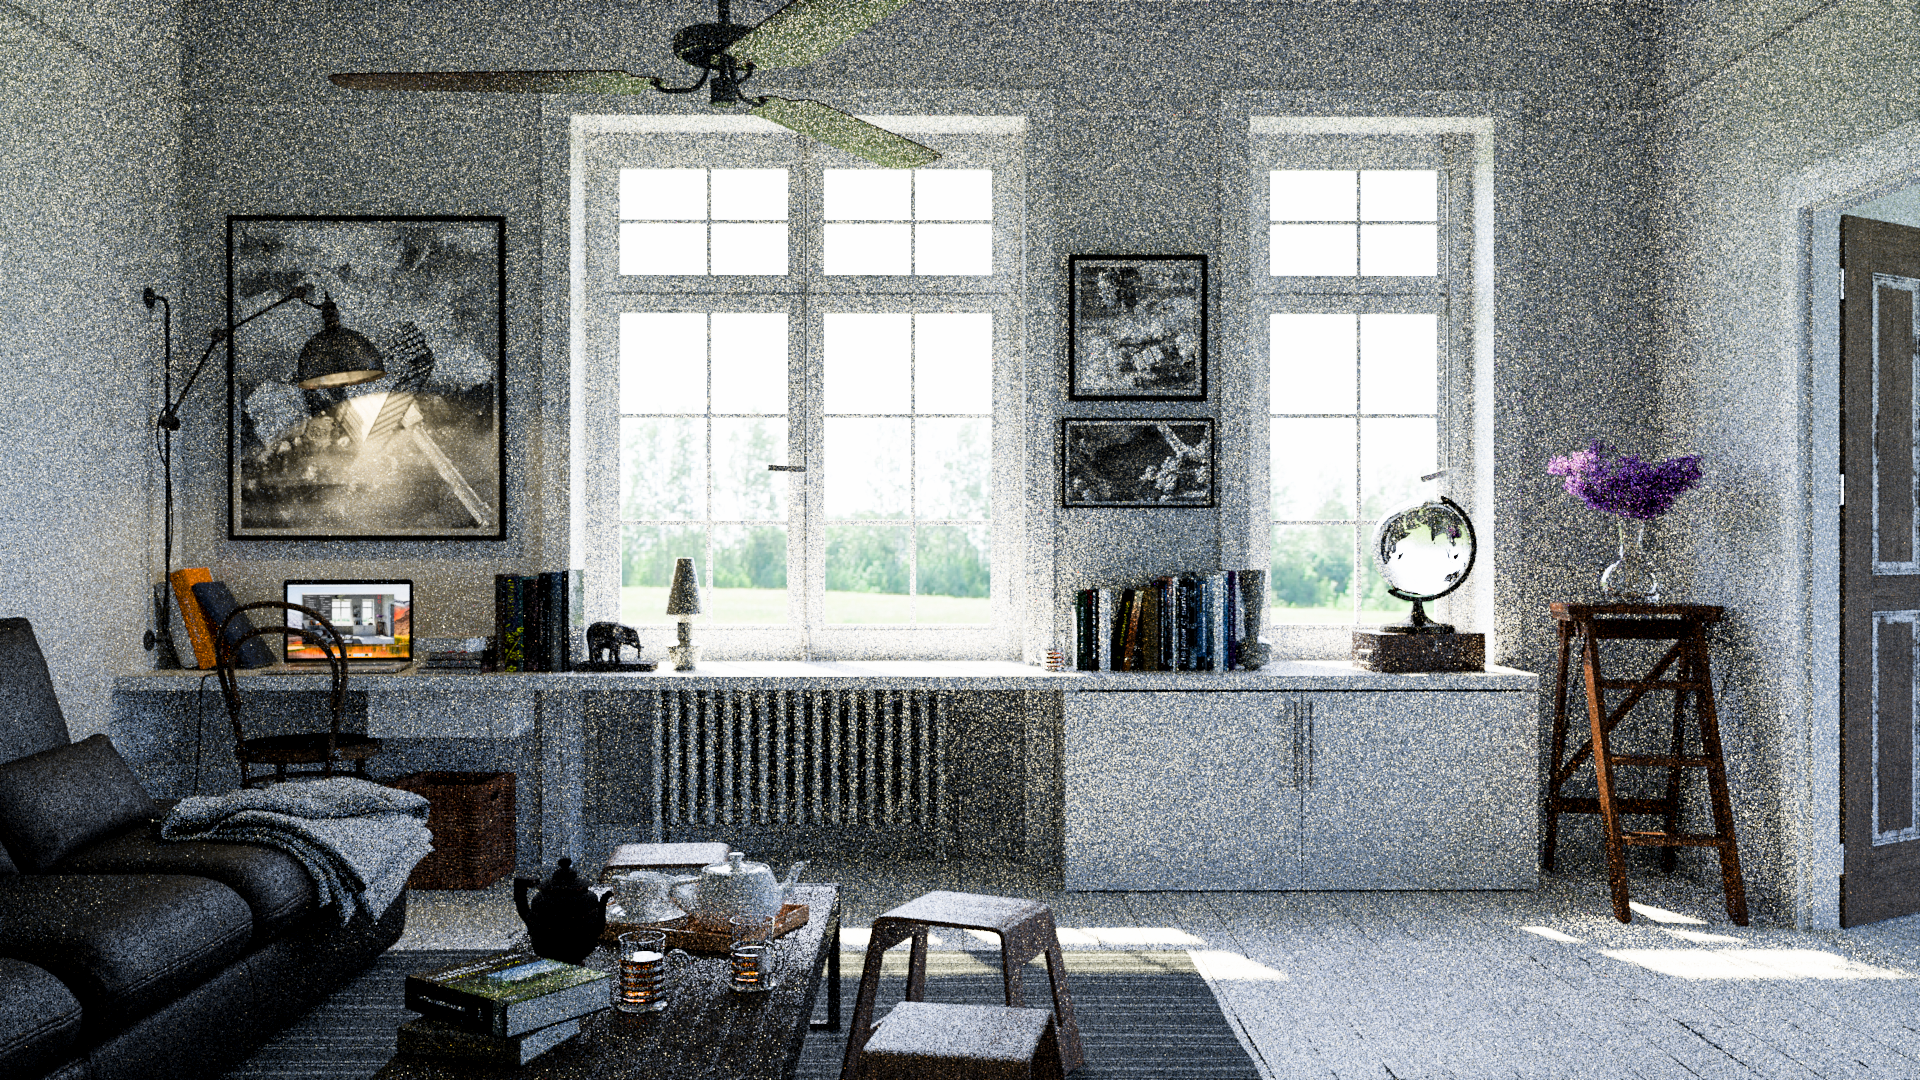
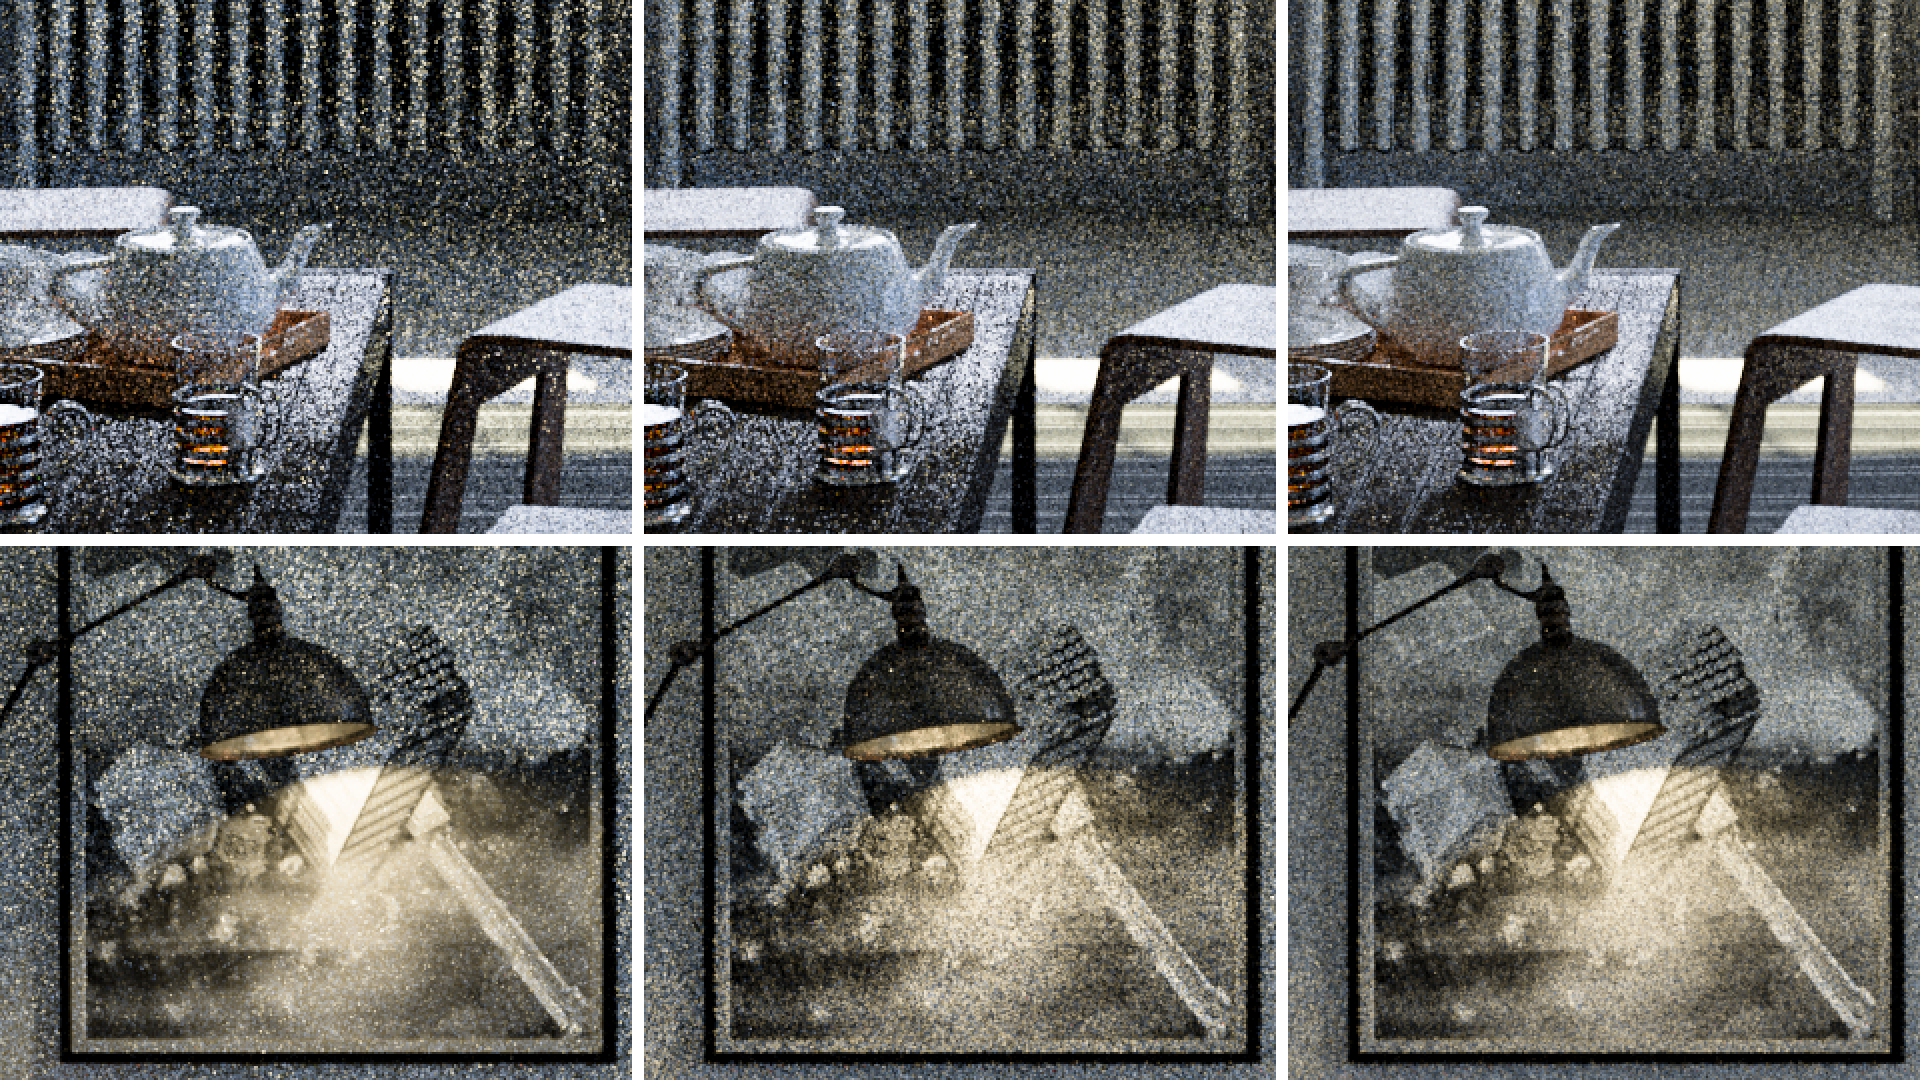
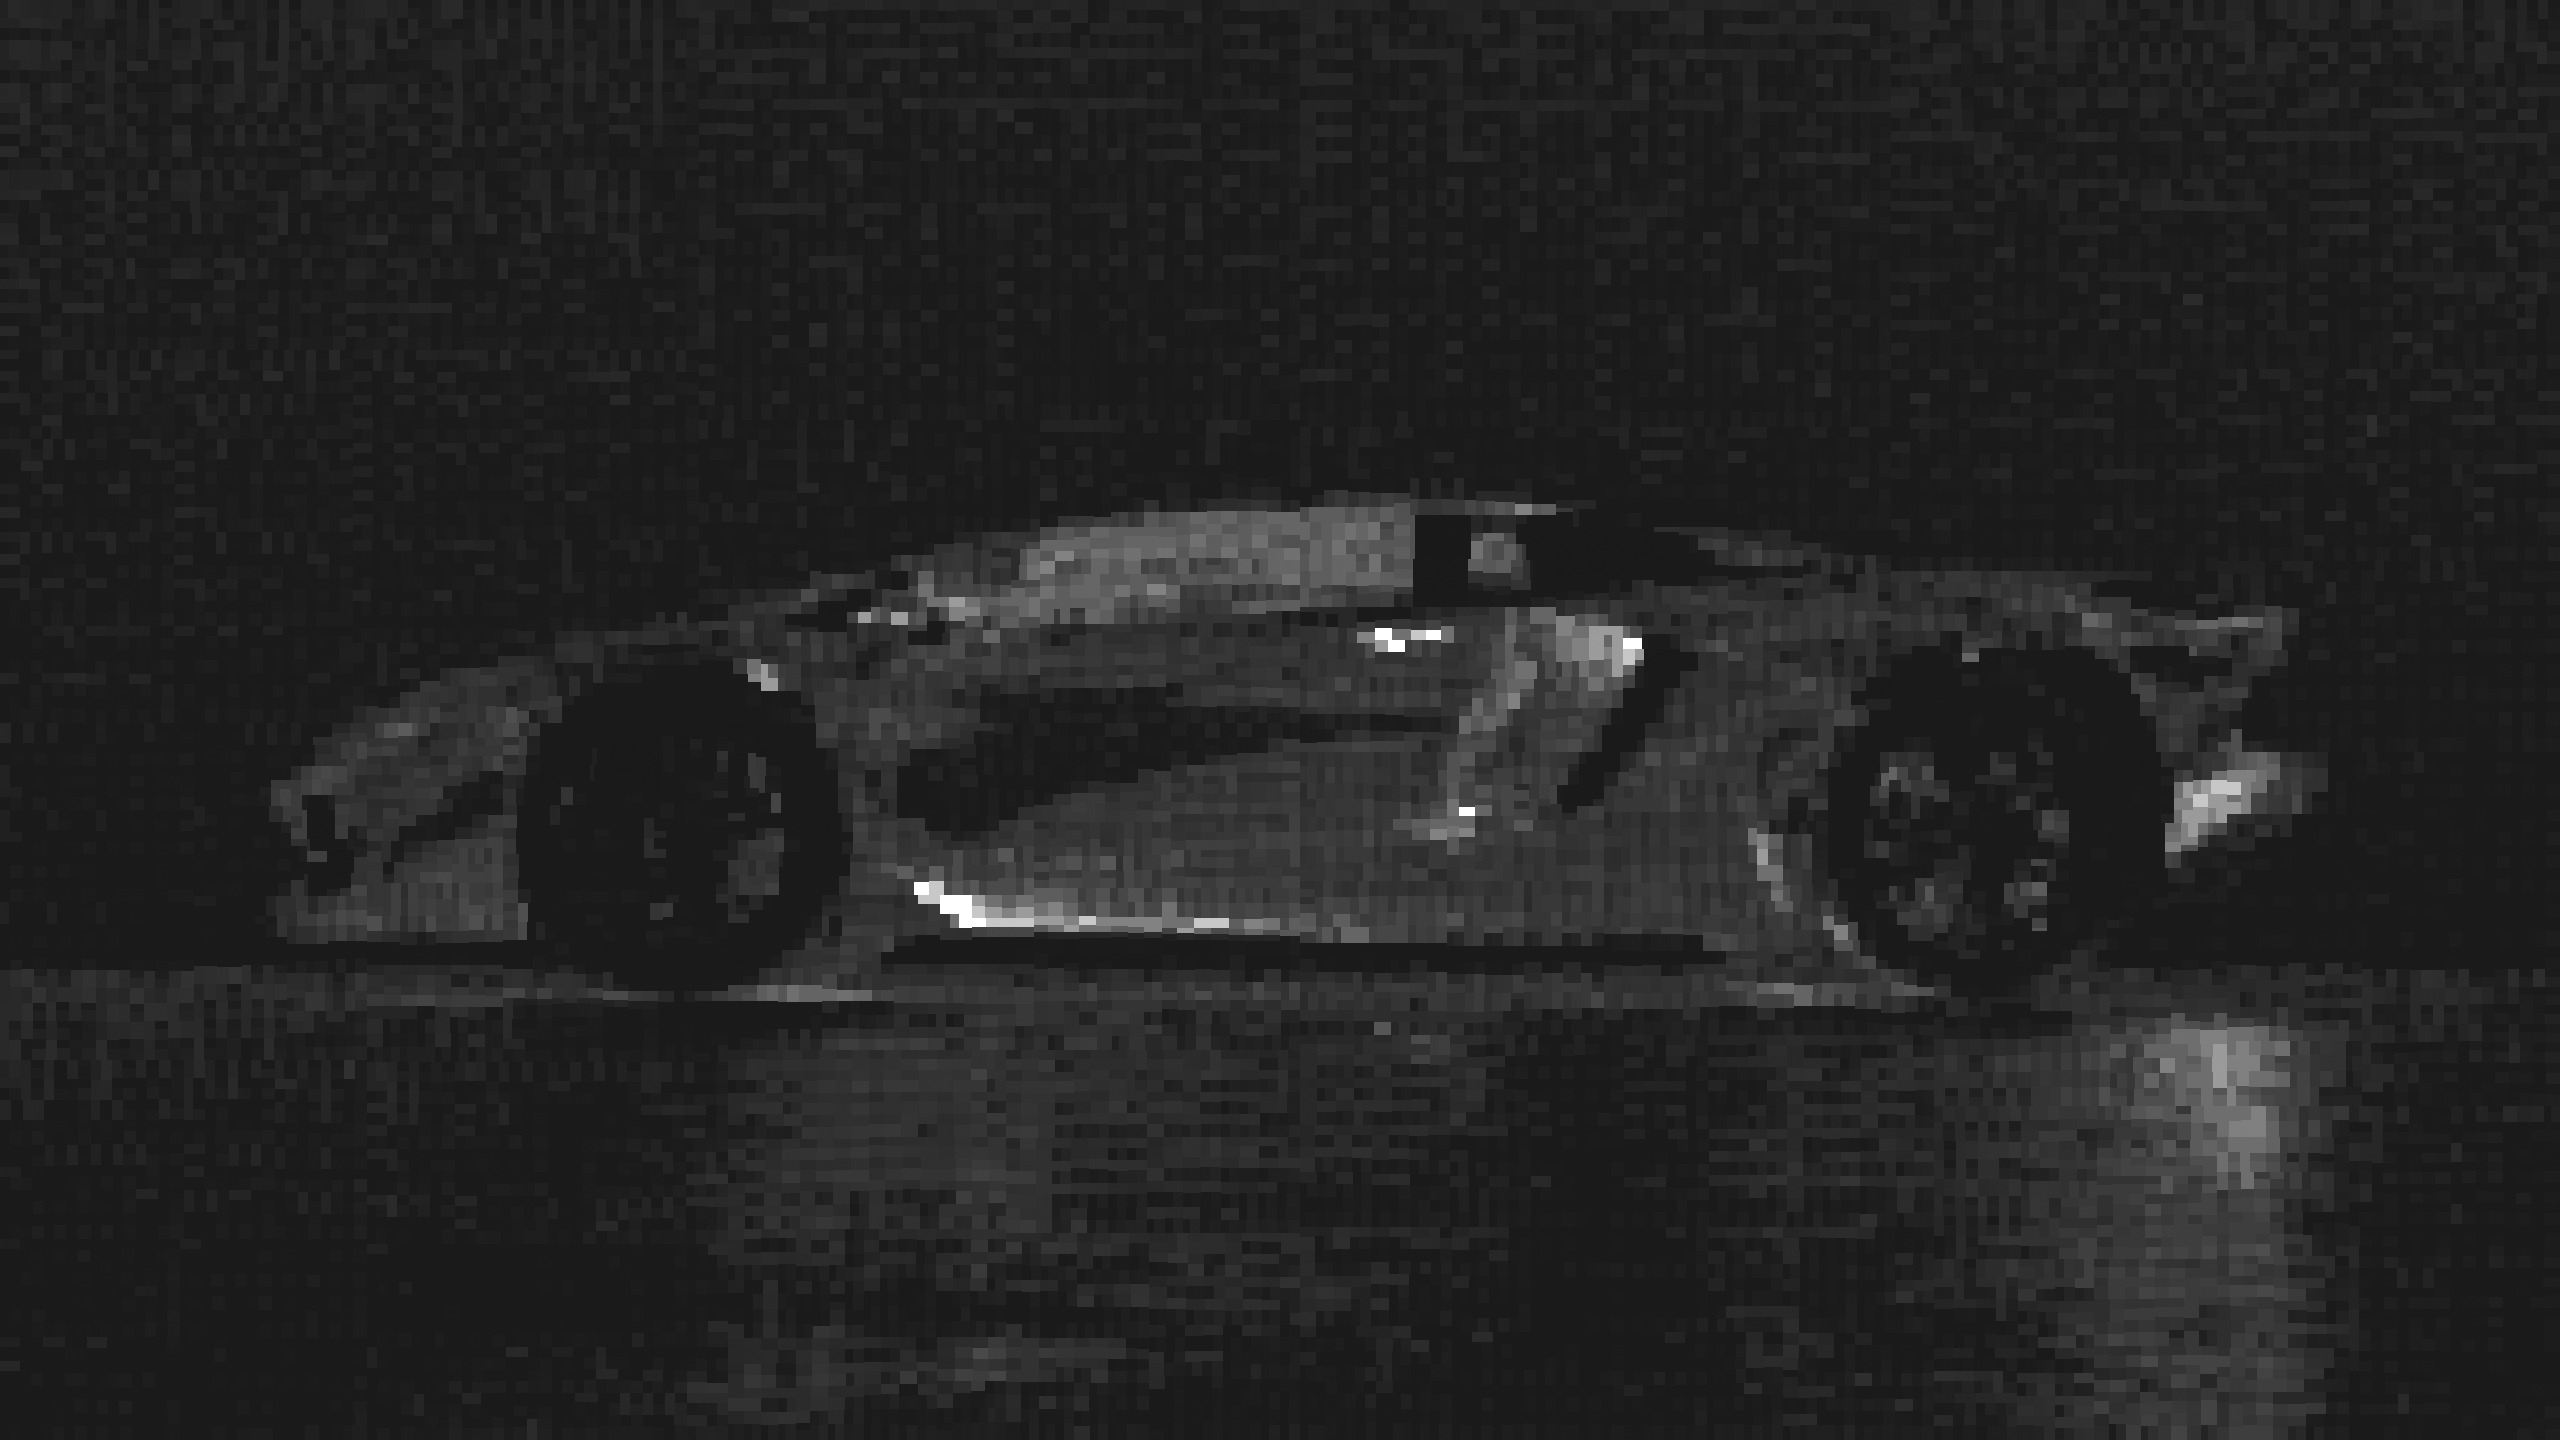
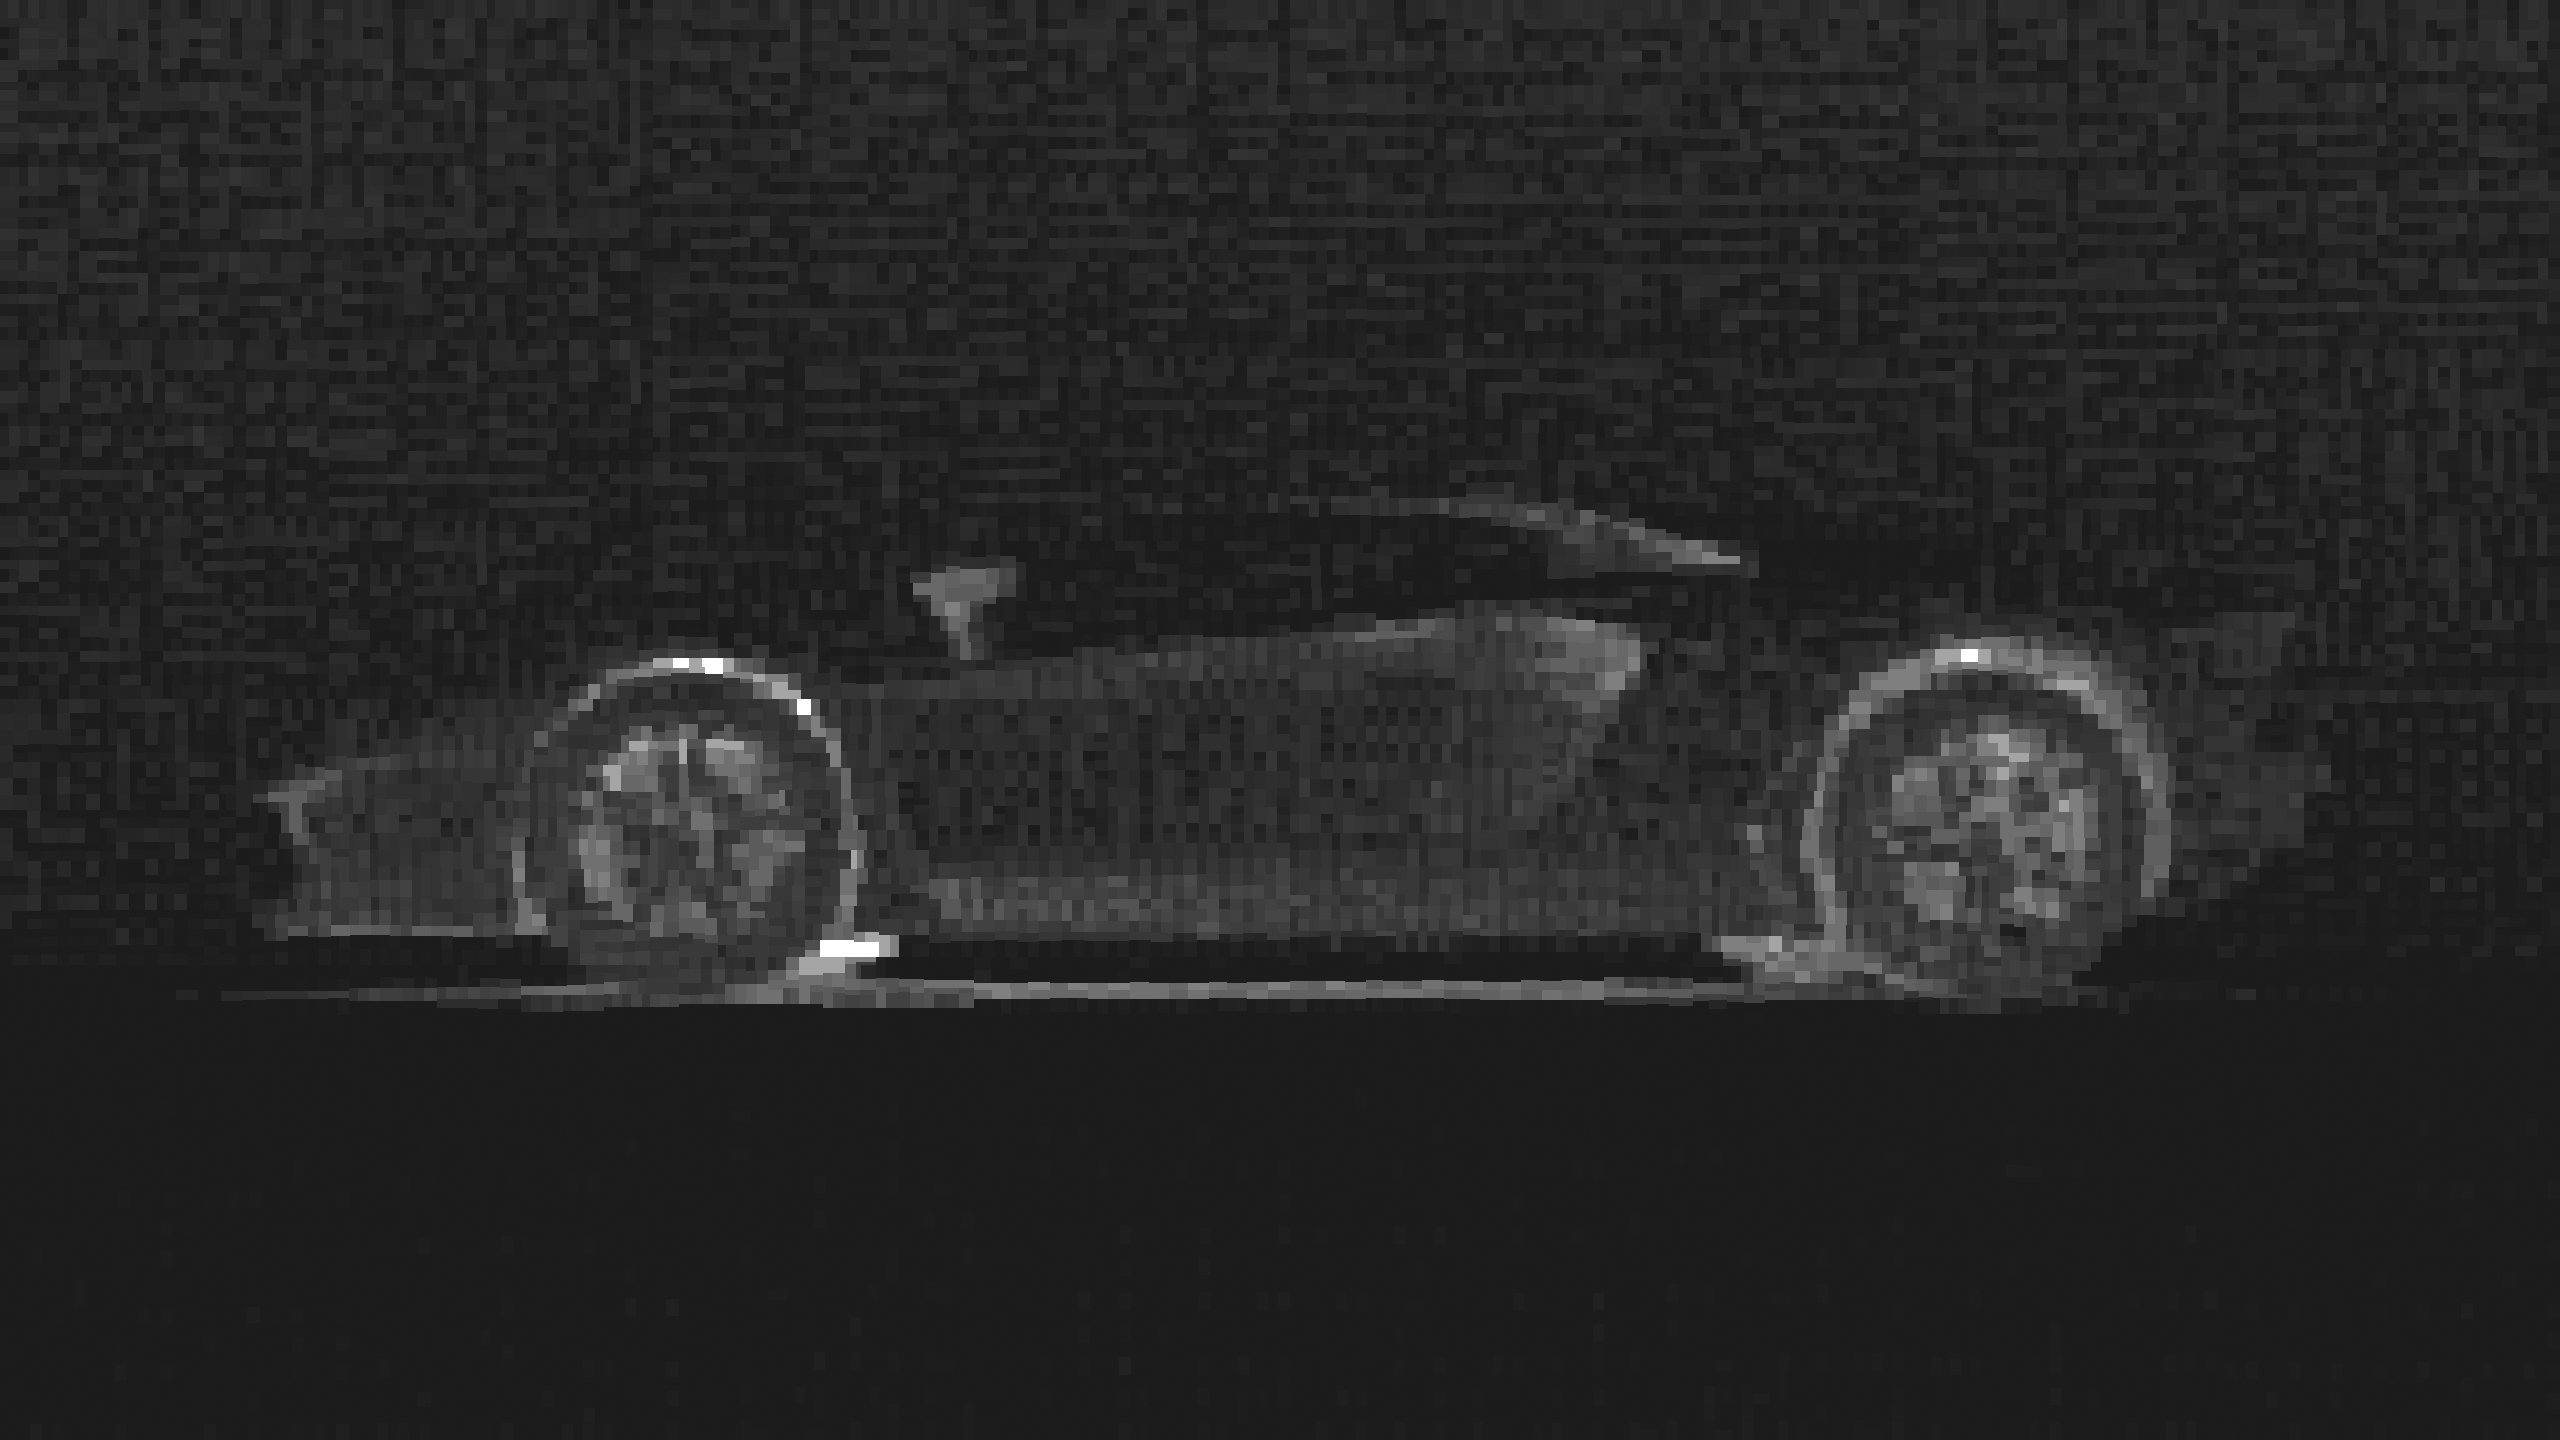
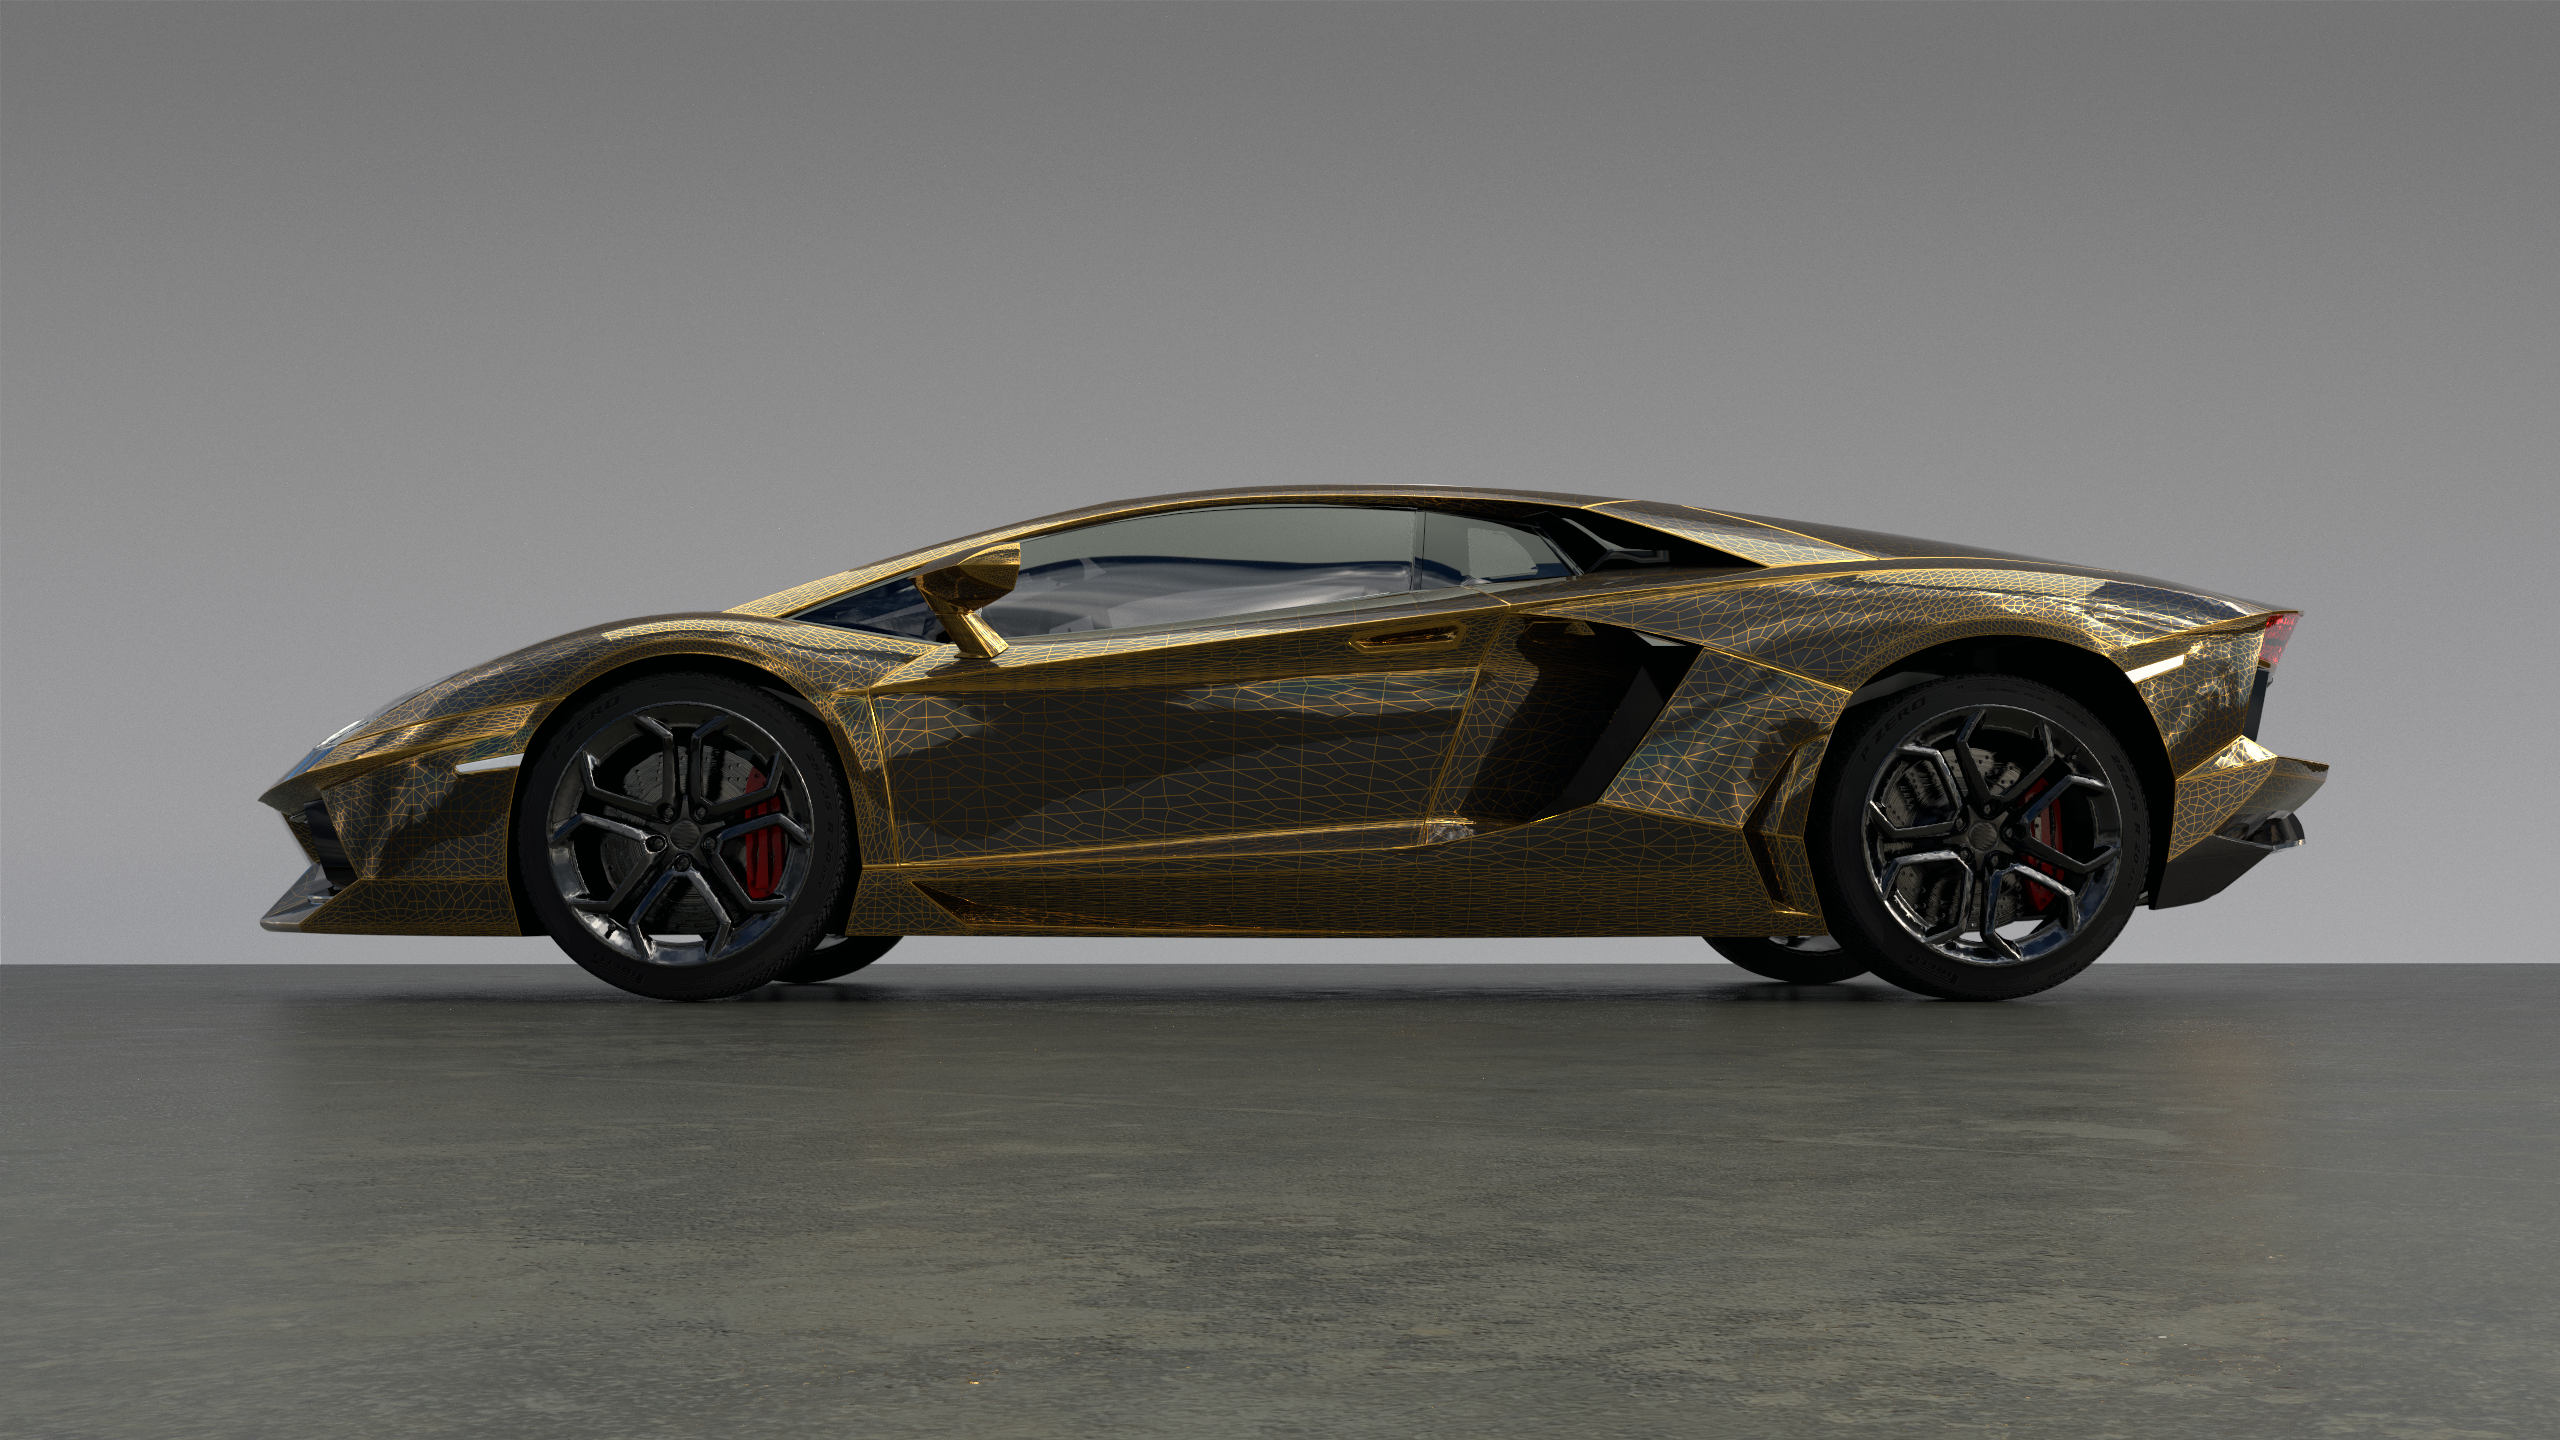
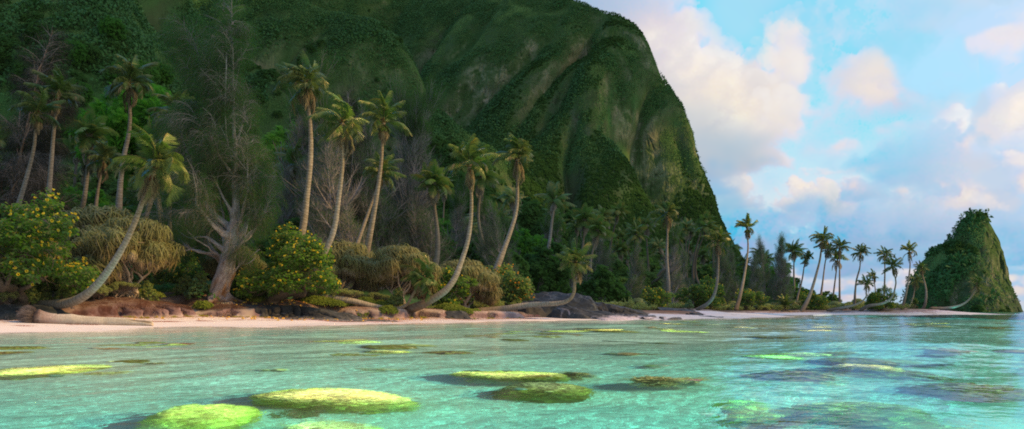
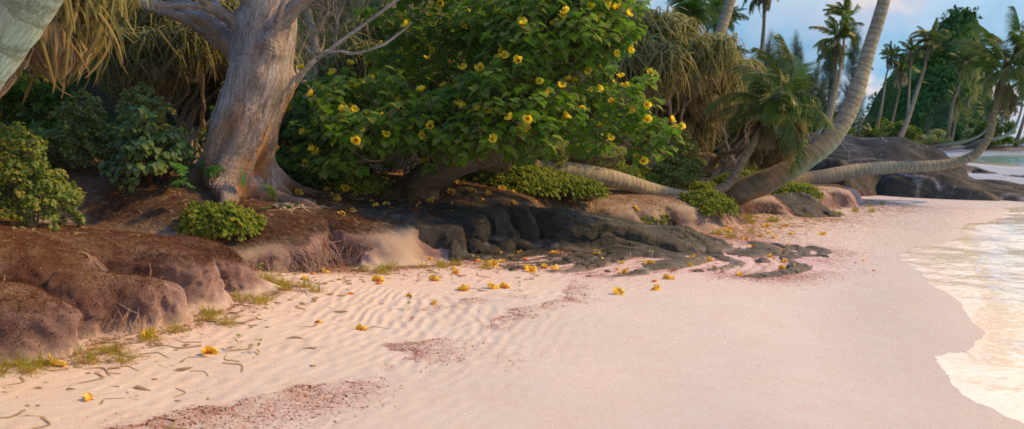
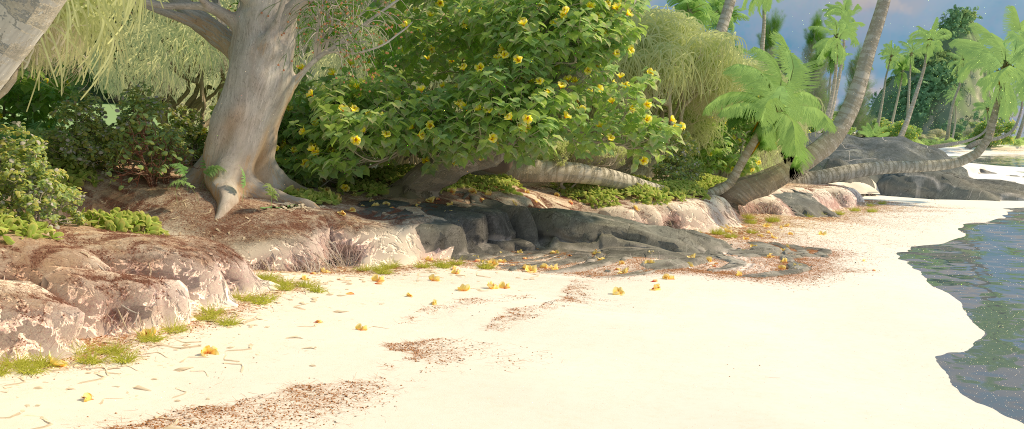
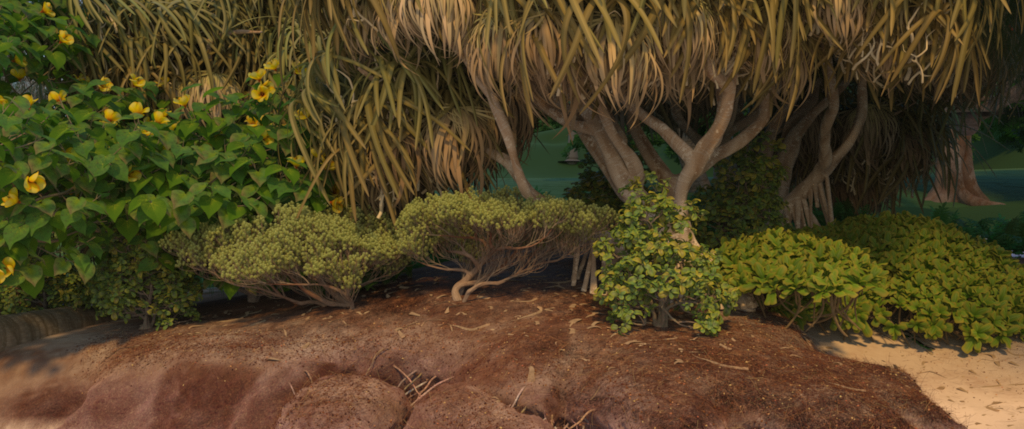
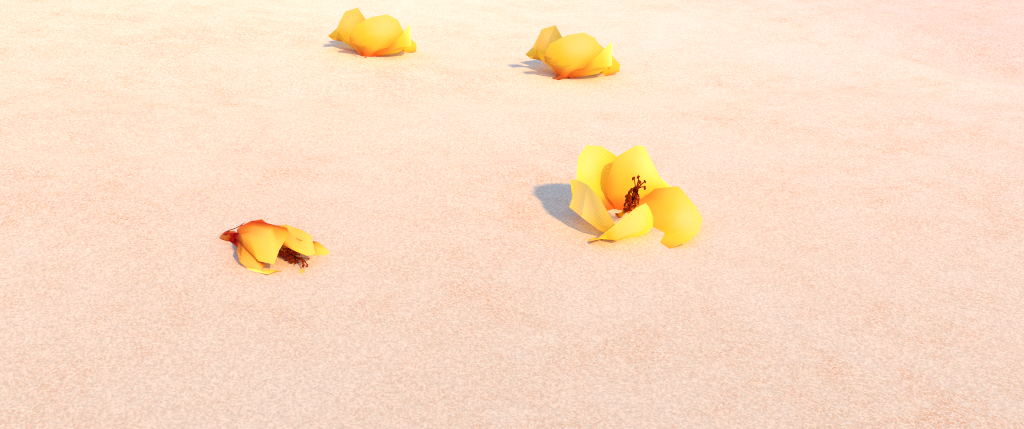
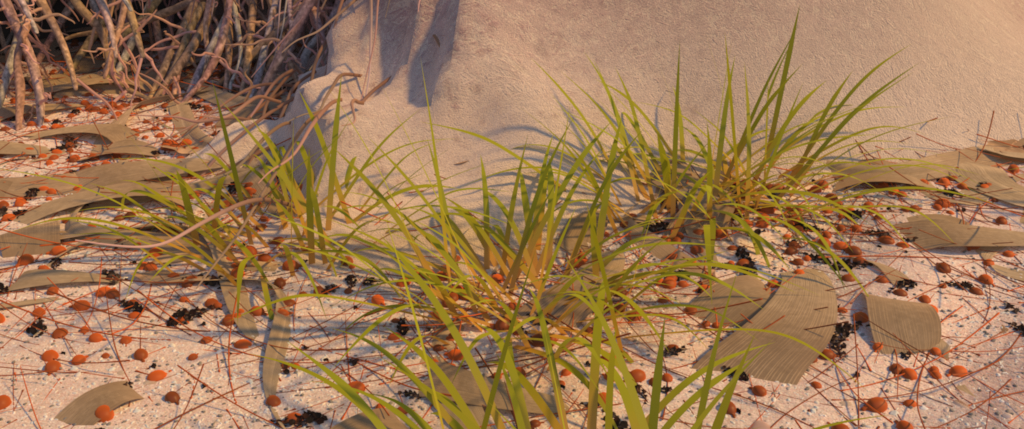
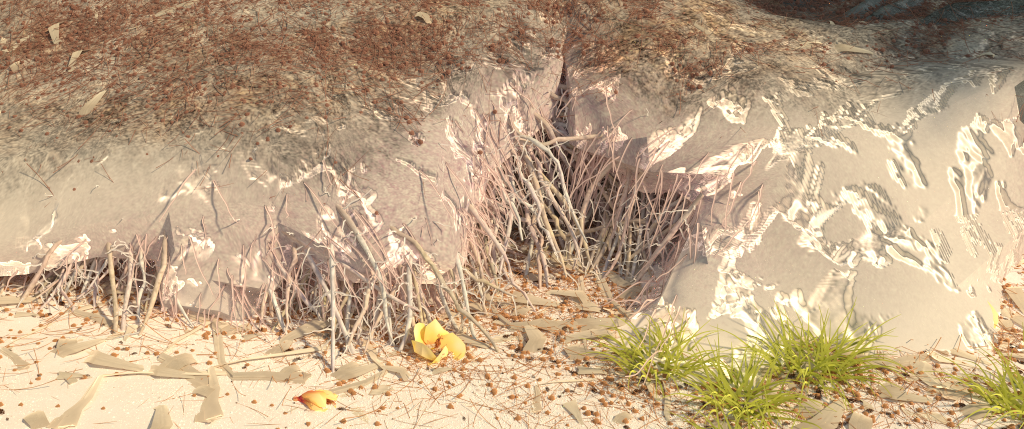
For example, Hyperion subdivides/tessellates/displaces everything to as close to sub-poly-per-pixel as it can get while still fitting within computational resources. This means our scenes are usually very heavily subdivided and tessellated. However, the PBRT version of the scene doesn’t come with any subdivision; as a result, silhouettes in the following comparison images don’t fully match in some areas. Similarly, PBRT’s lights and lighting model differ from Hyperion’s, and Hyperion has various artistic controls that are unique to Hyperion, meaning the renders produced by PBRT versus Hyperion differ in many ways:
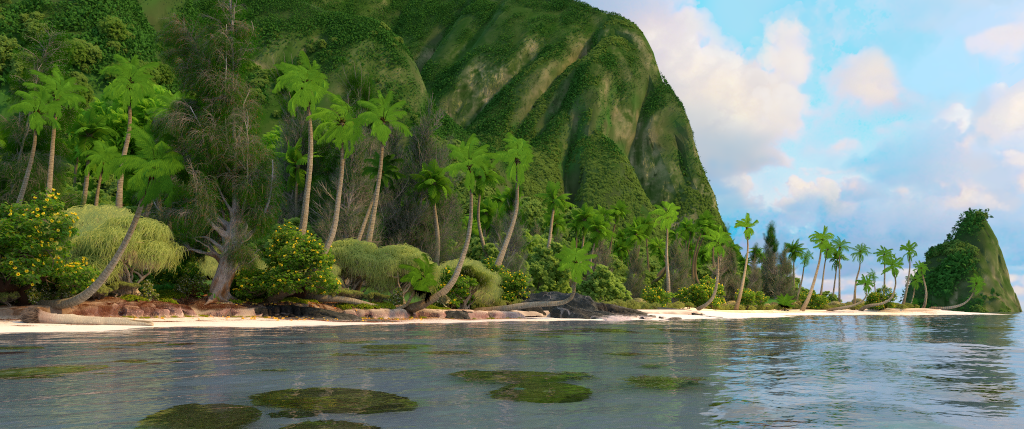


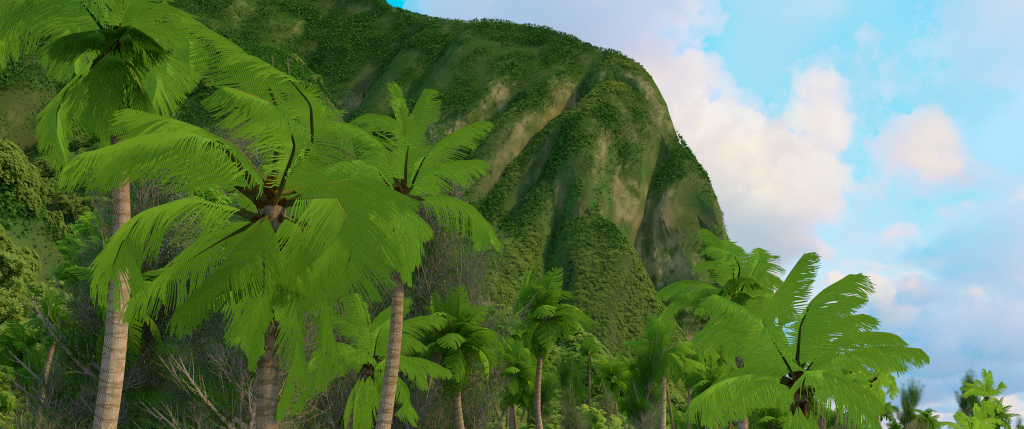

Another example of a major difference between the Hyperion renders and the PBRT renders is in the water, which Hyperion renders using photon mapping to get the caustics. The provided PBRT scenes use unidirectional pathtracing for everything including the water, hence the very different caustics. Similarly, the palm trees in the ‘palmsCam’ camera angle look very different between PBRT and Hyperion because Hyperion’s lighting controls are very different from PBRT; Hyperion’s lights include various artistic controls for custom shaping and whatnot, which aren’t necessarily fully physical. Also, the palm leaves are modeled using curves, and the shading depends on varying colors and attributes along the length and width of the curve, which PBRT doesn’t support yet (getting the palm leaves converted to meshes is actually the top priority for if more resources are freed up to improve the data set release). These difference between renderers don’t necessarily mean that one renderer is better than the other; they simply mean that the renderers are different. This will be true for any pair of renderers that one wants to compare.
The Cloud Data Set includes an example render from Hyperion, which implements our Spectral and Decomposition Tracking paper in its volumetric rendering system to efficiently render the cloud with thousands of bounces. This render contains no post-processing; what you see in the provided image is exactly what Hyperion outputs. The VDB file expresses the cloud as a field of heterogeneous densities. Also provided is an example Mitsuba scene, renderable using the Mitsuba-VDB plugin that can be found on Github. Please consult the README file for some modifications in Mitsuba that are necessary to render the cloud. Also, please note that the Mitsuba example will take an extremely long time to render, since Mitsuba isn’t really meant to render high-albedo heterogeneous volumes. With proper acceleration structures and algorithms, rendering the cloud only takes us a few minutes using Hyperion, and should be similarly fast in any modern production renderer.
One might wonder just why production data sets in general are so large. This is an interesting question; the short answer across the industry basically boils down to “artist time is more expensive and valuable than computer hardware”. We could get these scenes to fit into much smaller footprints if we were willing to make our artists spend a lot of time aggressively optimizing assets and scenes and whatnot so that we could fit these scenes into smaller disk, memory, and compute footprints. However, this isn’t actually always a good use of artist time; computer hardware is cheap compared to wasting artist time, which often could be better spent elsewhere making the movie better. Throwing more memory and whatnot at huge data sets is also simply more scalable than using more artist resources, relatively speaking.
Both data sets come with detailed README documents; the Moana Island Scene’s documentation in particular is quite extensive and contains a significant amount of information about how assets are authored and structured at Disney Animation, and how renders are lit, art-directed, and assembled at Disney Animation. I highly recommend reading all of the documentation carefully if you plan on working with these data sets, or just if you are generally curious about how production scenes are built at Disney Animation.
Personally, I’m very much looking forward to seeing what the rendering community (and the wider computer graphics community at large) does with these data sets! I’m especially excited to see what the realtime world will be able to do with this data; seeing the Moana Island Scene in its full glory in Unreal Engine 4 or Unity would be something indeed, and I think these data sets should provide a fantastic challenge to research into light transport and ray tracing speed as well. If you do interesting things with these data sets, please write to us at the email addresses in the provided README files!
Also, Matt Pharr has written on his blog about how the Moana Island Scene has further driven the development of PBRT v3. I highly recommend giving Matt’s blog a read!