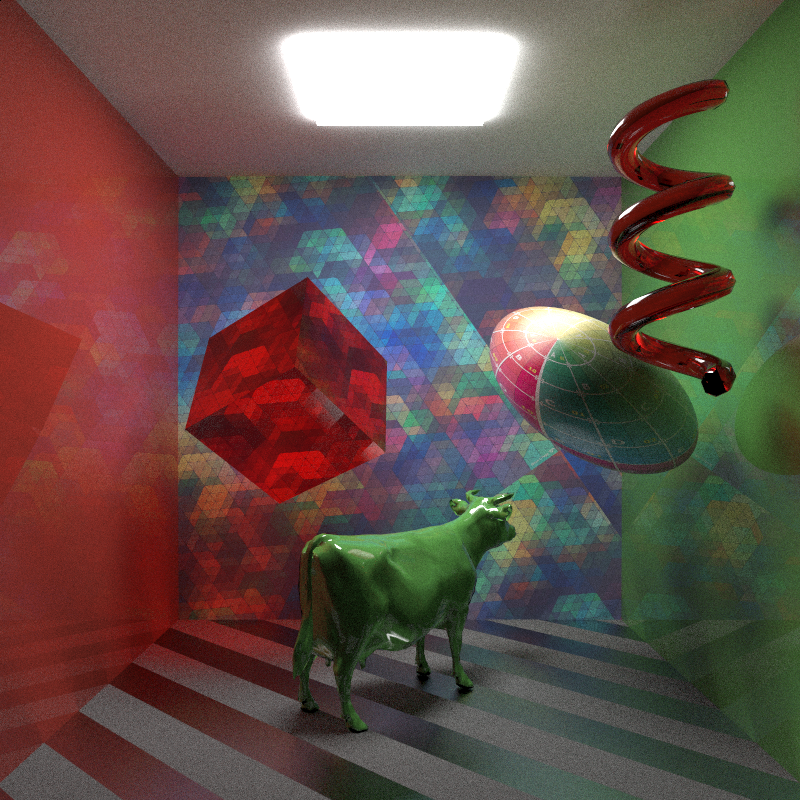
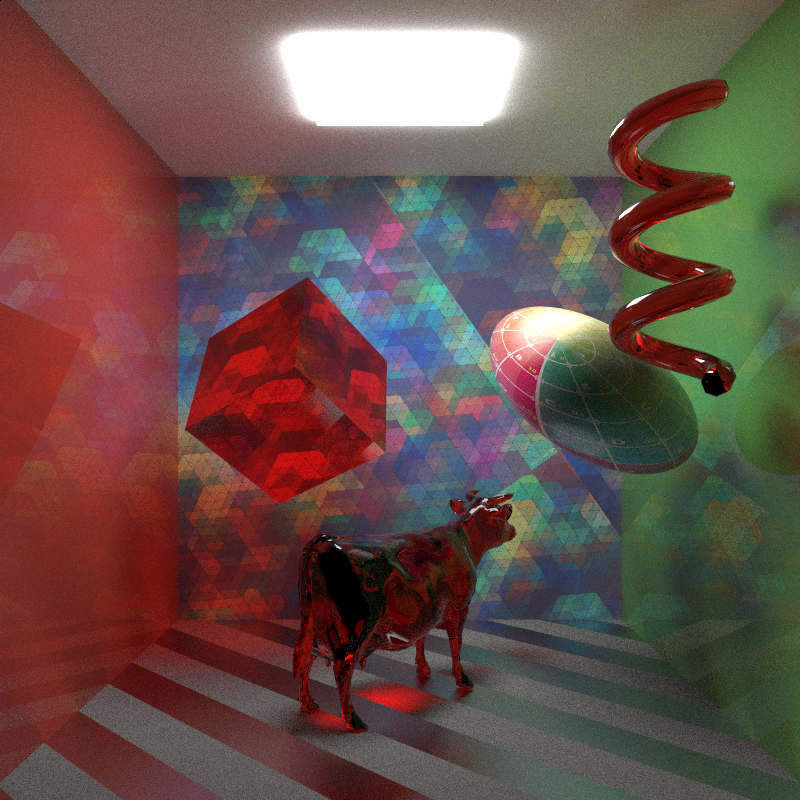
The one piece of Takua Render that I’ve been proudest of so far has been the KD-Tree and obj mesh processing systems that I built. So of course, over the past week I completely threw away the old versions of KdCore and ObjCore and totally rewrote new versions entirely from scratch. The motive behind this rewrite came mostly from the fact that over the past year, I’ve learned a lot more about KD-Trees and programming in general; as a result, I’m pleased to report that the new versions of KdCore and ObjCore are significantly faster and more memory efficient than previous versions. KdCore3 is now able to process a million objects into an efficient, optimized KD-Tree with a depth of 20 and a minimum of 5 objects per leaf node in roughly one second.
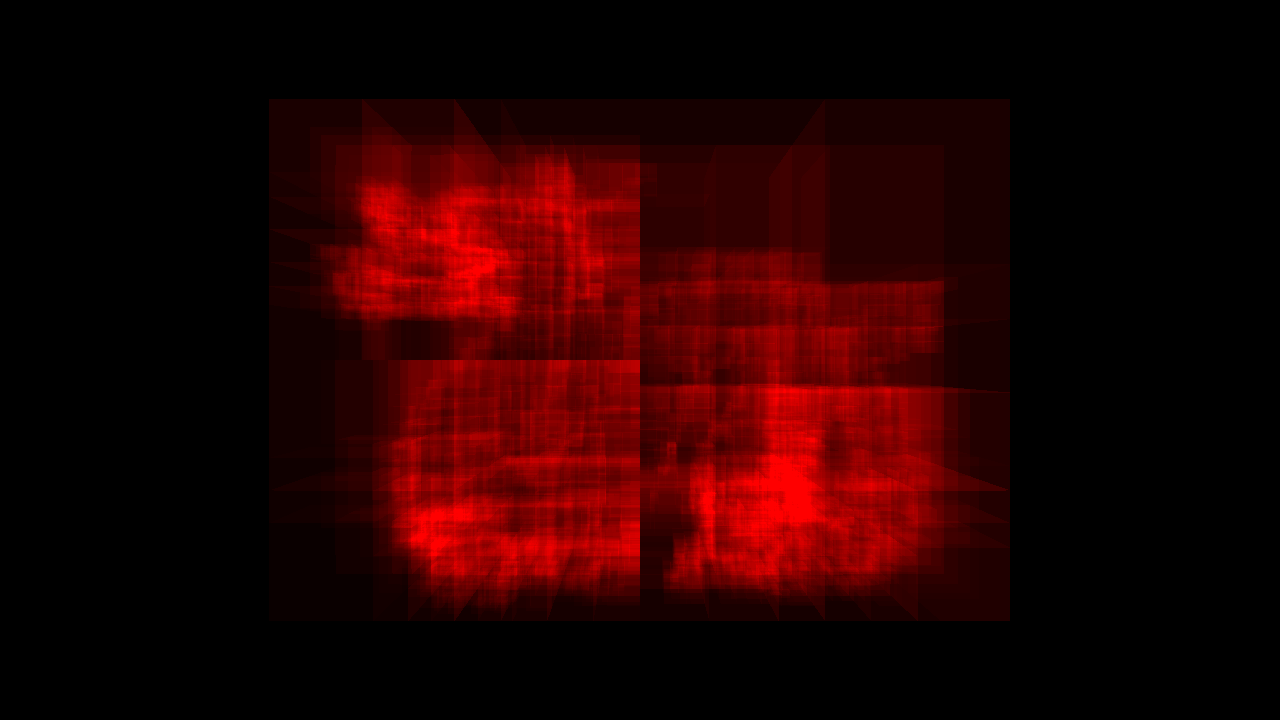
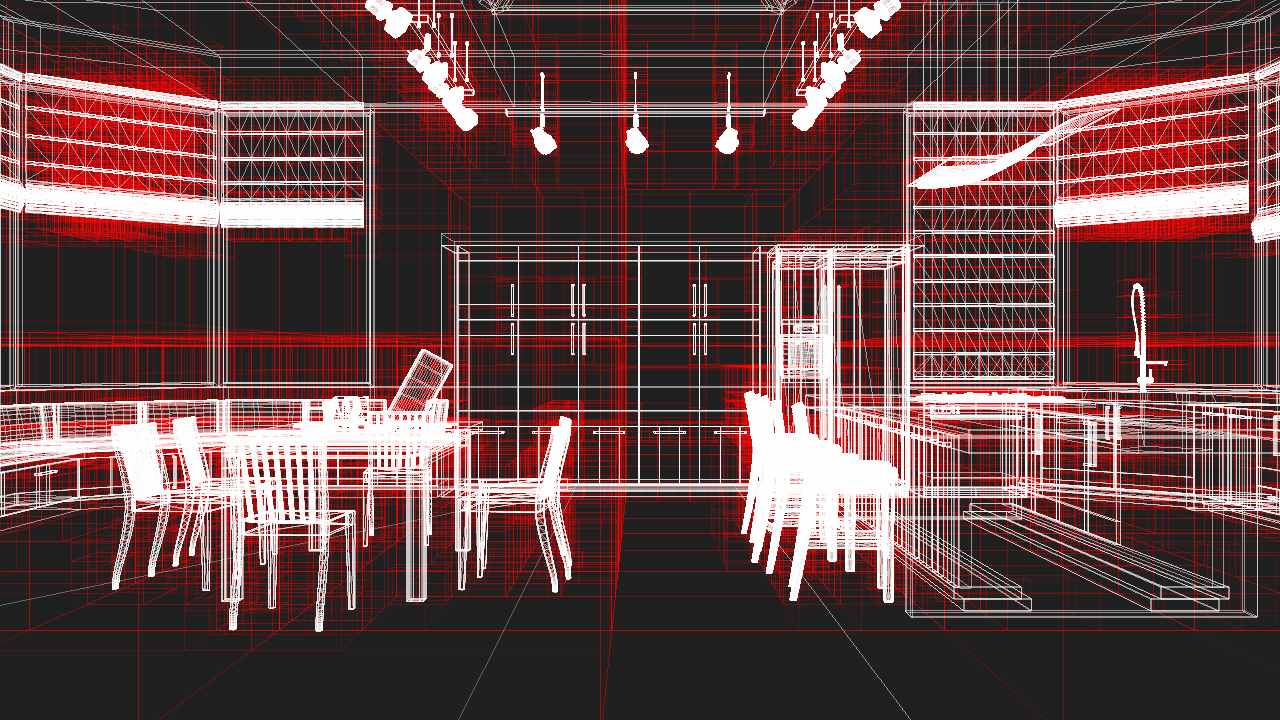
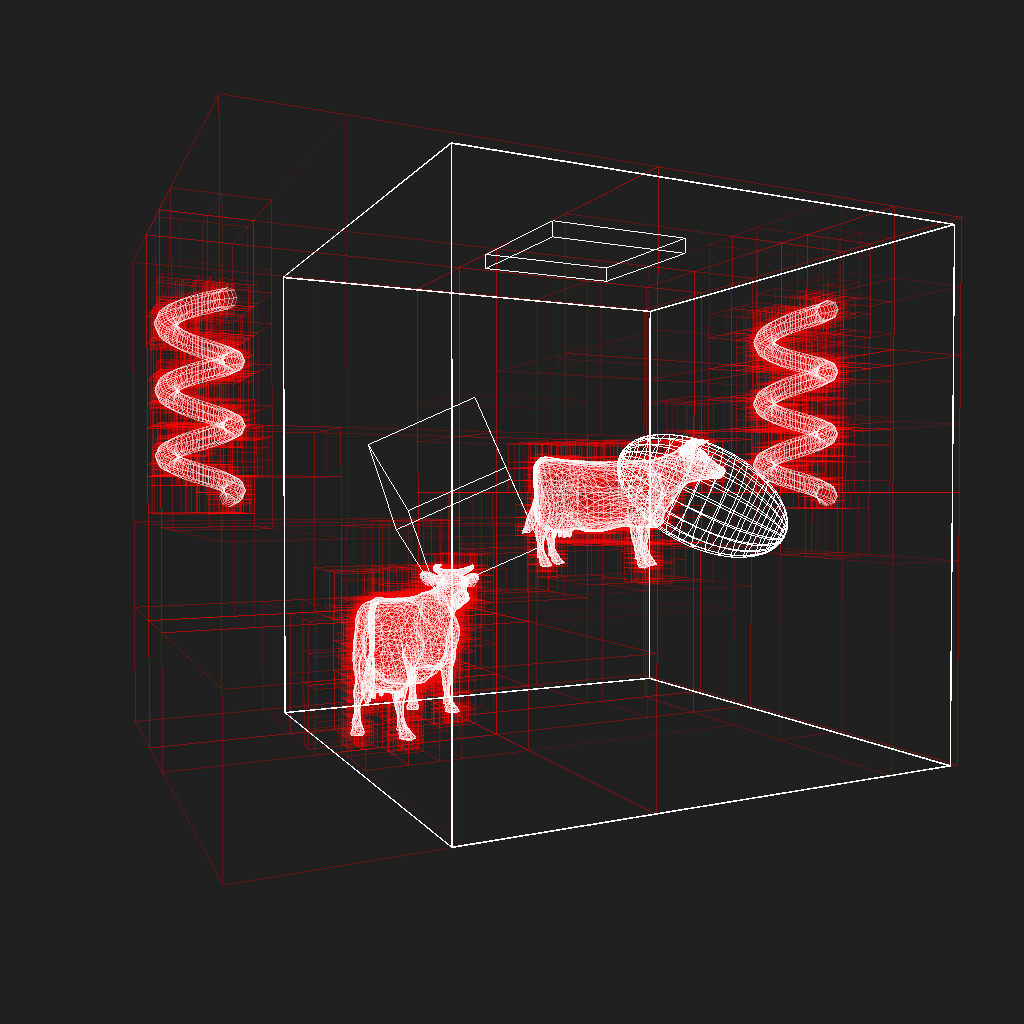
Here’s my kitchen scene, exported to Takua Render’s AvohkiiScene format, and processed through KdCore3. White lines are the wireframe lines for the geometry itself, red lines represent KD-Tree node boundaries:

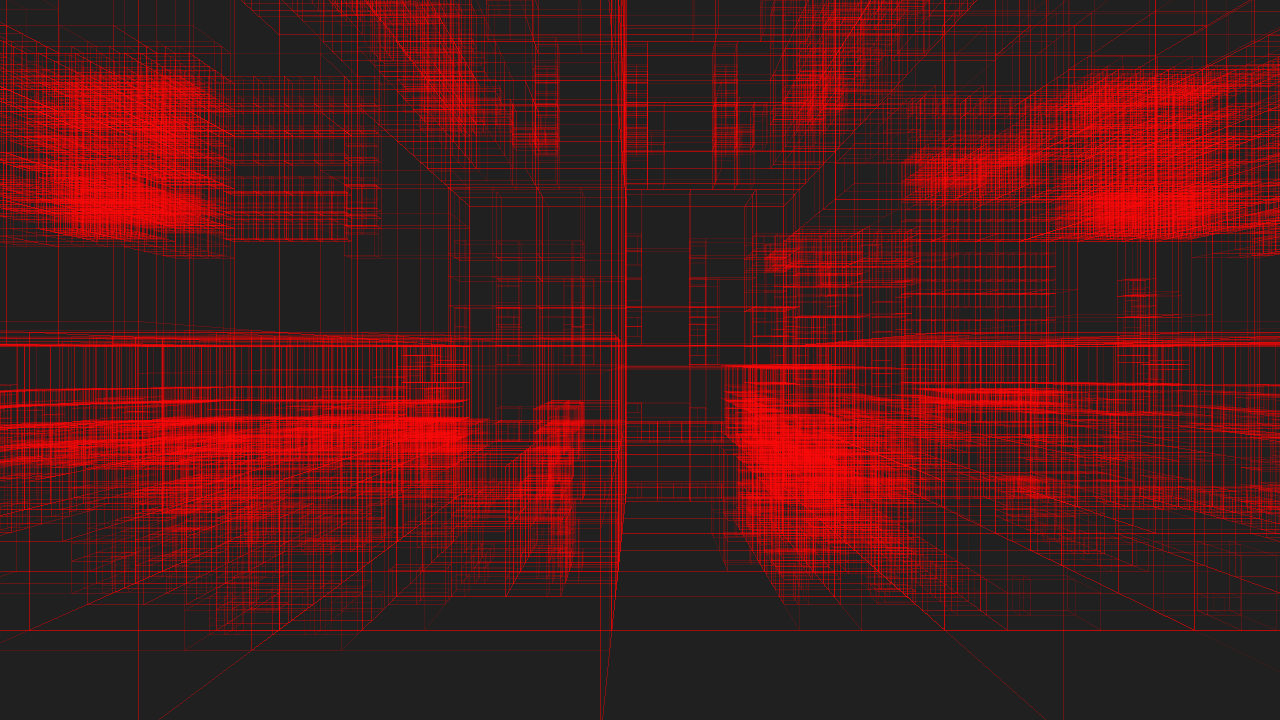
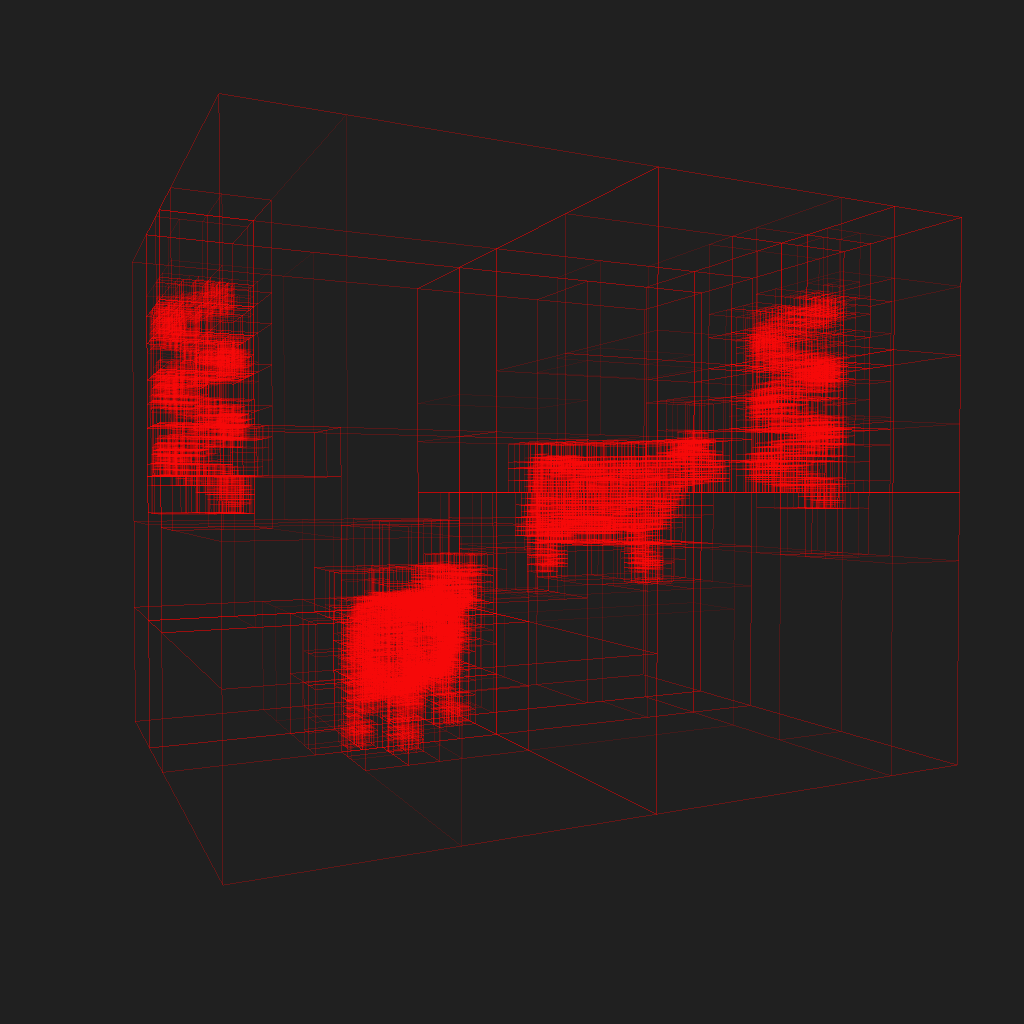
…and the same image as above, but with only the KD-Tree. You can use the lightbox to switch between the two images for comparisons:

One of the most noticeable improvements in KdCore3 over KdCore2, aside from the speed increases, is in how KdCore3 manages empty space. In the older versions of KdCore, empty space was often repeatedly split into multiple nodes, meaning that ray traversal through empty space was very inefficient, since repeated intersection tests would be required only for a ray to pass through the KD-Tree without actually hitting anything. The images in this old post demonstrate what I mean. The main source of this problem came from how splits were being chosen in KdCore2; in KdCore2, the chosen split was the lowest cost split regardless of axis. As a result, splits were often chosen that resulted in long, narrow nodes going through empty space. In KdCore3, the best split is chosen as the lowest cost split on the longest axis of the node. As a result, empty space is culled much more efficiently.
Another major change to KdCore3 is that the KD-Tree is no longer built recursively. Instead, KdCore3 builds the KD-Tree layer by layer through an iterative approach that is well suited for adaptation to the GPU. Instead of attempting to guess how deep to build the KD-Tree, KdCore3 now just takes a maximum depth from the user and builds the tree no deeper than the given depth. The entire tree is also no longer stored as a series of nodes with pointers to each other, but instead all nodes are stored in a flat array with a clever indexing scheme to allow nodes to implicitly know where their parent and child nodes are within the array. Furthermore, instead of building as a series of nodes with pointers, the tree builds directly into the array format. This array storage format again makes KdCore3 more suitable to a GPU adaptation, and also makes serializing the Kd-Tree out to disk significantly easier for memory caching purposes.
Another major change is how split candidates are chosen; in KdCore2, the candidates along each axis were the median of all contained object center-points, the middle of the axis, and some randomly chosen candidates. In KdCore3, the user can specify a number of split candidates to try along each axis, and then KdCore3 will simply divide each axis into that number of equally spaced points and use those points as candidates. As a result, KdCore3 is far more efficient than KdCore2 at calculating split candidates, can often find a better candidate with more deterministic results due to the removal of random choices, and offers the user more control over the quality of the final split.
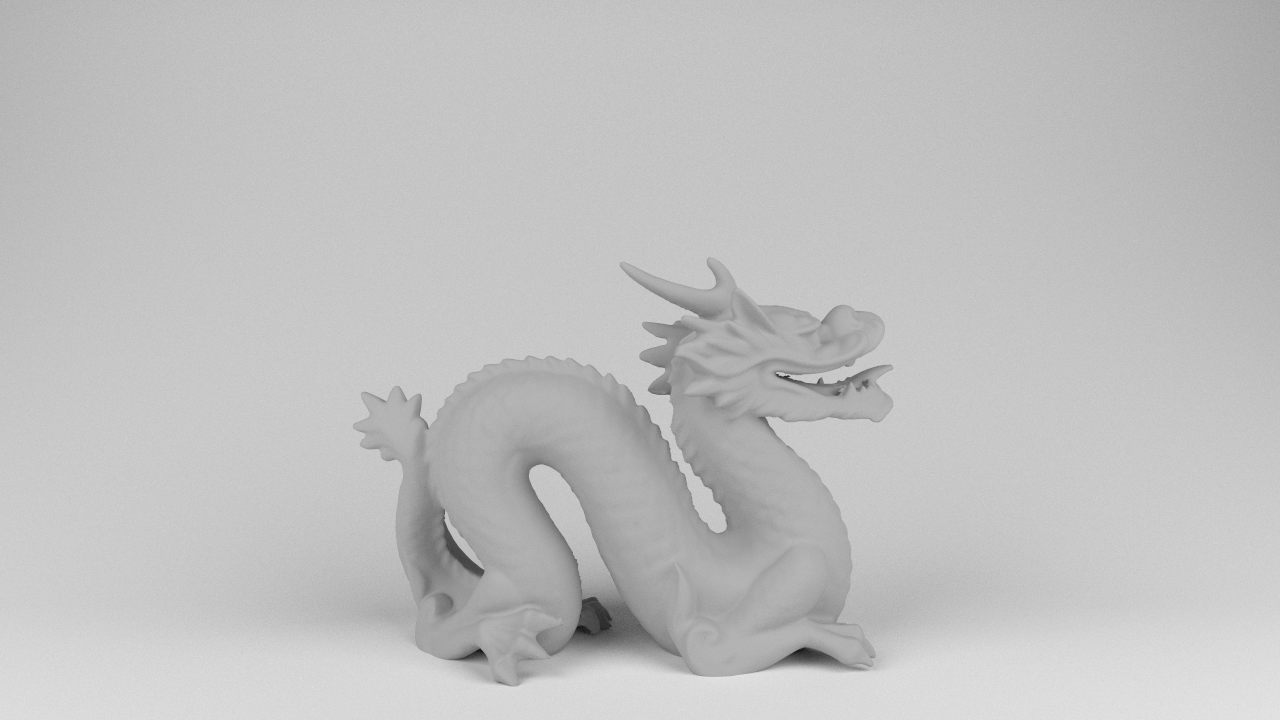
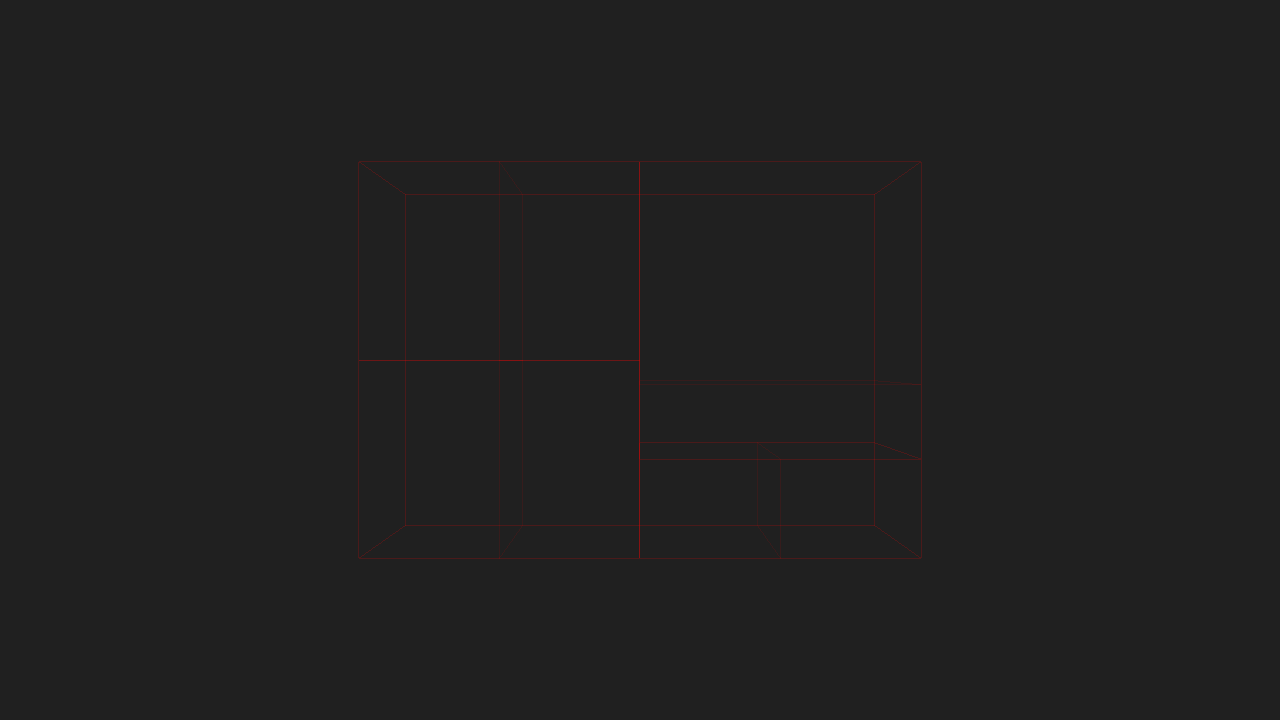
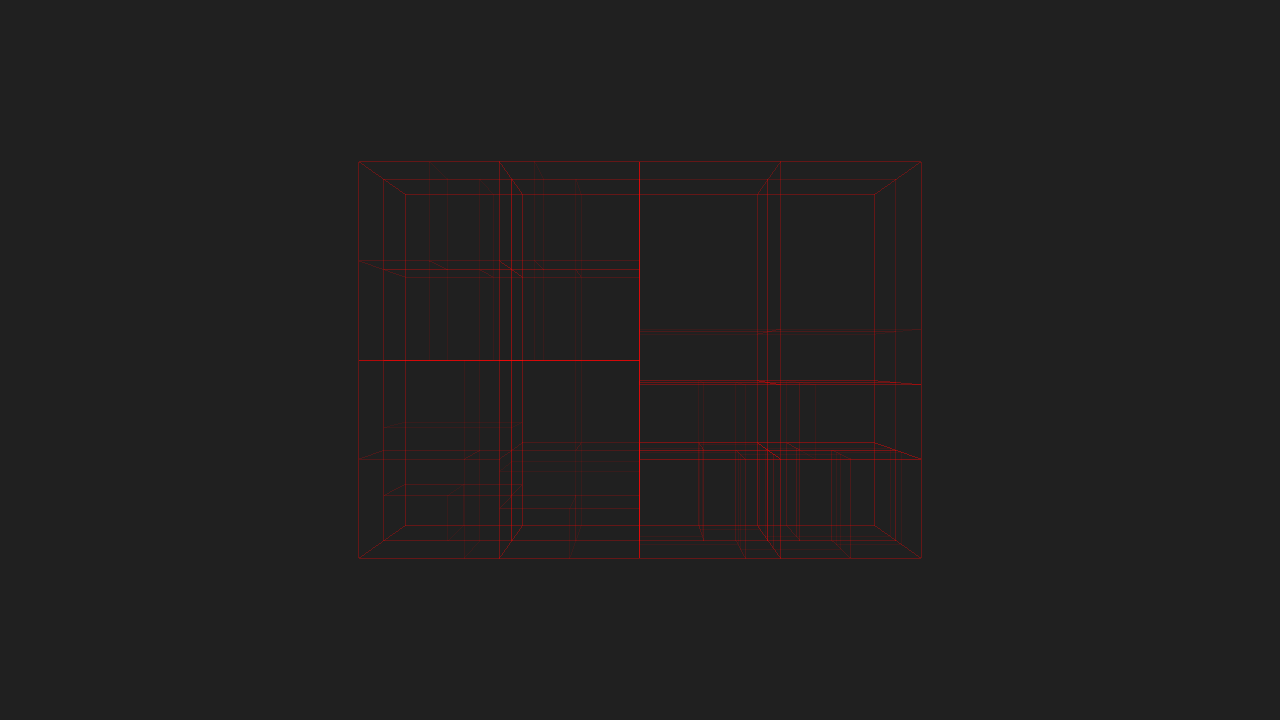
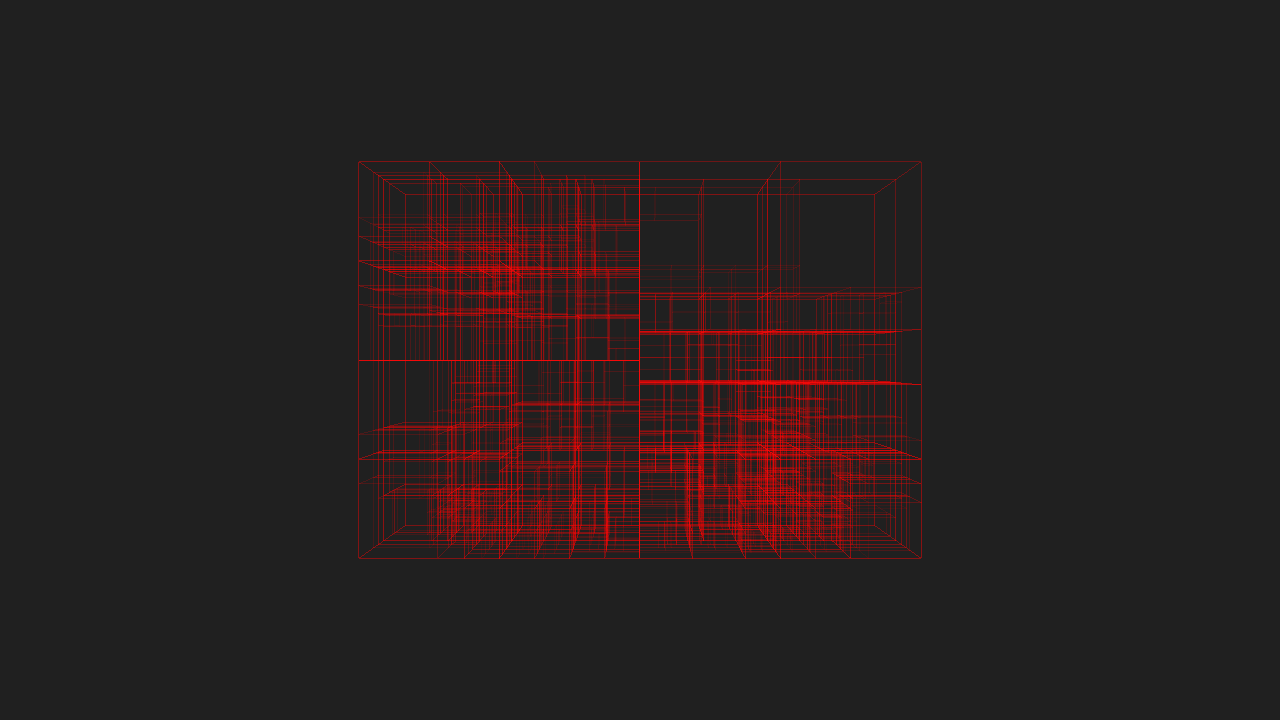
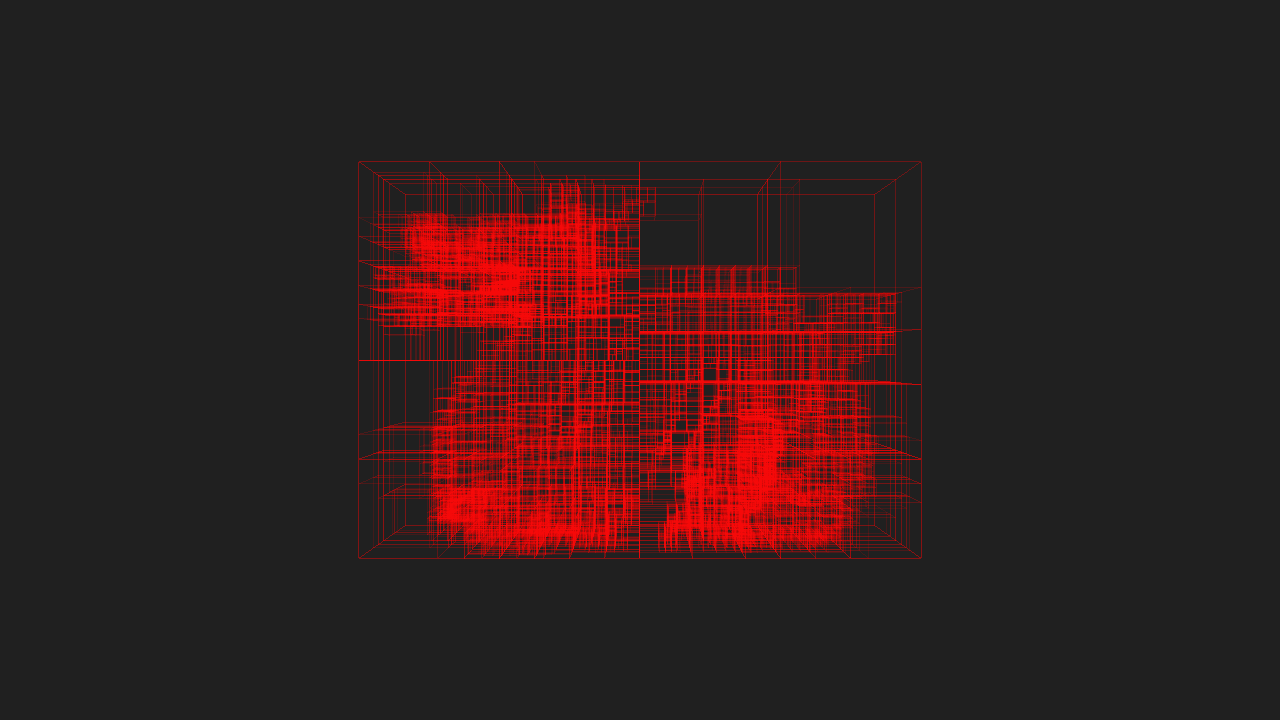
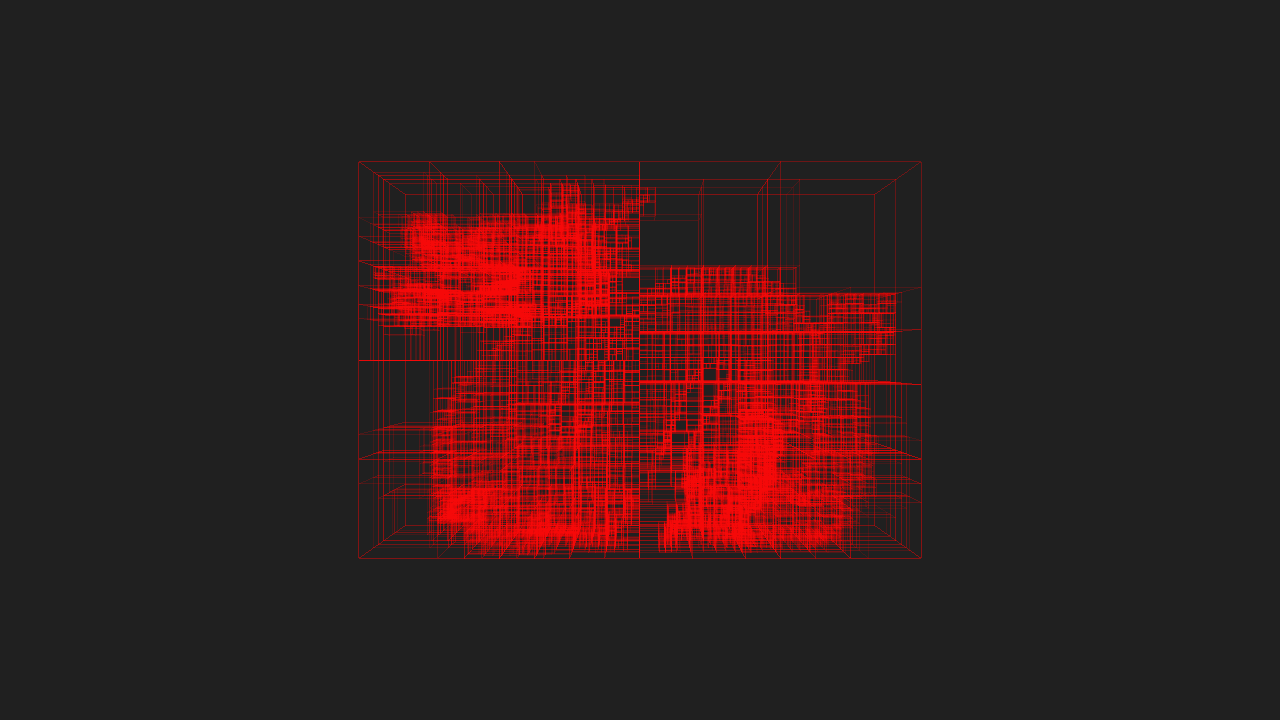
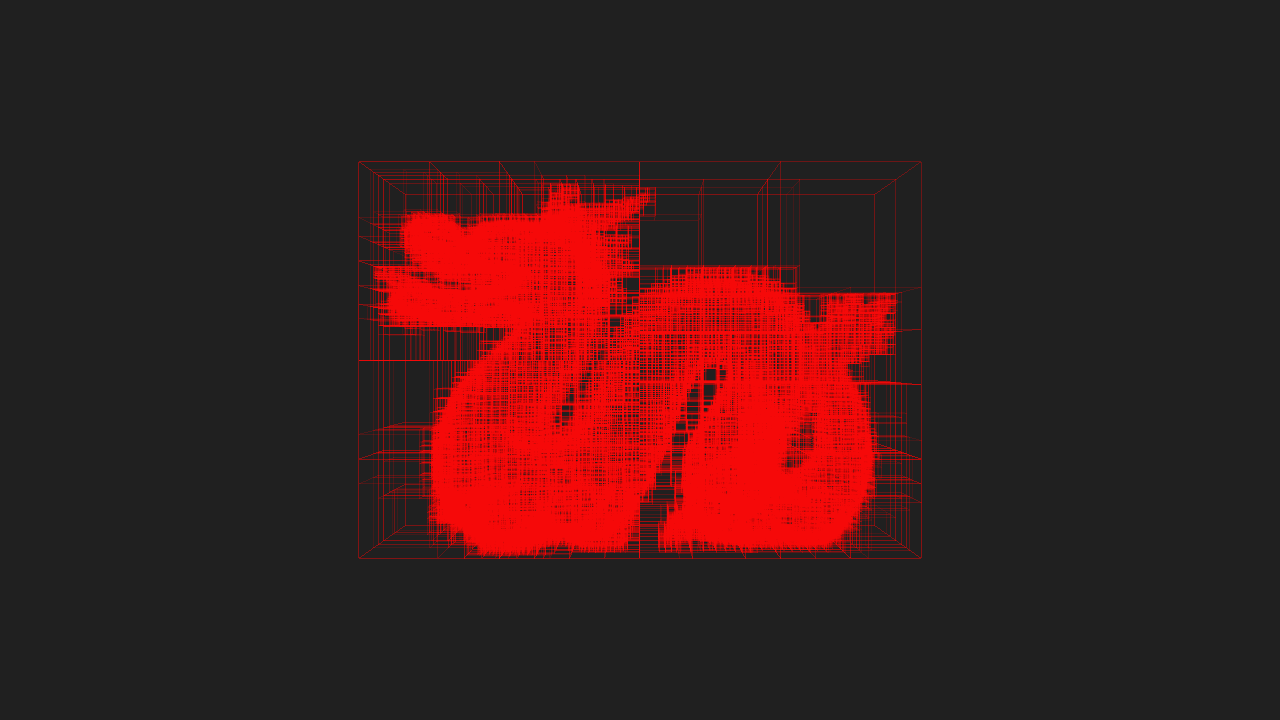
The following series of images demonstrate KD-Trees built by KdCore3 for the Stanford Dragon with various settings. Again, feel free to use the lightbox for comparisons.


KdCore3 is also capable of figuring out when the number of nodes in the tree makes traversing the tree more expensive than brute force intersection testing all of the objects in the tree, and will stop tree construction beyond that point. I’ve also given KdCore3 an experiment method for finding best splits based on a semi-Monte-Carlo approach. In this mode, instead of using evenly split candidates, KdCore3 will make three random guesses, and then based on the relative costs of the guesses, begin making additional guesses with a probability distribution weighted towards where ever the lower relative cost is. With this approach, KdCore3 will eventually arrive at the absolute optimal cost split, although getting to this point may take some time. The number of guesses KdCore3 will attempt can be limited by the user, of course.
Finally, another one of the major improvements I made in KdCore3 was simply better use of C++. Over the past two years, my knowledge of how to write fast, effective C++ has evolved immensely, and I now write code very differently than how I did when I wrote KdCore2 and KdCore1. For example, KdCore3 avoids relying on class inheritance and virtual method table lookup (KdCore2 relied on inheritance quite heavily). Normally, virtual method lookup doesn’t add a noticeable amount of execution time to a single virtual method, but when repeated for a few million objects, the slowdown becomes extremely apparent. In talking with my friend Robert Mead, I realized that virtual method table lookup in almost, if not all implementations today necessarily means a minimum of three pointer lookups in memory to find a function, whereas a direct function call is a single pointer lookup.
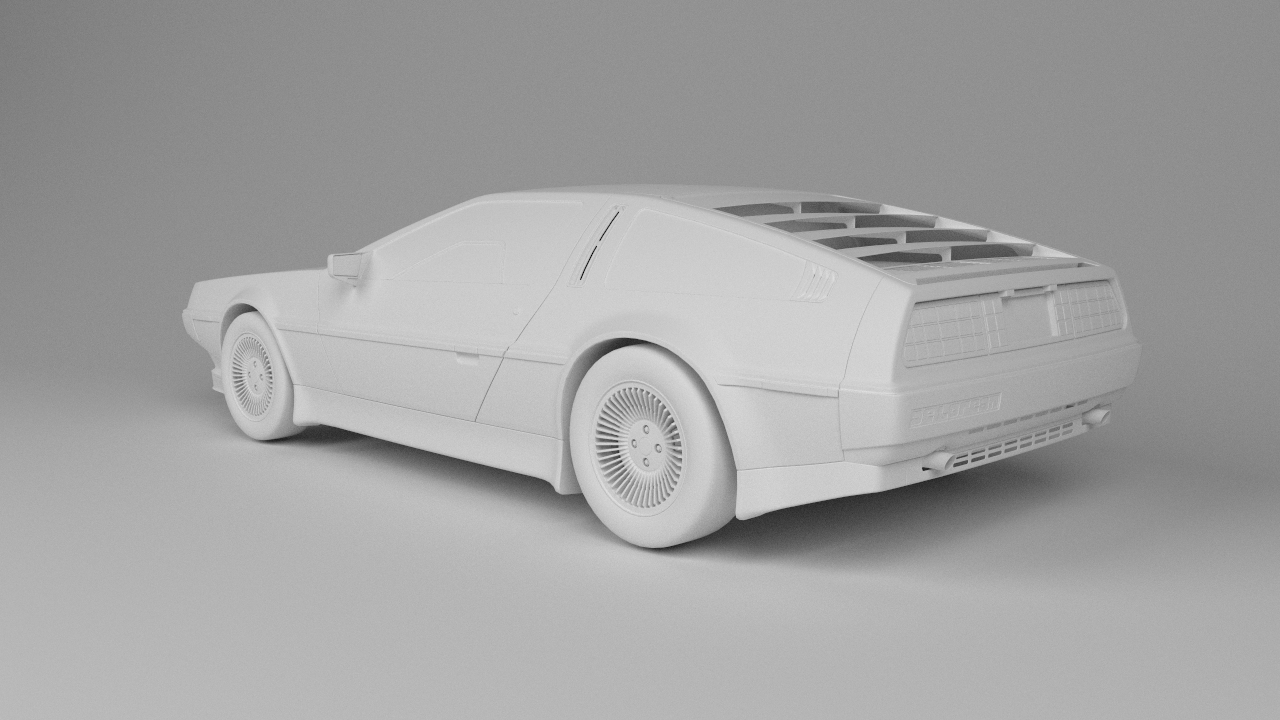
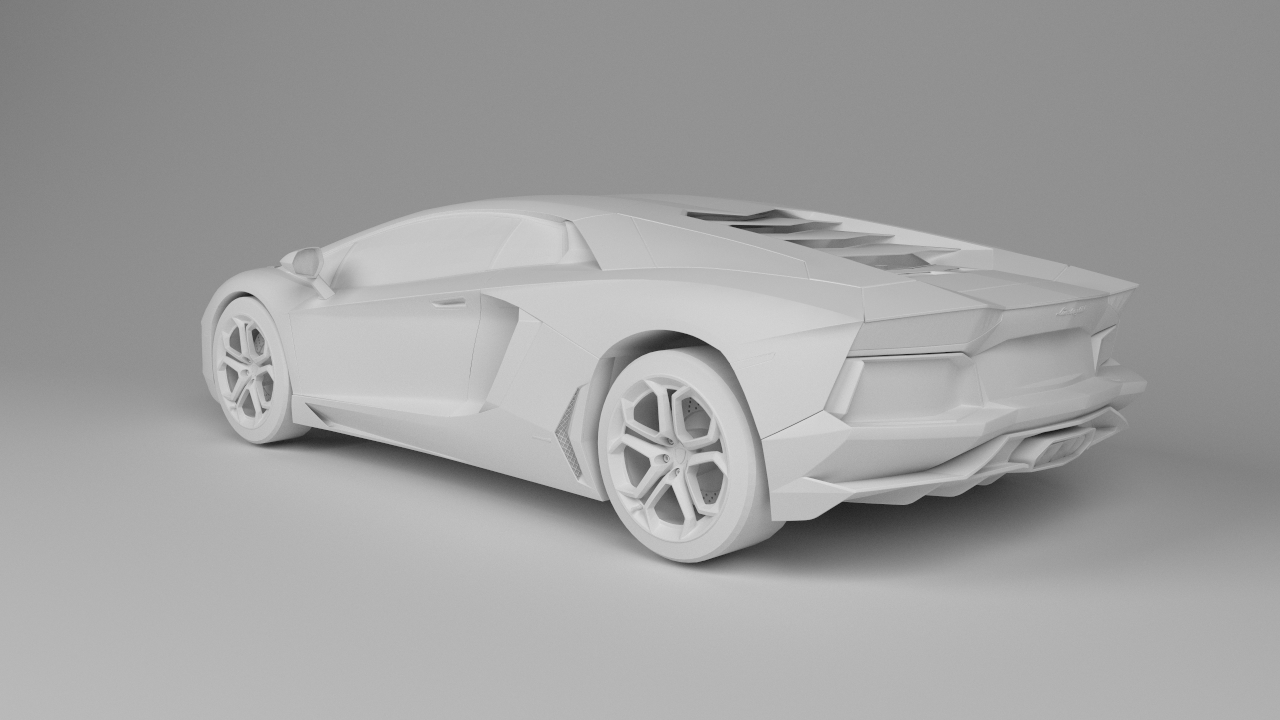
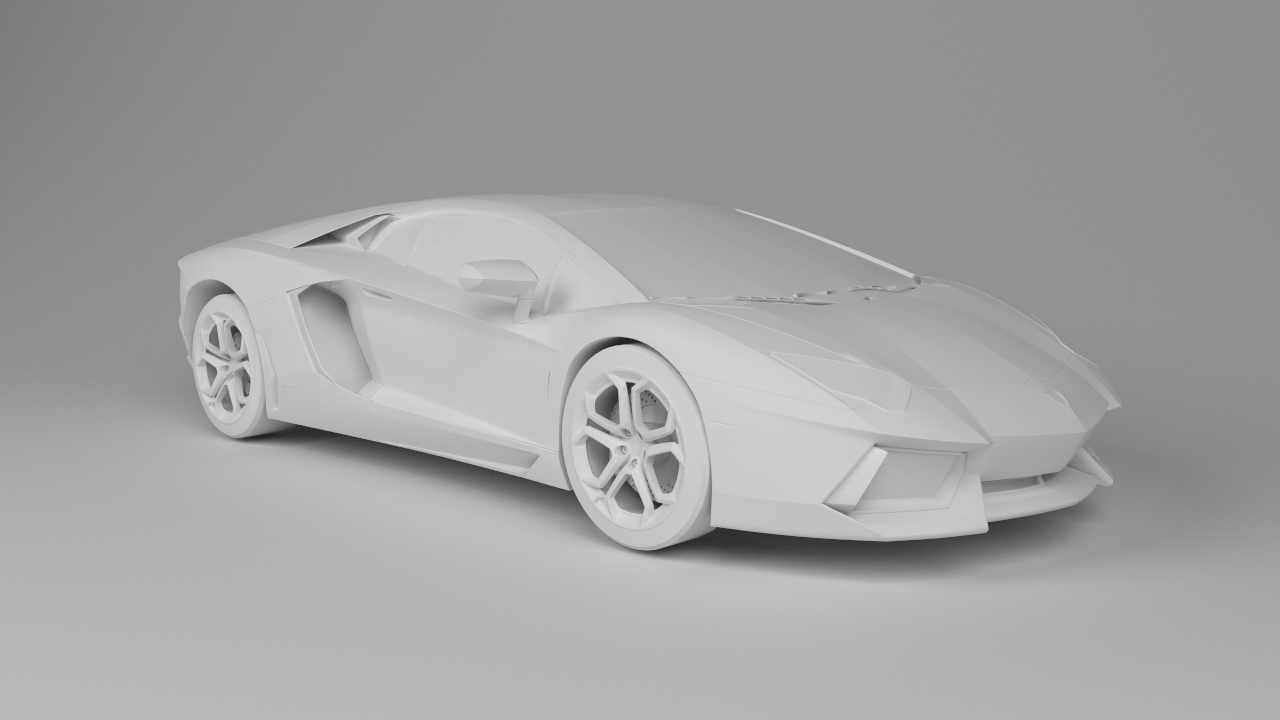
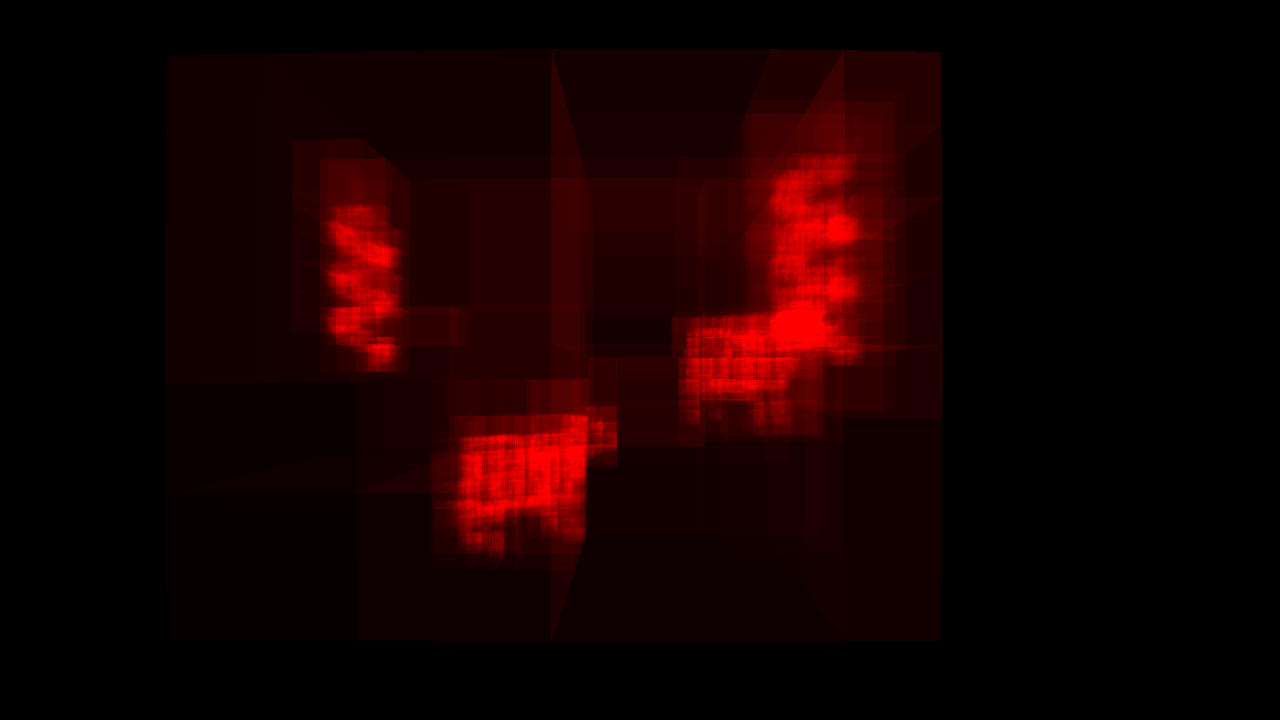
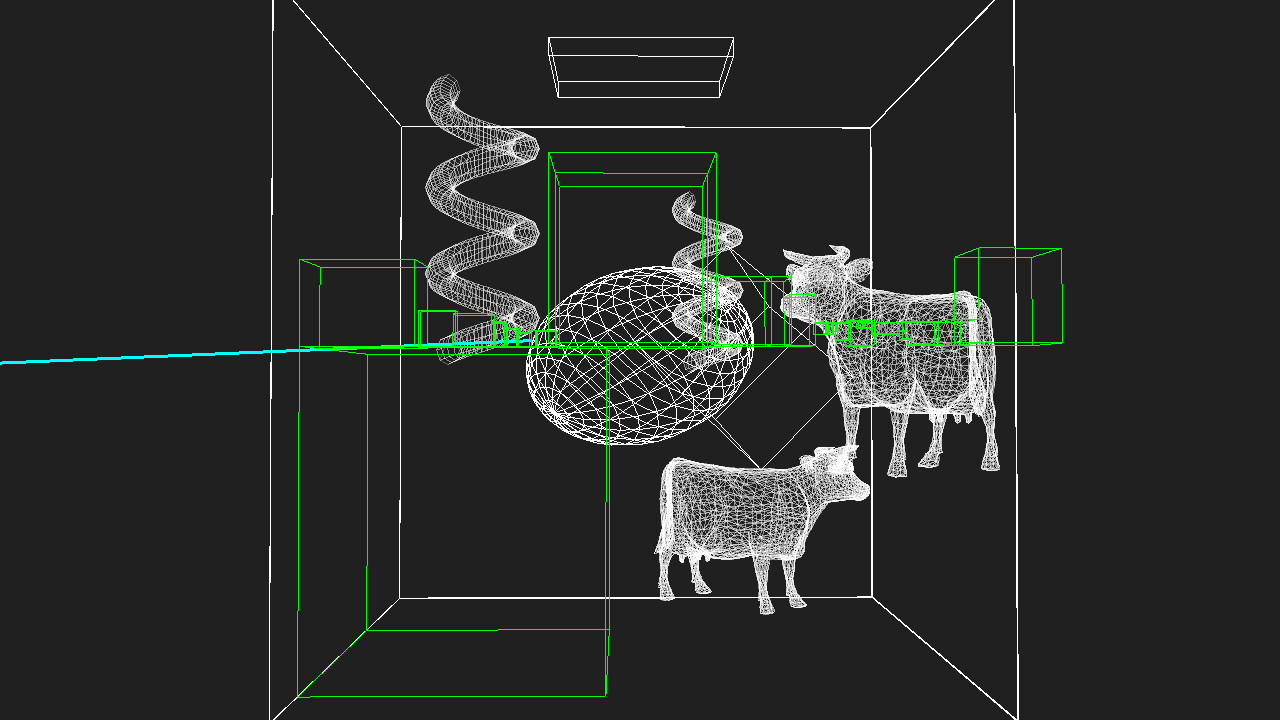
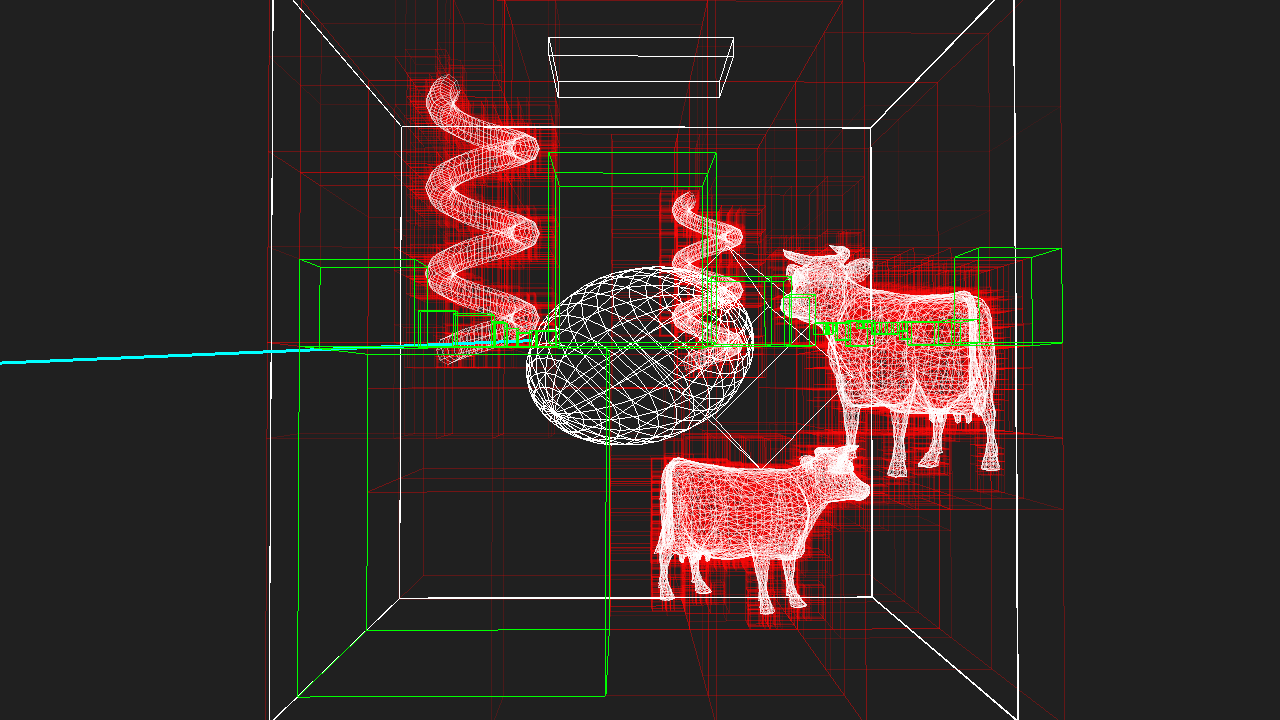
If I have time to later, I’ll post some benchmarks of KdCore3 versus KdCore2. However, for now, here’s a final pair of images showcasing a scene with highly variable density processed through KdCore3. Note the keavy amount of nodes clustered where large amounts of geometry exist, and the near total emptyness of the KD-Tree in areas where the scene is sparse:


Next up: implementing some form of highly efficient stackless KD-Tree traversal, possibly even using that history based approach I wrote about before!
