How 'Bout Them Apples?
Earlier this week my mom gave my roommates and me a ginormous sack of apples, so I’ve been eating apples all week. Which is good, because I love apples.
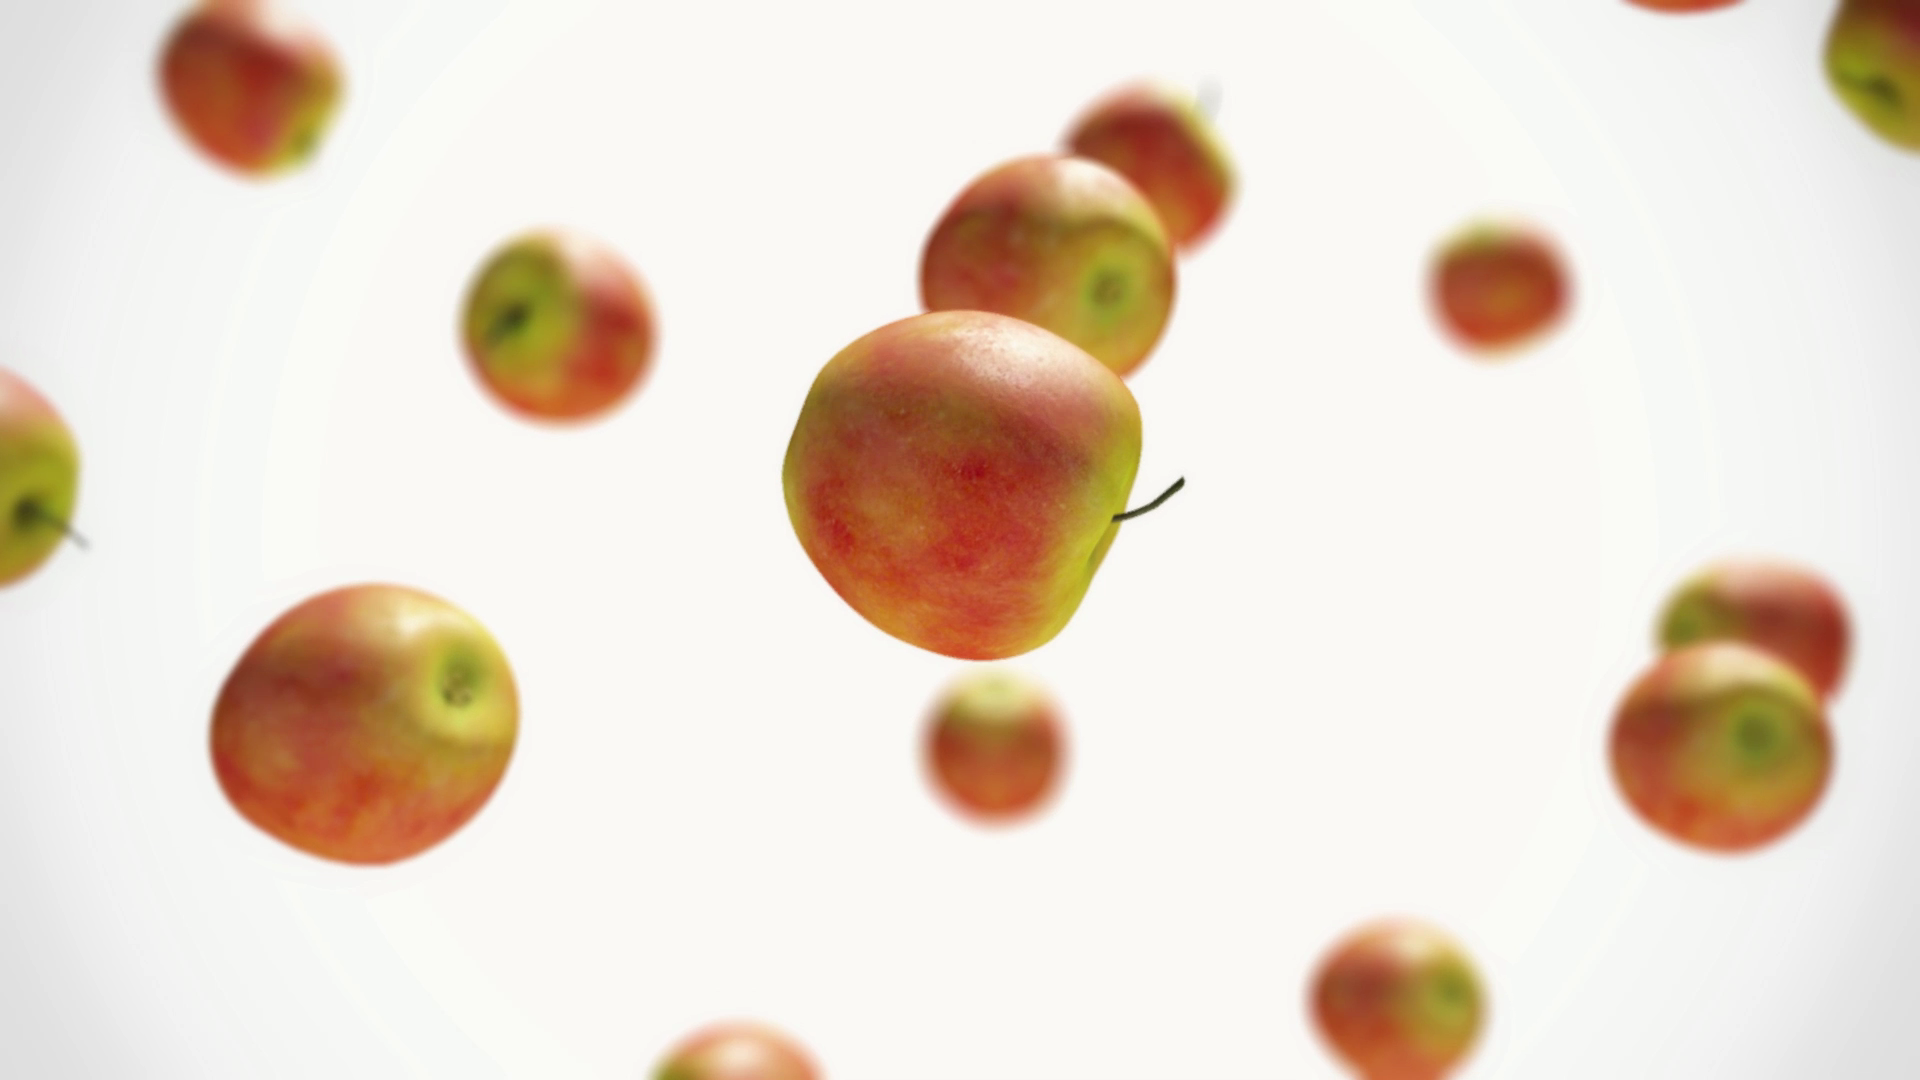
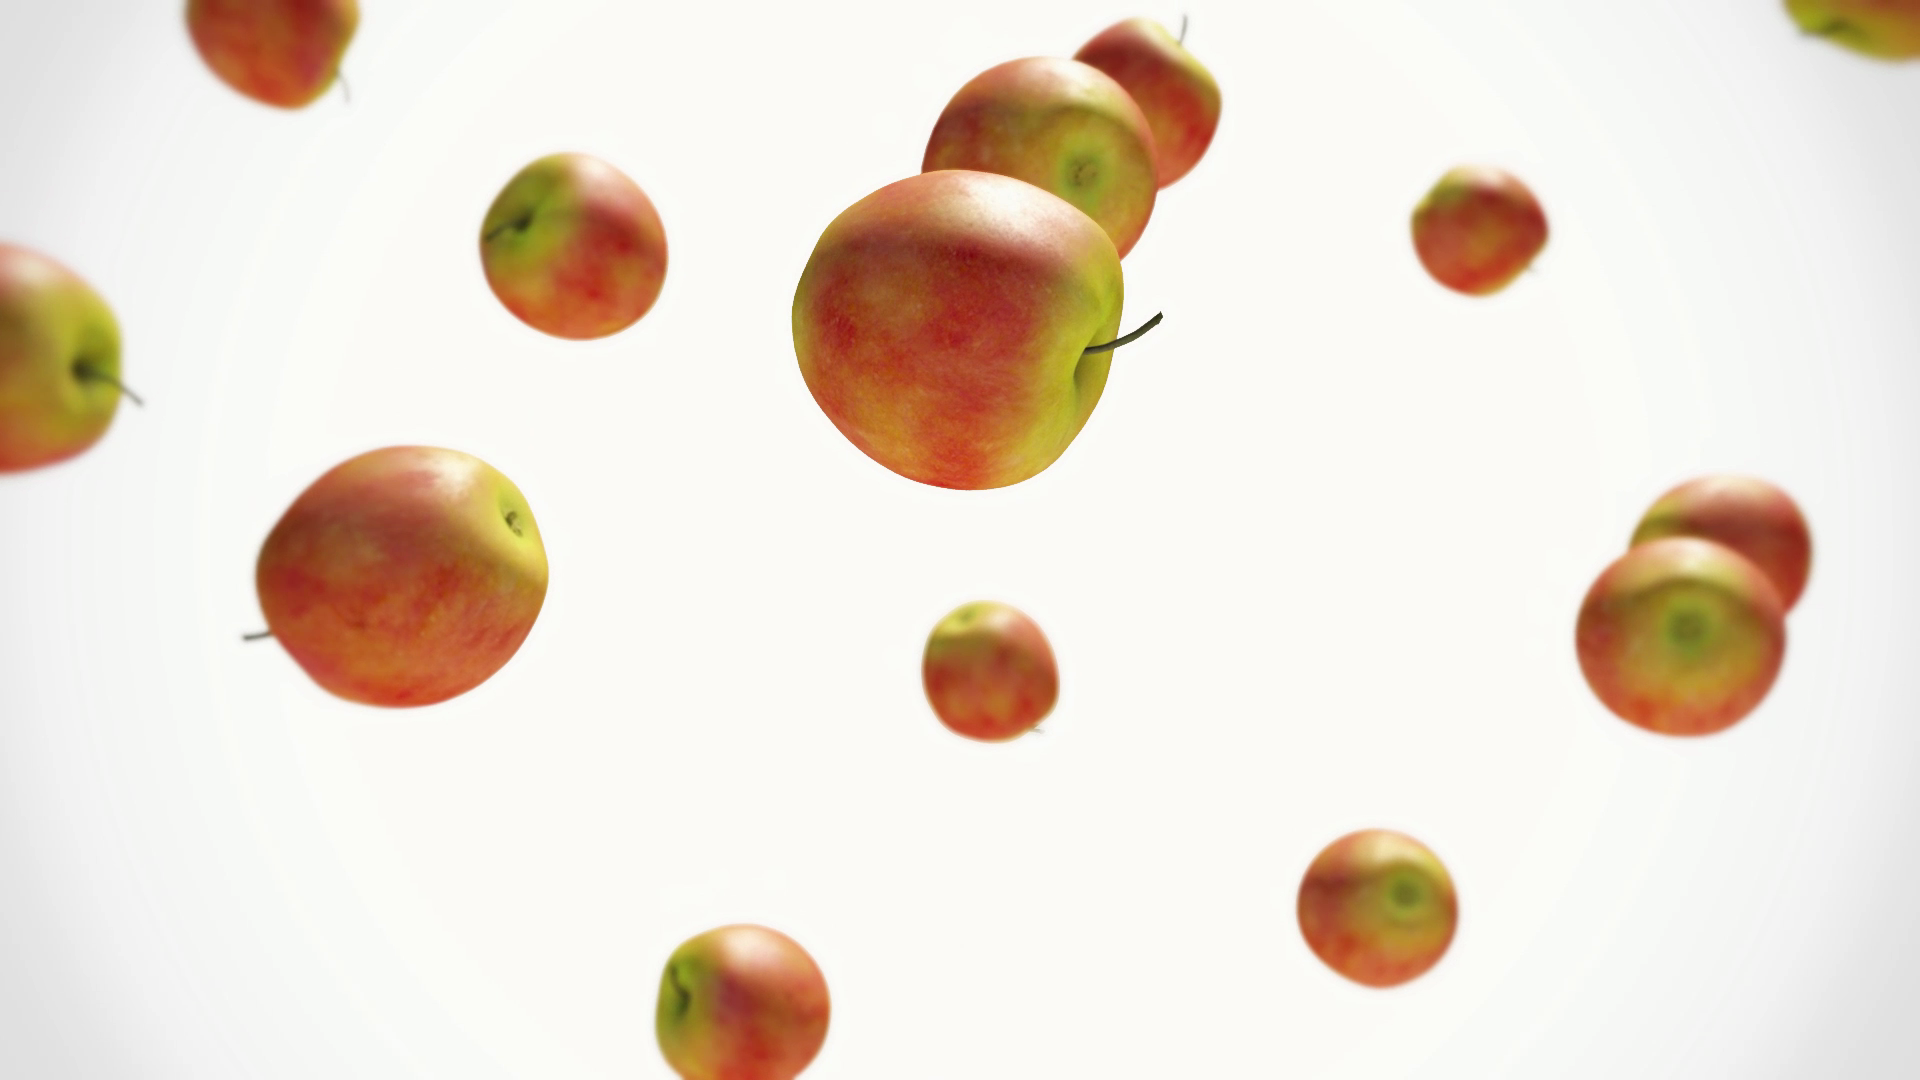
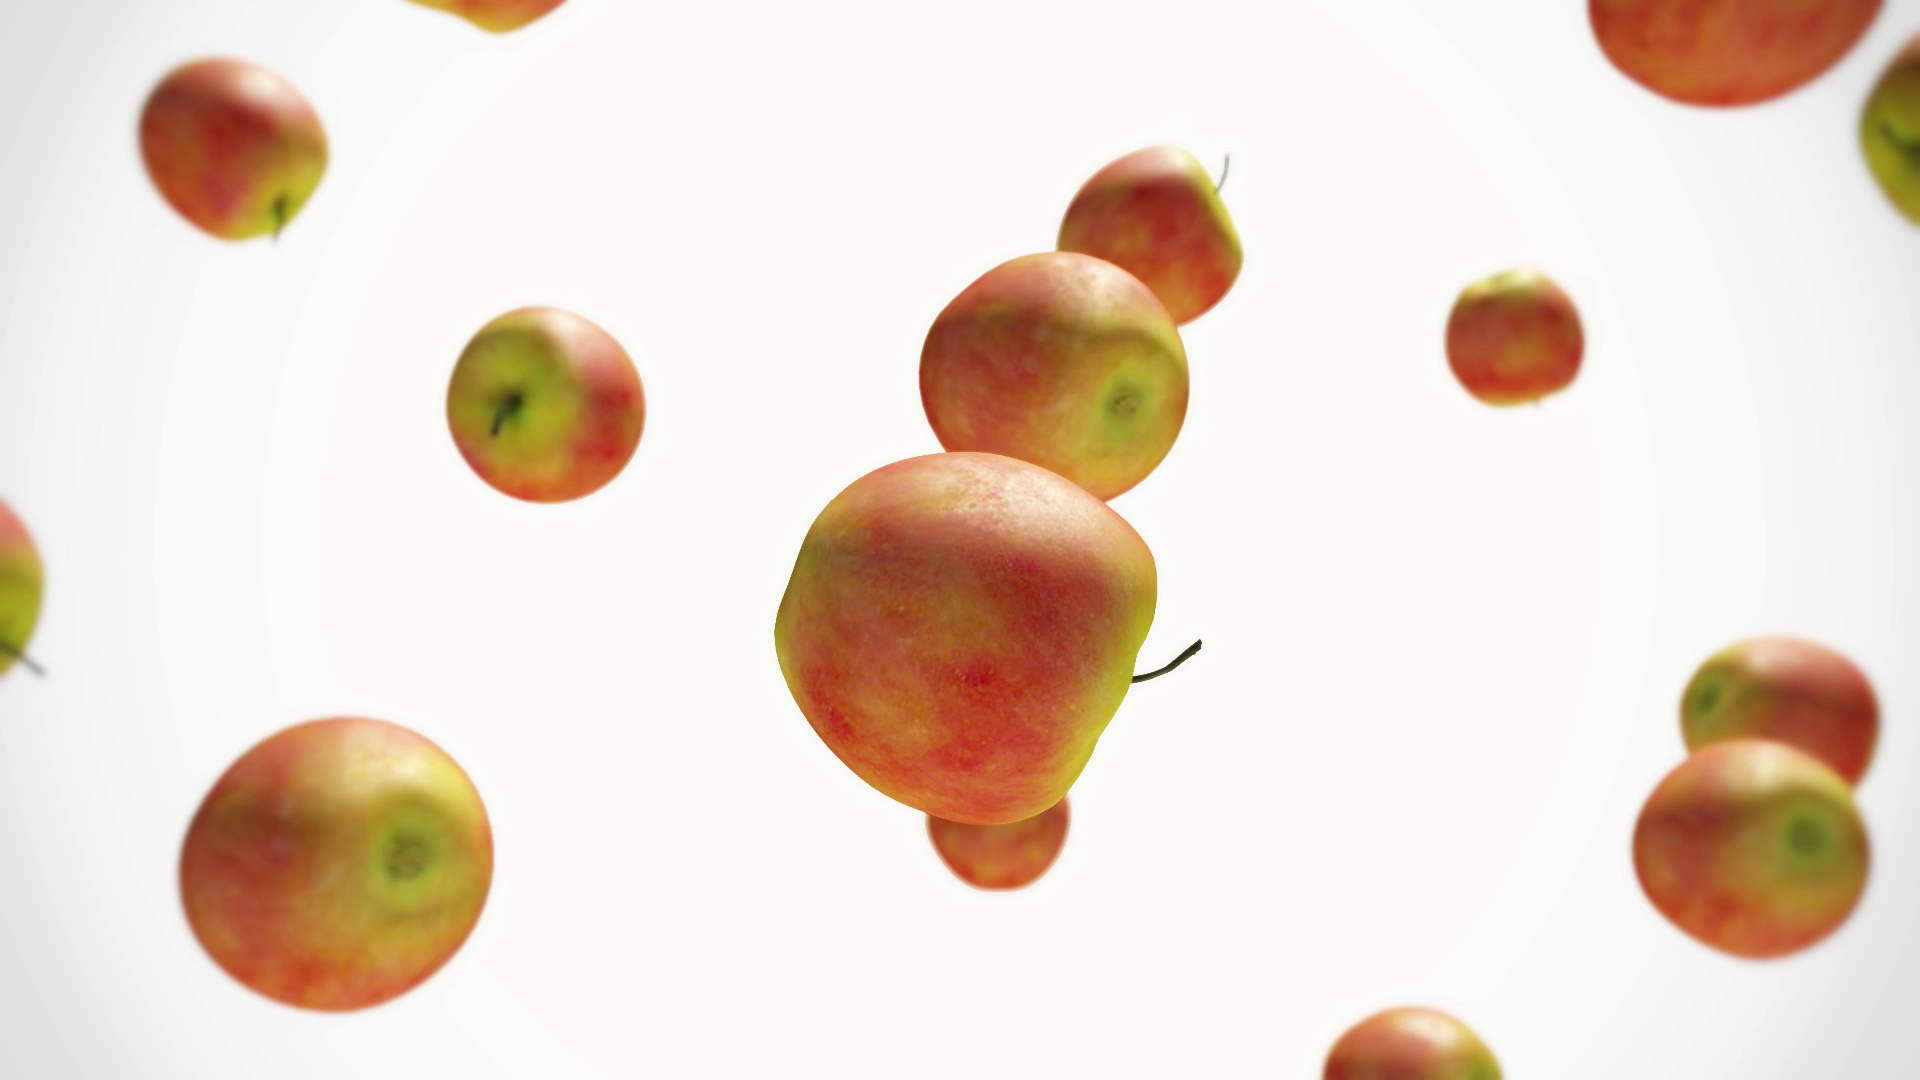
So I had an apple sitting on my desk, and I had Maya open, and I was a little bit bored, so… I made some apples in Maya!
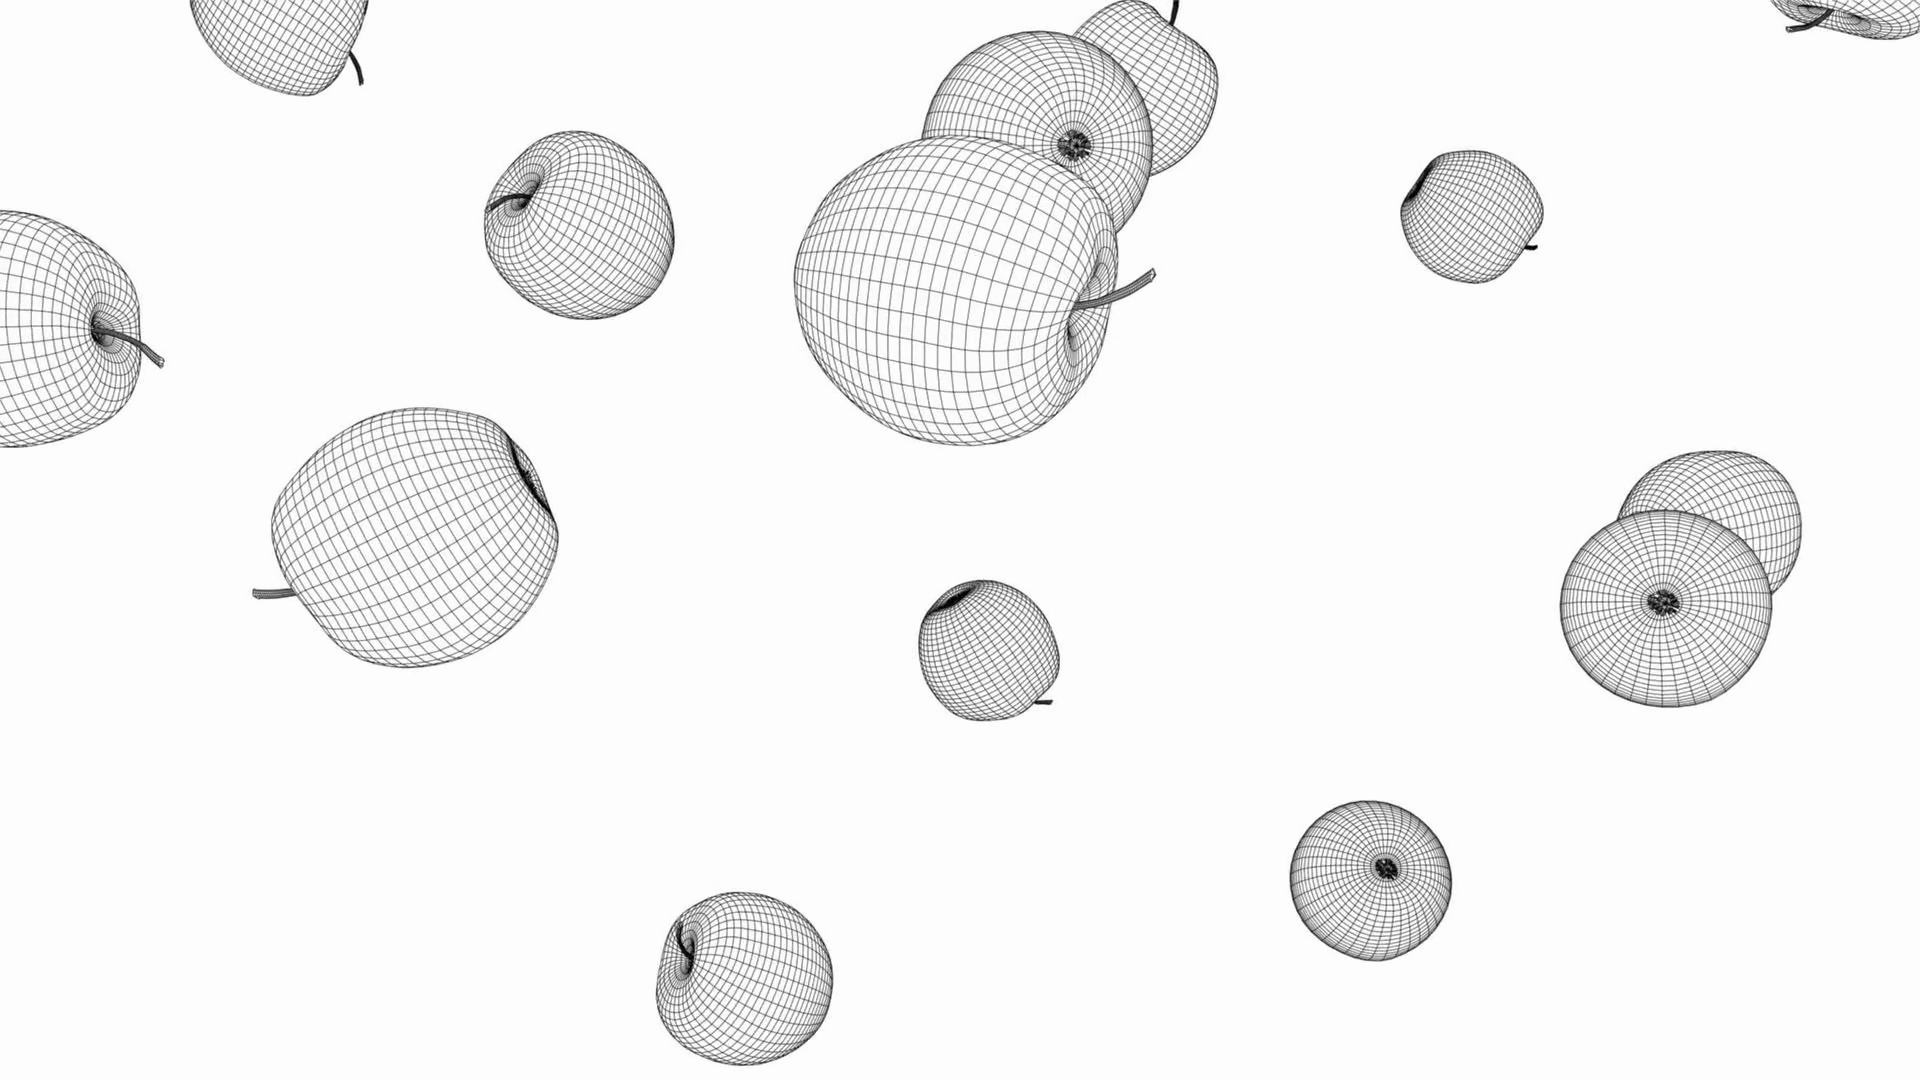
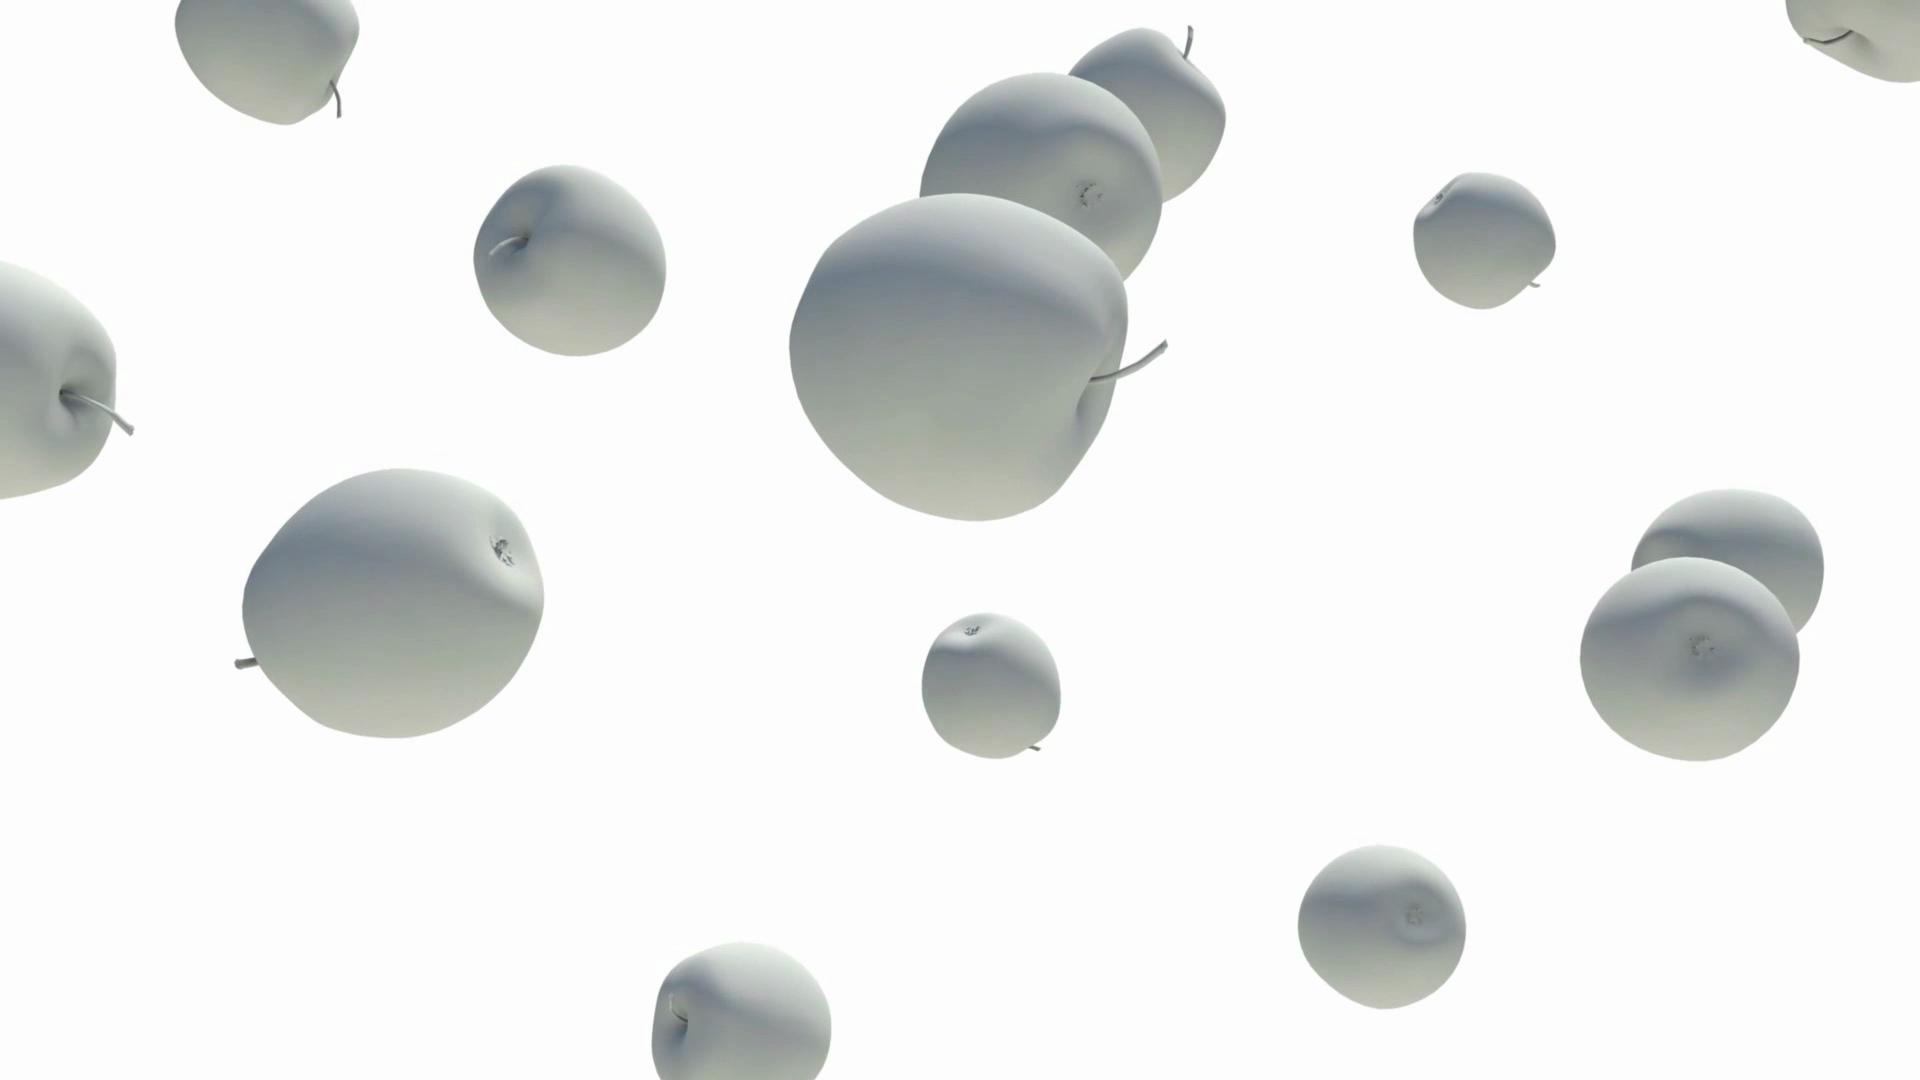
Over the past few months I’ve developed a bit of an… odd… workflow for texturing/shading irregularly shaped objects (apples… muddy boots… hermit crabs…). I start with modeling and whatnot in Maya, as usual:
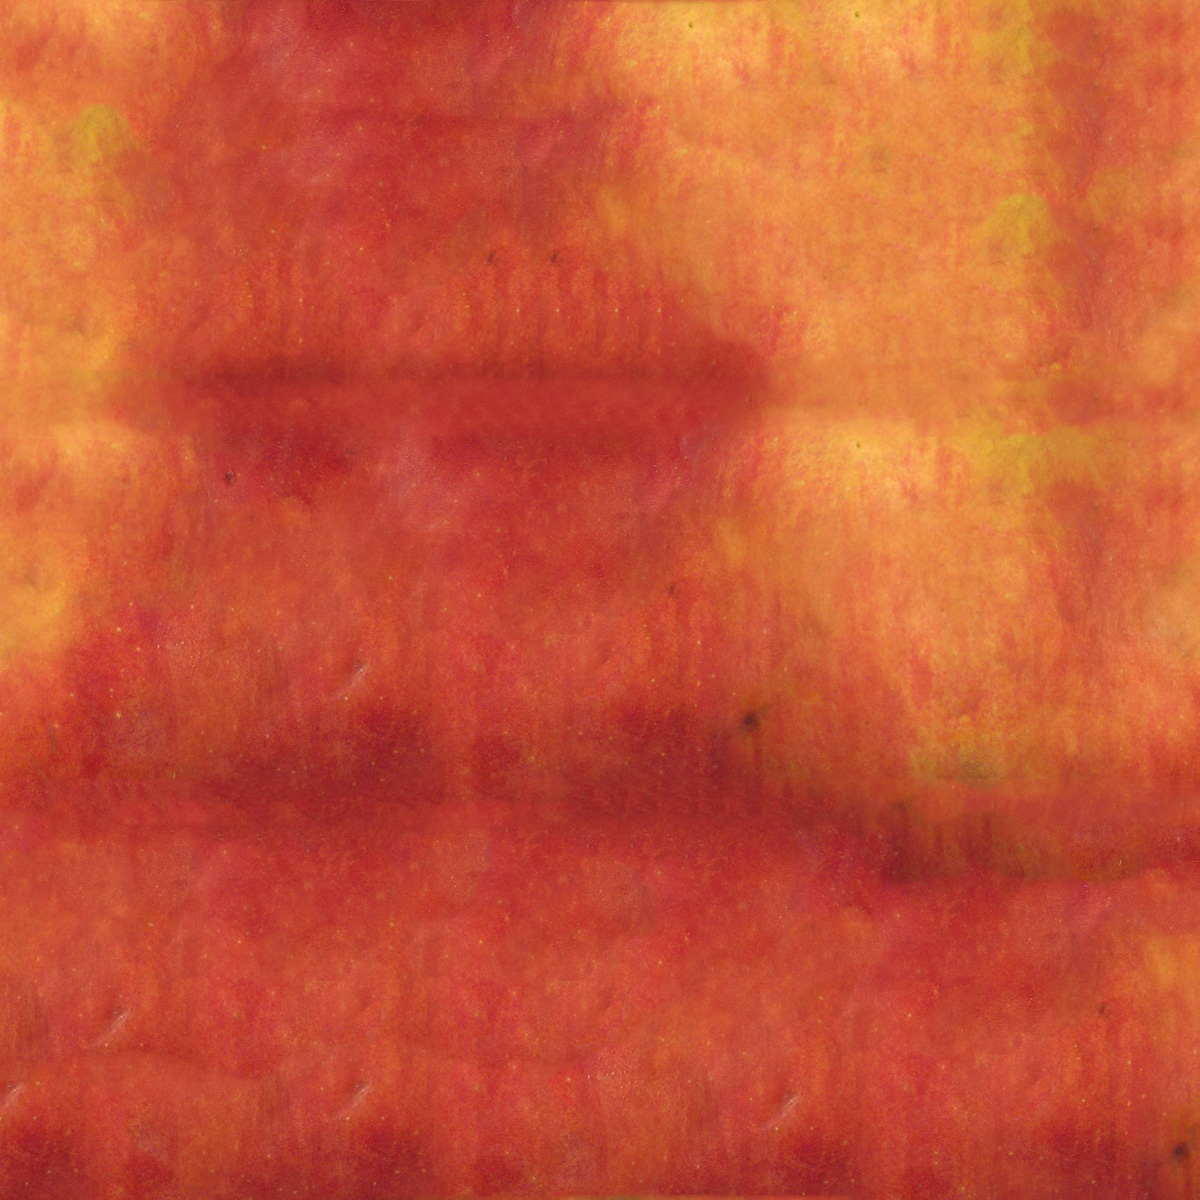
Then I go into Photoshop and use various reference (images found online, photos taken with my Nikon D60, etc) to paint a tile of the texture I want. For example, for the apples I took some photos of the apples and then extracted textures from the photos to create this texture tile:
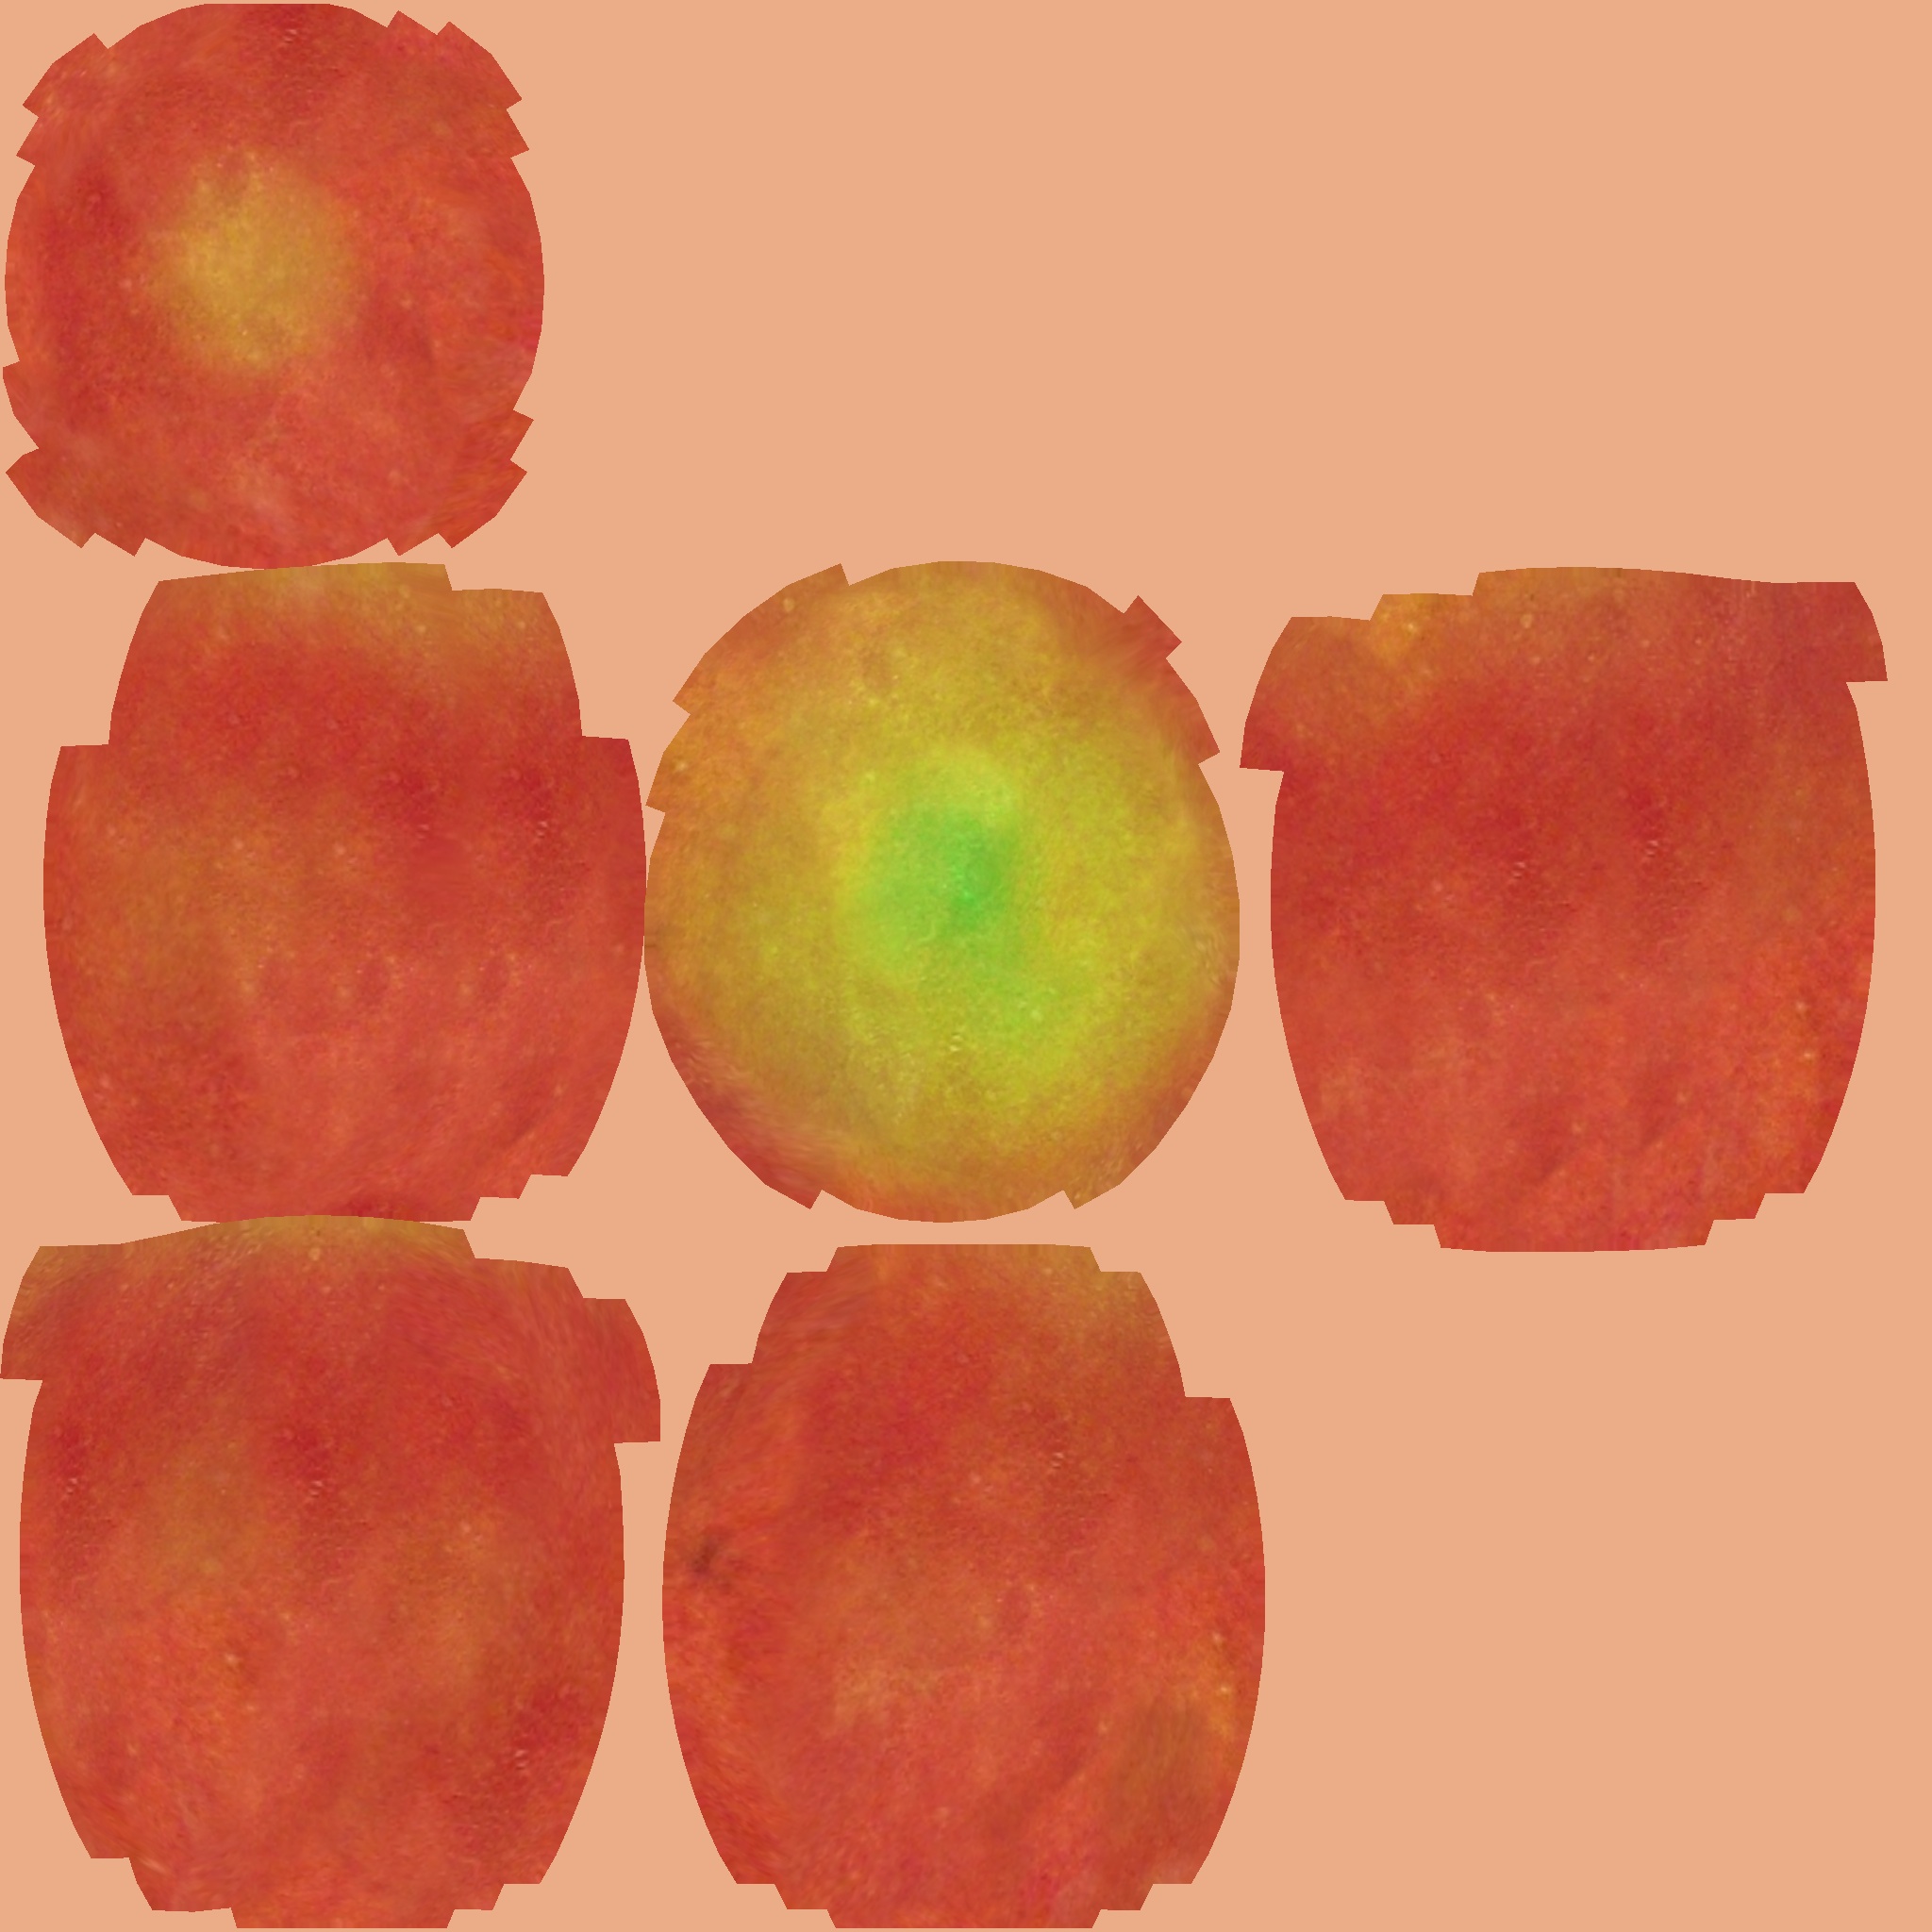
Next, I bring the object mesh and the texture tile into Mudbox and use Mudbox’s projection stencil tool to paint the mesh using the texture tile as the stencil. The nice thing about bringing things into Mudbox for texturing is that I don’t really have to worry too much about UV mapping. Mudbox will automagically take care of all of the UV stuff as long as the imported mesh doesn’t have any overlapping UV coordinates. So instead of messing with the UV editor in Maya before texturing, I can just use Maya’s Automatic UV mapping tool to make sure that no UVs overlap and bring that into Mudbox. After painting in Mudbox, I got a texture image like this:
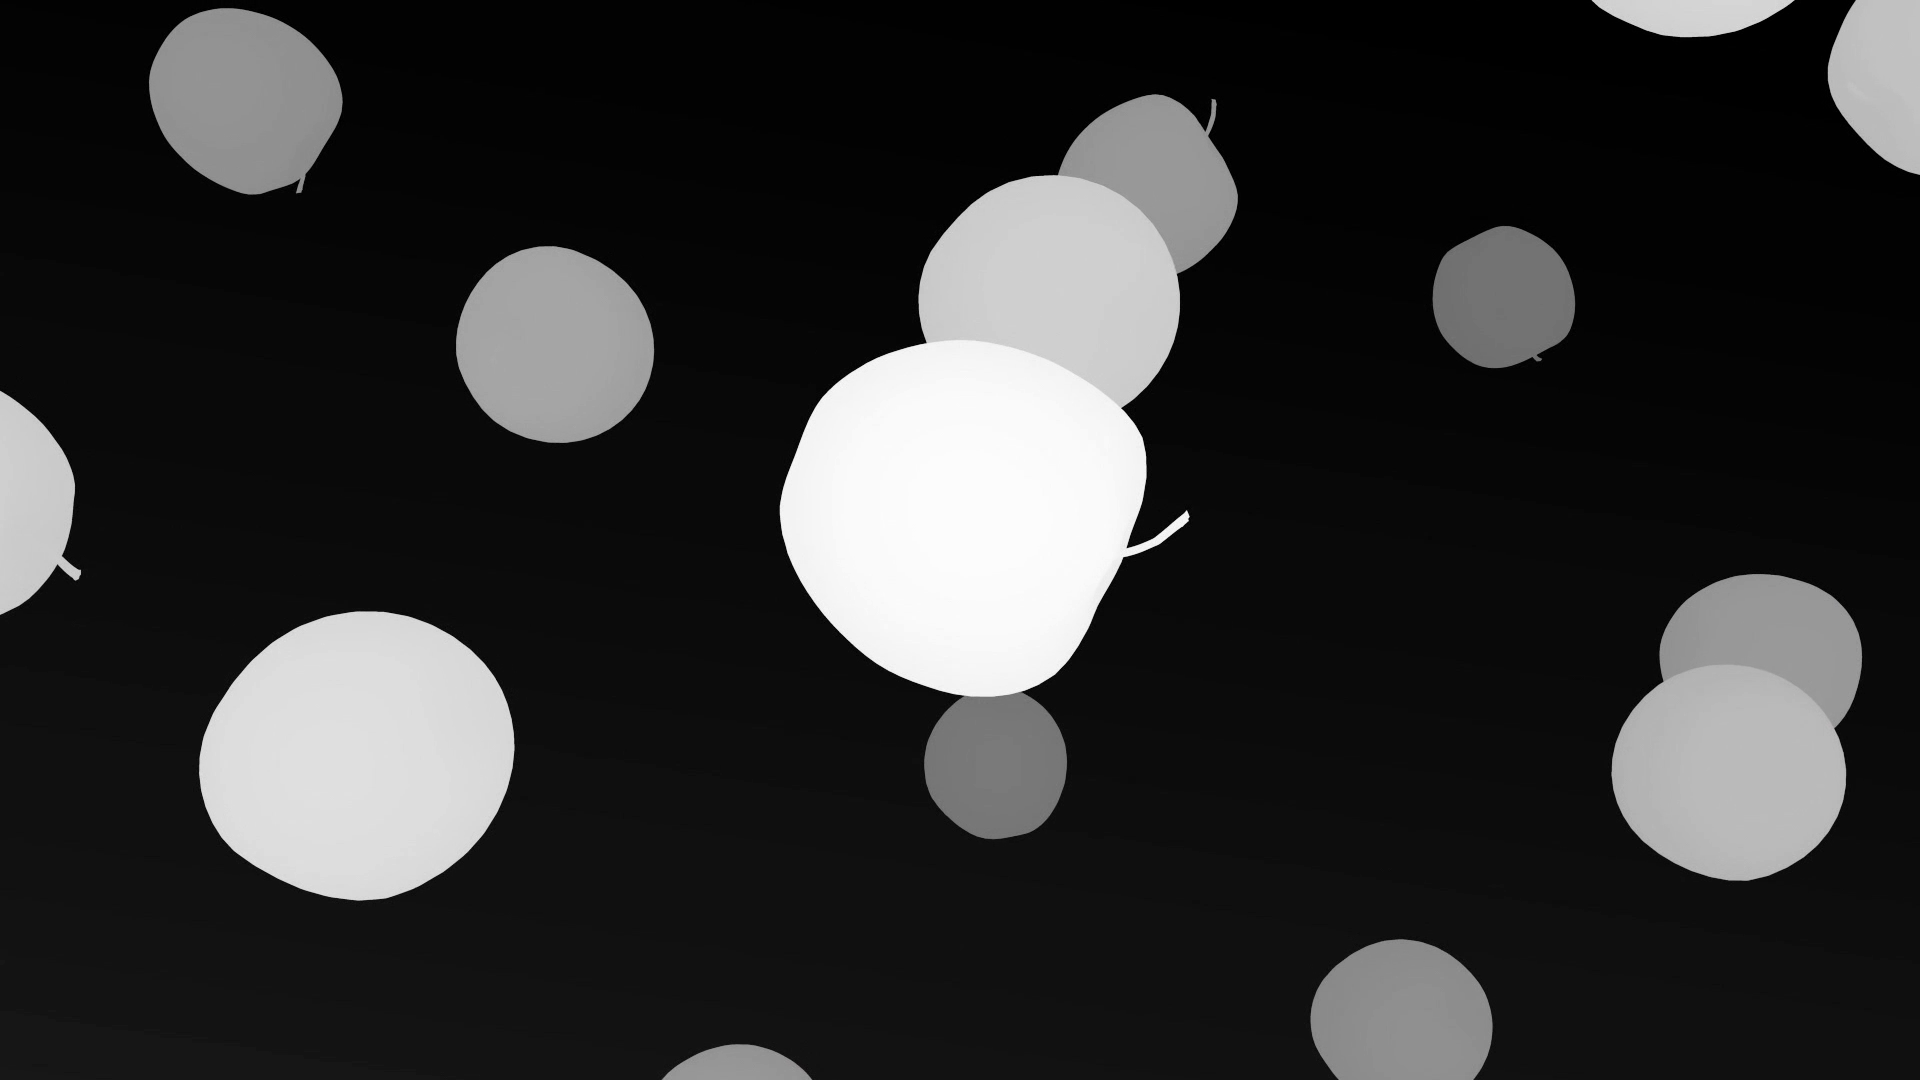
After texture painting in Mudbox, deriving spec and bump maps in Photoshop is a relatively straightforward affair. Once texturing and shading is done, I render out the beauty pass and z-depth pass and other passes…
…and bring all those passes into After Effects for compositing and color grading, and I’m done!