Aventador Renders Revisited
A long time ago, I made some posts that featured a cool Lamborghini Aventador model. Recently, I revisited that model and made some new renders using the current version of Takua, mostly just for fun. To me, one of the most important parts of writing a renderer has always been being able to actually use the renderer to make fun images. The last time I rendered this model was something like four years ago, and back then Takua was still in a very basic state; the renders in those old posts don’t even have any shading beyond 50% grey lambertian surfaces! The renders in this post utilize a lot of advanced features that I’ve added since then, such as a proper complex layered Bsdf and texturing system, advanced bidirectional light transport techniques, huge speed improvements to ray traversal, advanced motion blur and generalized time capabilities, and more. I’m way behind in writing up many of these features and capabilities, but in the meantime, I thought I’d post some for-fun rendering projects I’ve done with Takua.
All of the renders in this post are directly from Takua, with a basic white balance and conversion from HDR EXR to LDR PNG being the only post-processing steps. Each render took about half a day to render (except for the wireframe render, which was much faster) on a 12-core workstation at 2560x1440 resolution.
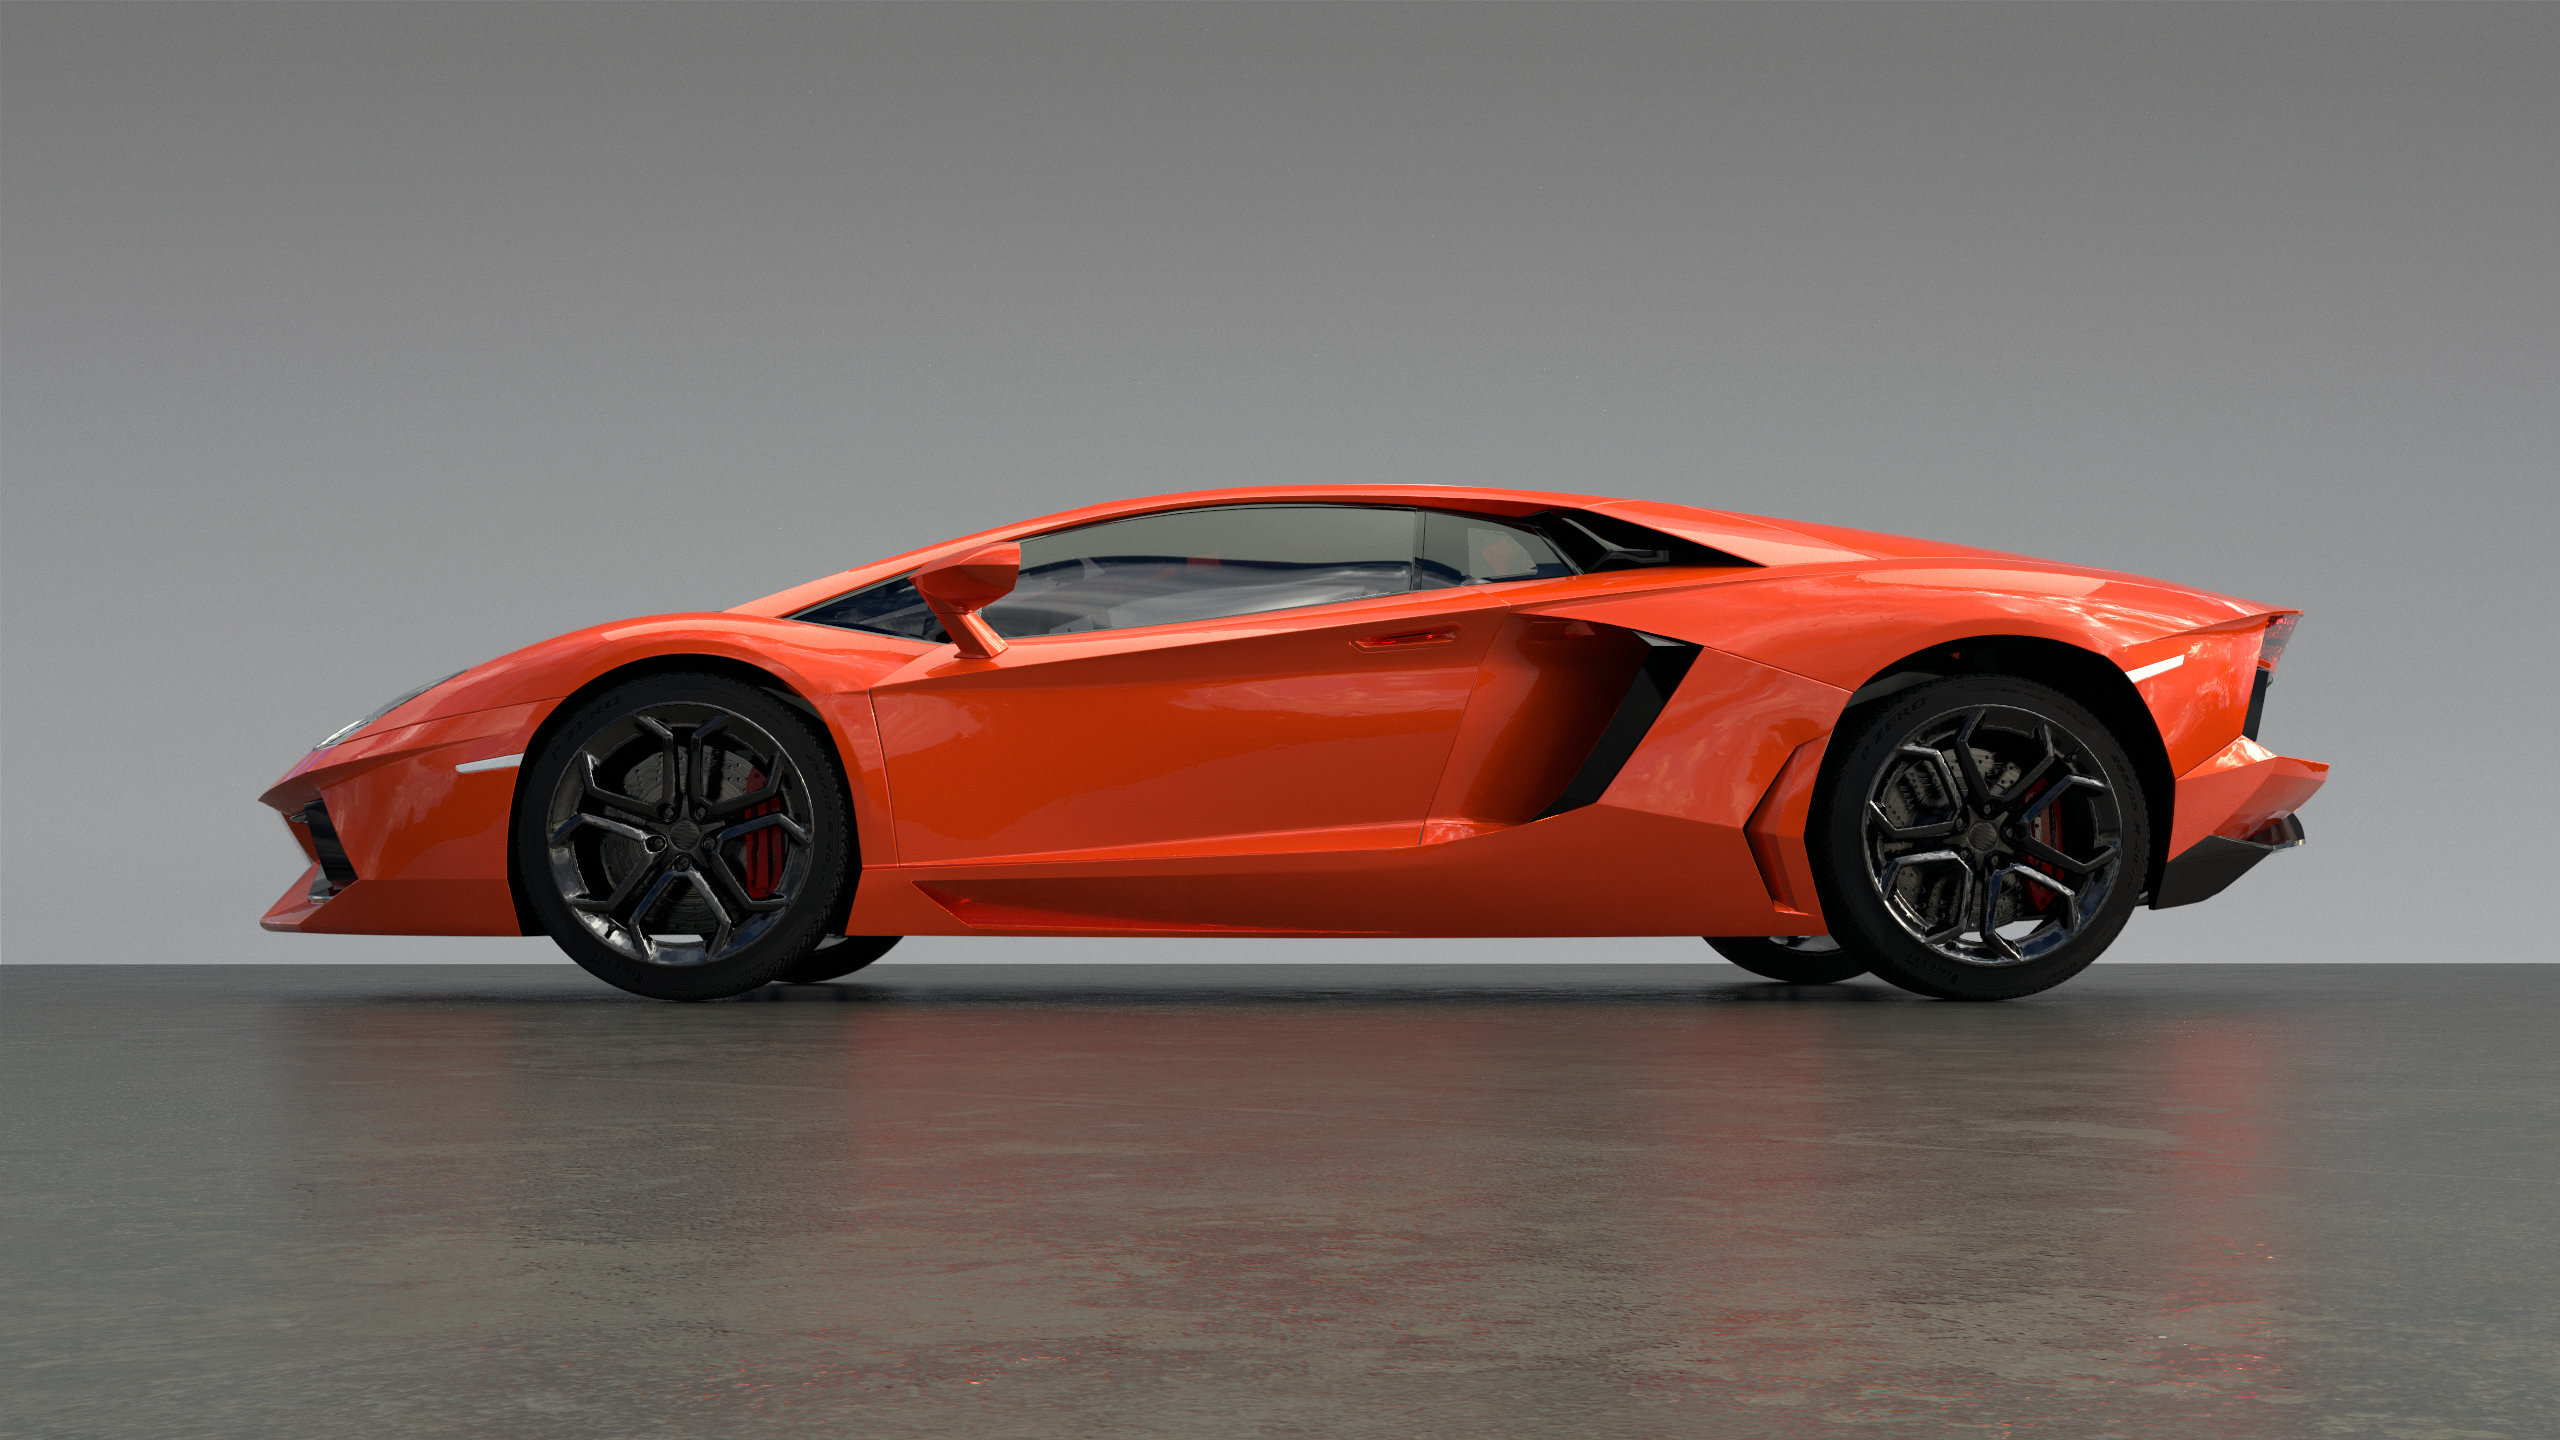
Shading the Aventador model was a fun, interesting exercise. I went for a orange-red paint scheme since, well, Lamborghinis are supposed to look outrageous and orange-red is a fairly exotic paint scheme (I suppose I could have picked green or yellow or something instead, but I like orange-red). I ended up making a triple-lobe shader with a metallic base, a dielectric lobe, and a clear-coat lobe on top of that. The base lobe uses a GGX microfacet metallic Brdf. Takua’s shading system implements a proper metallic Fresnel model for conductors, where the Fresnel model includes both a Nd component representing refractive index and a k component representing the extinction coefficient for when an electromagnetic wave propagates through a material. For conductors, the final Fresnel index of refraction for each wavelength of light is defined by a complex combination of Nd and k. For the base metallic lobe, most of the color wound up coming from the k component. The dielectric lobe is meant to simulate paint on top of a car’s metal body; the dielectric lobe is where most of the orange-red color comes from. The dielectric lobe is again a GGX microfacet Brdf, but with a dielectric Fresnel model, which has a much simpler index of refraction calculation than the metallic Fresnel model does. I should note that Takua’s current standard material implementation actually only supports a single primary specular lobe and an additional single clear-coat lobe, so for shaders authored with both a metallic and dielectric component, Takua takes a blend weight between the two components and for each shading evaluation stochastically selects between the two lobes according to the blend weight. The clear-coat layer on top has just a slightly amount of extinction to provide just a bit more of the final orange look, but is mostly just clear.
All of the window glass in the render is tinted slightly dark through extinction instead of through a fixed refraction color. Using proper extinction to tint glass is more realistic than using a fixed refraction color. Similarly, the red and yellow glass used in the head lights and tail lights are colored through extinction. The brake disks use an extremely high resolution bump map to get the brushed metal look. The branding and markings on the tire walls are done through a combination of bump mapping and adjusting the roughness of the microfacet Brdf; the tire treads are made using a high resolution normal map. There’s no displacement mapping at all, although in retrospect the tire treads probably should be displacement mapped if I want to put the camera closer to them. Also, I actually didn’t really shade the interior of the car much, since I knew I was going for exterior shots only.
Eventually I’ll get around to implementing a proper car paint Bsdf in Takua, but until then, the approach I took here seems to hold up reasonable well as long as the camera doesn’t get super close up to the car.
I lit the scene using two lights: an HDR skydome from HDRI-Skies, and a single long, thin rectangular area light above the car. The skydome provides the overall soft-ish lighting that illuminates the entire scene, and the rectangular area light provides the long, interesting highlights on the car body that help with bringing out the car’s shape.
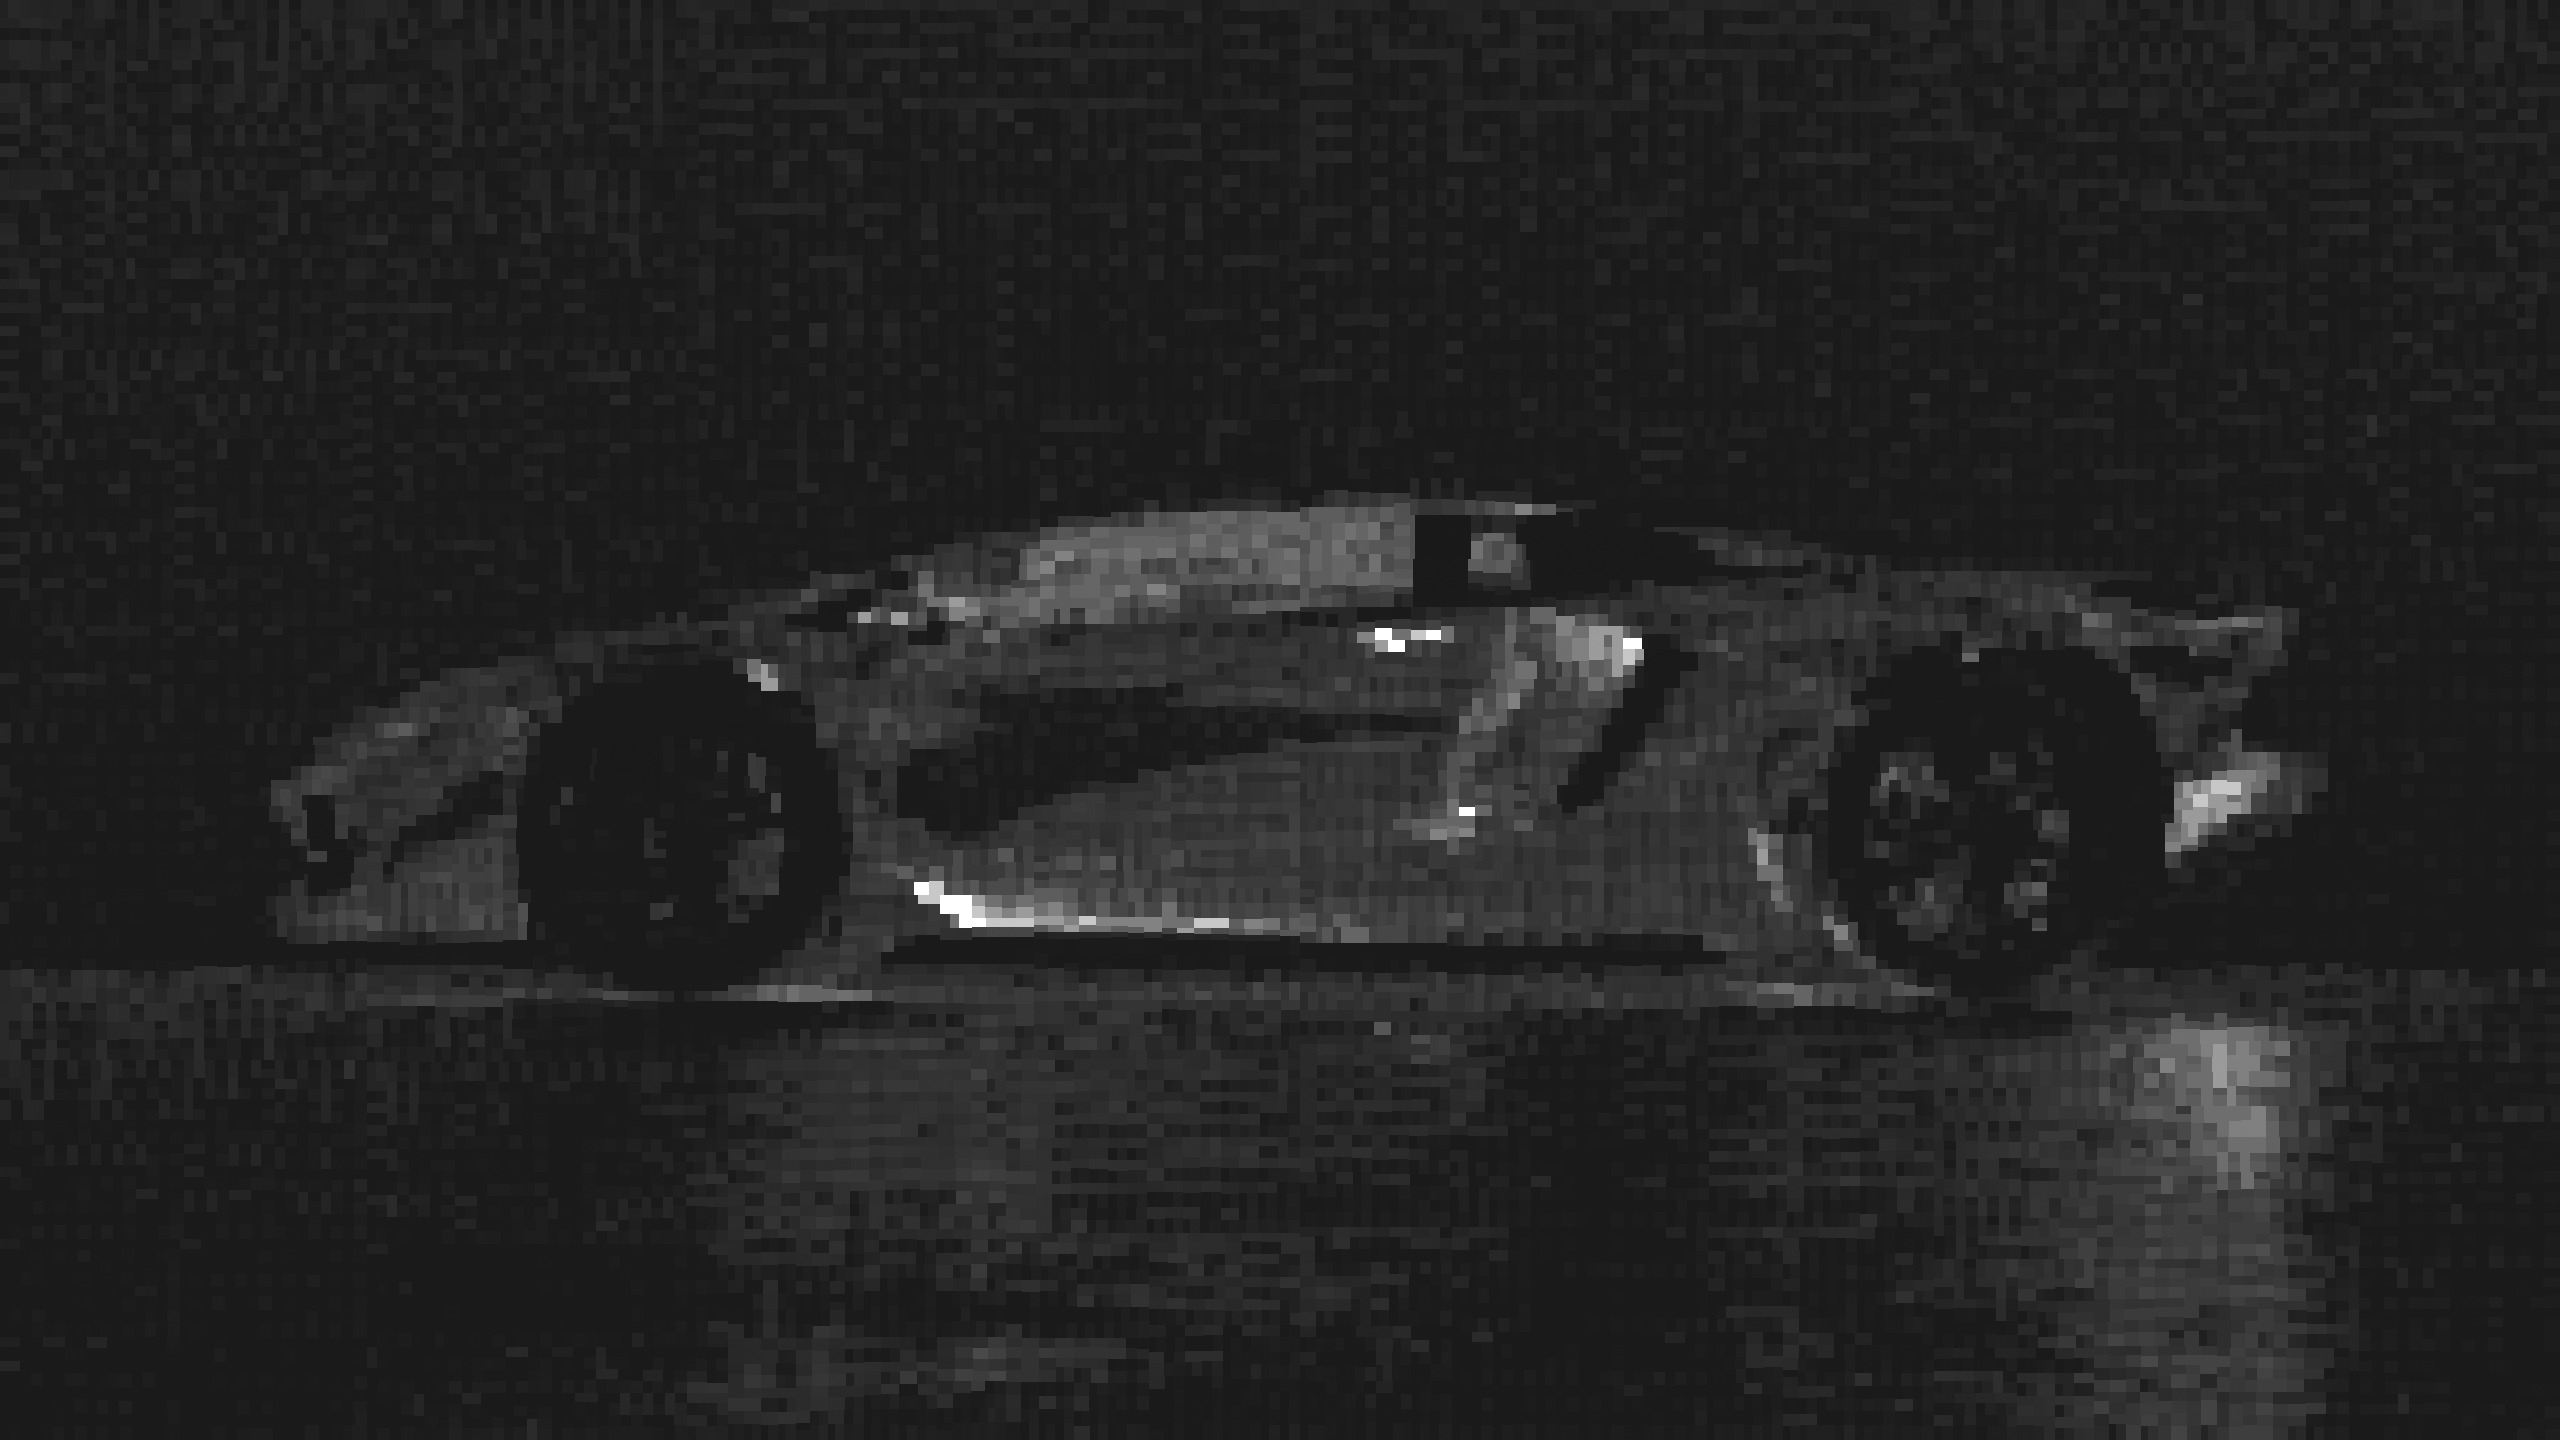
For all of the renders in this post, I used my VCM integrator, since the scene contains a lot of subtle caustics and since the inside of the car is lit entirely through glass. I also wound up modifying my adaptive sampler; it’s still the same adaptive sampler that I’ve had for a few years now, but with an important extension. Instead of simply reducing the total number of paths per iteration as areas reach convergence, the adaptive sampler now keeps the number of paths the same and instead reallocates paths from completed pixels to high-variance pixels. The end result is that the adaptive sampler is now much more effective at eliminating fireflies and targeting caustics and other noisy areas. In the above render, some pixels wound up with as few as 512 samples, while a few particularly difficult pixels finished with as many as 20000 samples. Here is the adaptive sampling heatmap for Figure 1 above; brighter areas indicate more samples. Note how the adaptive sampler found a number of areas that we’d expect to be challenging, such as the interior through the car’s glass windows, and parts of the body with specular inter-reflections.
I recently implemented support for arbitrary camera shutter curves, so I thought doing a motion blurred render would be fun. After all, Lamborghinis are supposed to go fast! I animated the Lamborghini driving forward in Maya; the animation was very basic, with the main body just translating forward and the wheels both translating and rotating. Of course Takua has proper rotational motion blur. The motion blur here is effectively multi-segment motion blur; generating multi-segment motion blur from an animated sequence in Takua is very easy due to how Takua handles and understands time. I actually think that Takua’s concept of time is one of the most unique things in Takua; it’s very different from how every other renderer I’ve used and seen handles time. I intend to write more about this later. Instead of an instantaneous shutter, I used a custom cosine-based shutter curve that places many more time samples near the center of the shutter interval than towards the shutter open and close. Using a shutter shape like this wound up being important to getting the right look to the motion blur; even the car is moving extremely quickly, the overall form of the car is still clearly distinguishable and the front and back of the car appear more motion-blurred than the main body.

Since Takua has a procedural wireframe texture now, I also did a wireframe render. I mentioned my procedural wireframe texture in a previous post, but I didn’t write about how it actually works. For triangles and quads, the wireframe texture is simply based on the distance from the hitpoint to the nearest edge. If the distance to the nearest edge is smaller than some threshold, draw one color, otherwise, draw some other color. The nearest edge calculation can be done as follows (the variable names should be self-explanatory):
float calculateMinDistance(const Poly& p, const Intersection& hit) const {
    float md = std::numeric_limits<float>::infinity();
    const int verts = p.isQuad() ? 4 : 3;
    for (int i = 0; i < verts; i++) {
        const glm::vec3& cur = p[i].m_position;
        const glm::vec3& next = p[(i + 1) % verts].m_position;
        const glm::vec3 d1 = glm::normalize(next - cur);
        const glm::vec3 d2 = hit.m_point - cur;
        const float l = glm::length((cur + d1 * glm::dot(d1, d2) - hit.m_point));
        md = glm::min(md, l * l);
    }
    return md;
};
The topology of the meshes are pretty strange, since the car model came as a triangle mesh, which I then subdivided:

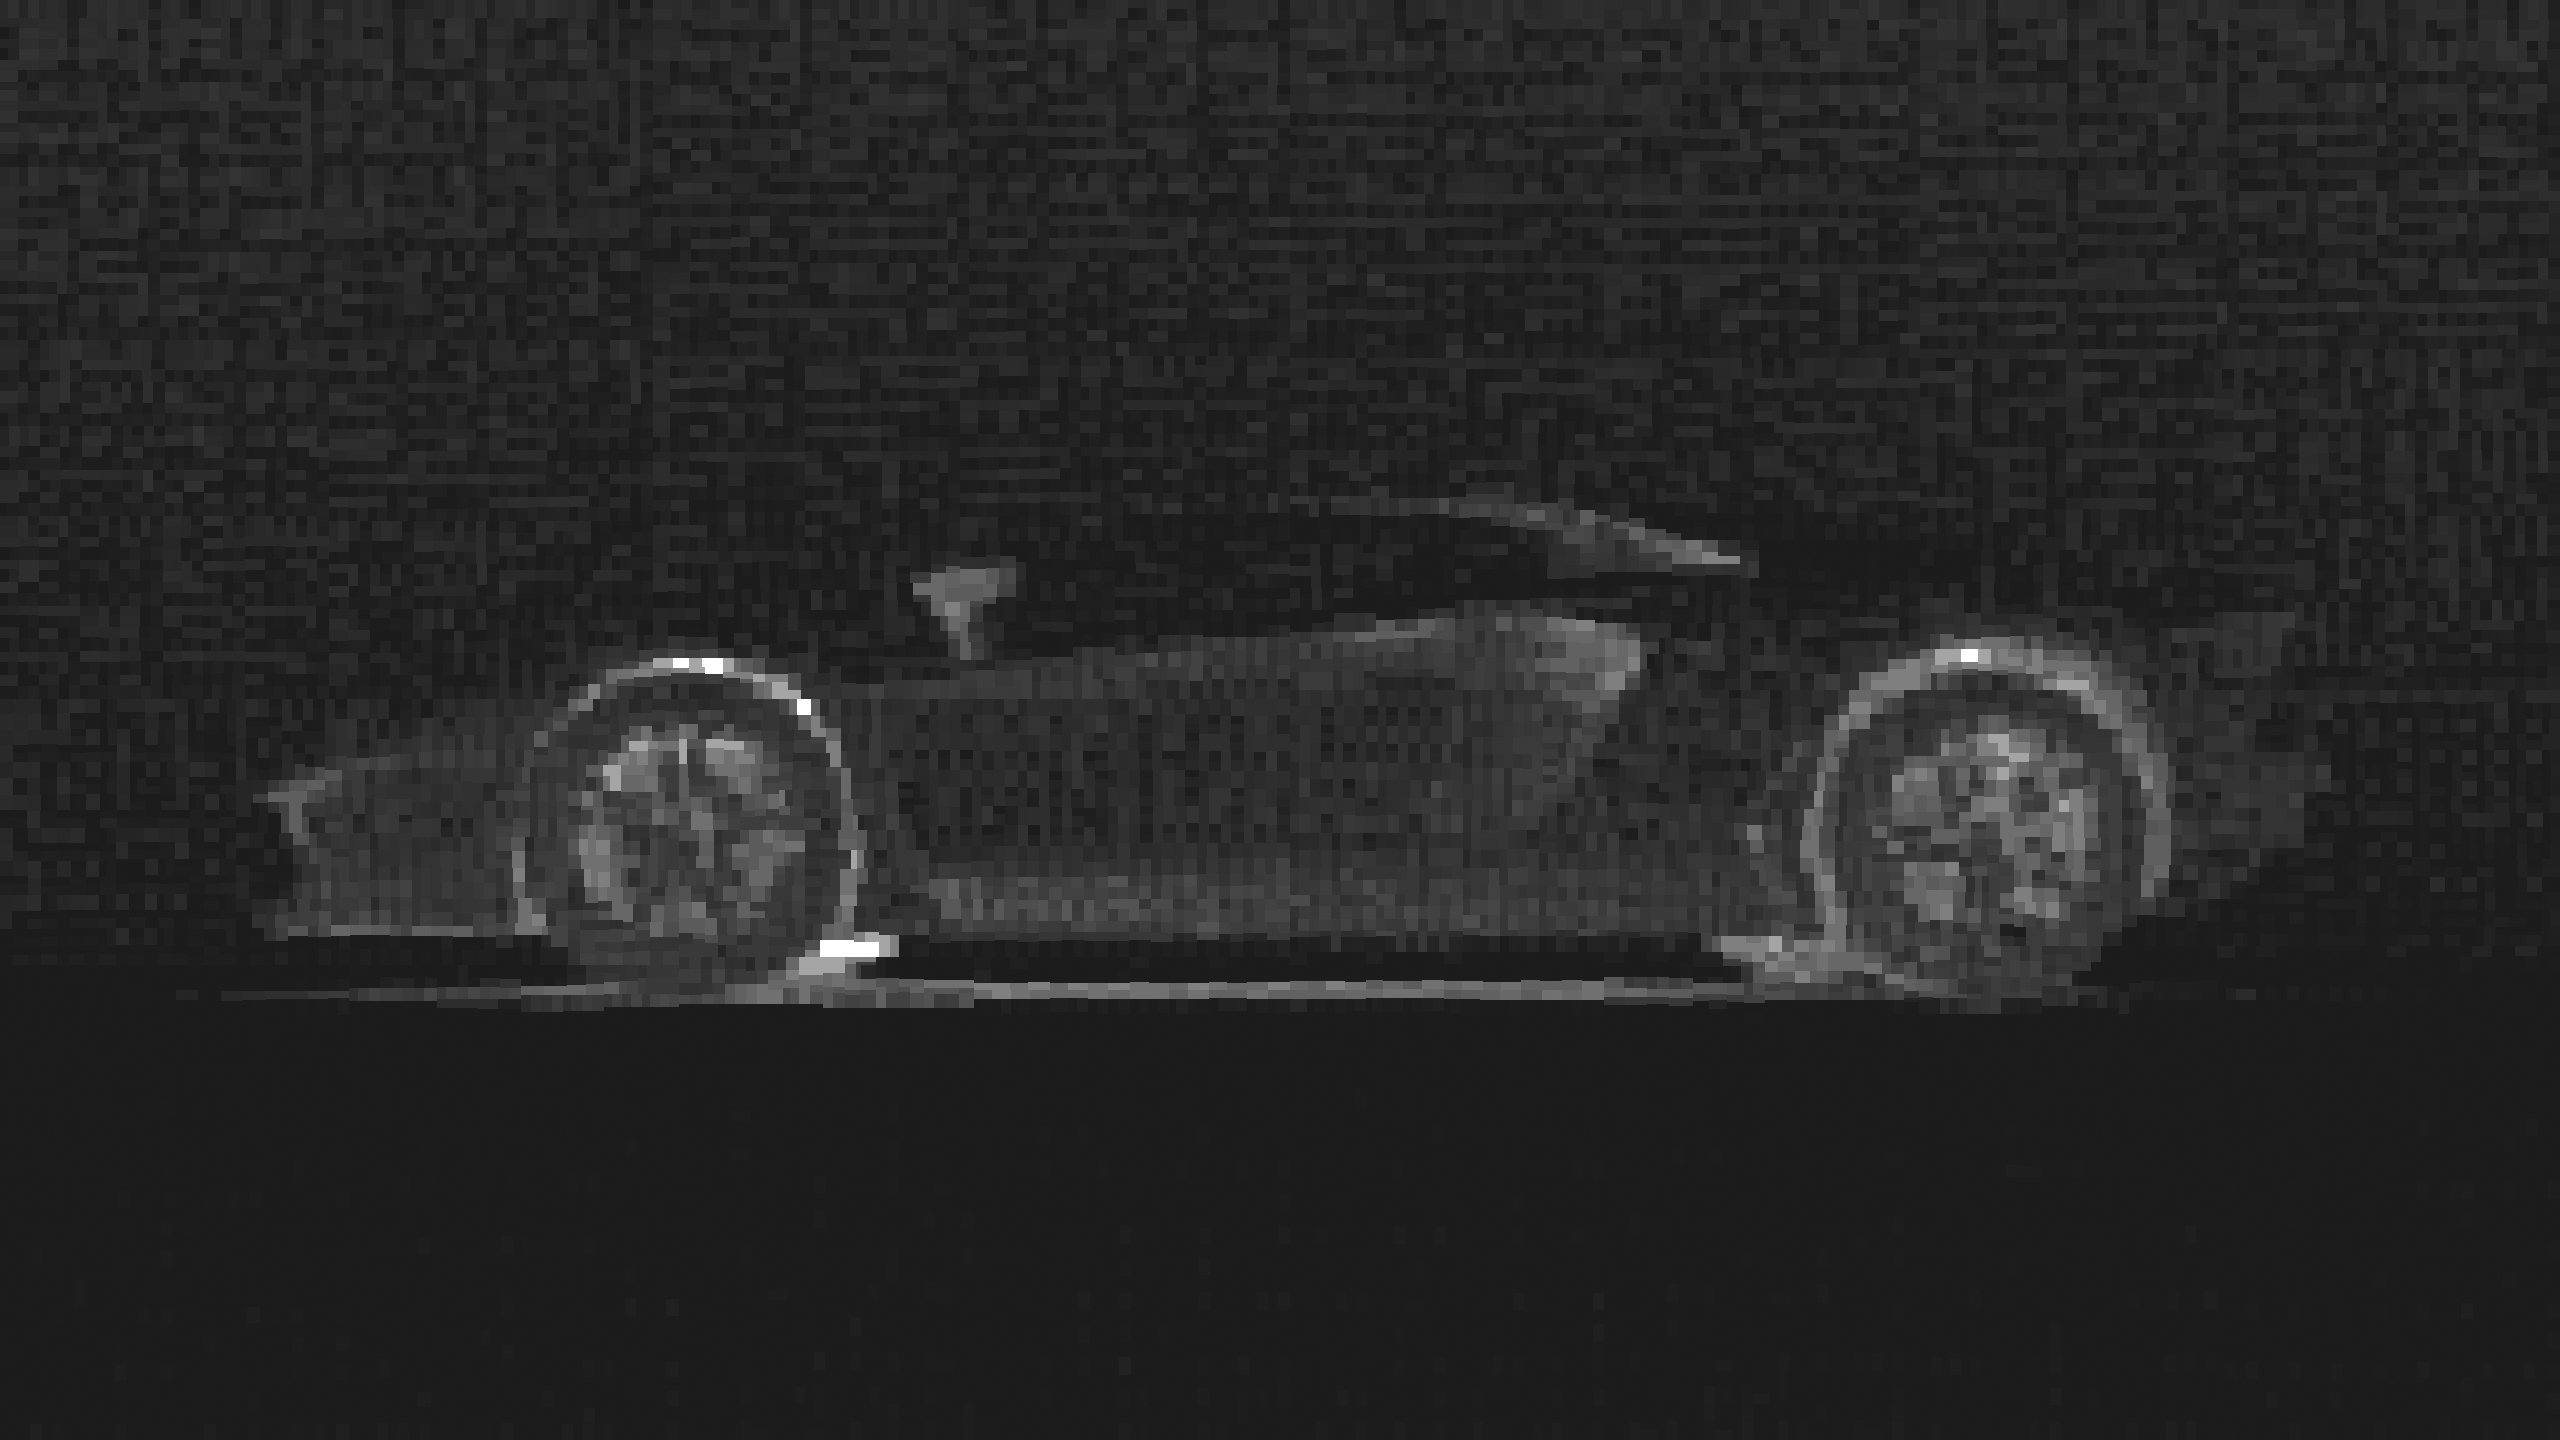
The material in the wireframe render only uses the lambertian diffuse lobe in Takua’s standard material; as such, the adaptive sampling heatmap for the wireframe render is interesting to compare to Figure 2. Overall the sample distribution is much more even, and areas where diffuse inter-reflections are present got more samples:
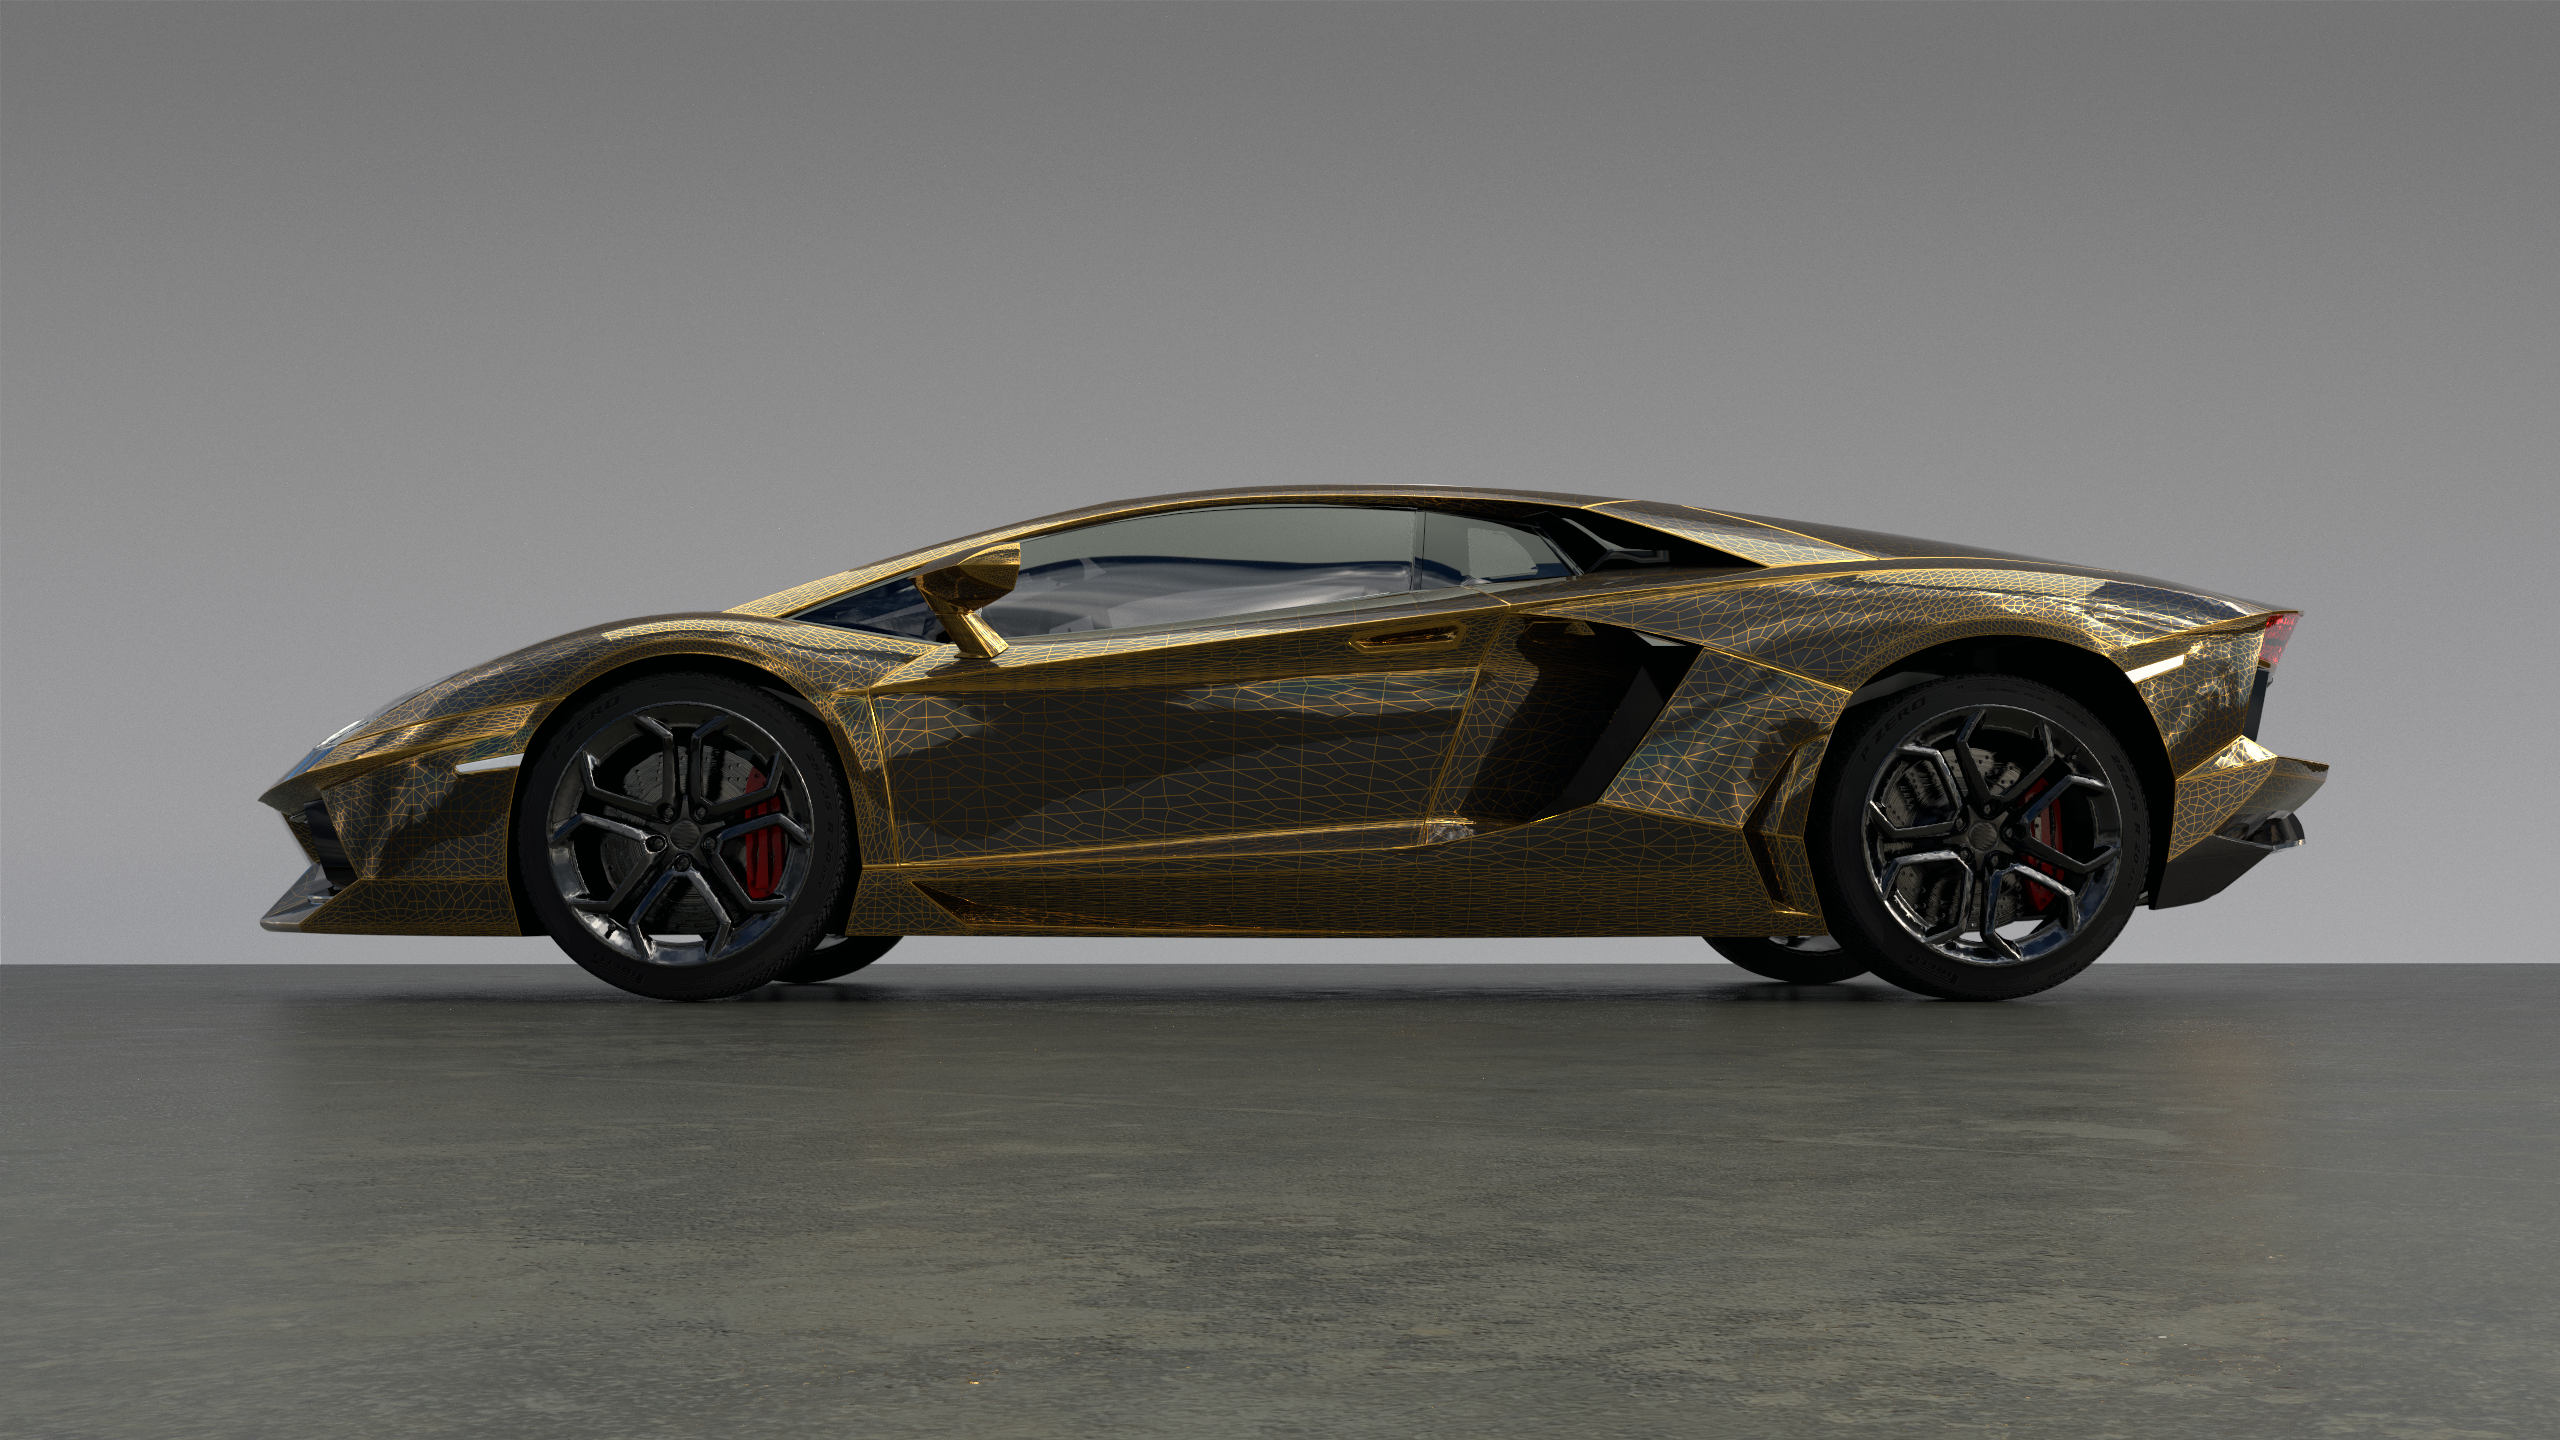
Takua’s shading model supports layering different materials through parameter blending, similar to how the Disney Brdf (and, at this point, most other shading systems) handles material layering. I wanted to make an even more outrageous looking version of the Aventador than the orange-red version, so I used the procedural wireframe texture as a layer mask to drive parameter blending between a black paint and a metallic gold paint: