GH House Project, a.k.a. Why Backups are Important

Here is a cautionary tale about why backing up one’s harddrive is EXTREMELY IMPORTANT.

Over the summer, I started making a little scene based off of the GH House Challenge from RonenBekerman.com, partially as a way to learn Vray and partially just for fun. I was working off of my laptop for the entire project, since I was in California at the time and didn’t have access to more powerful machines at home. Being out in California for the summer, I brought as little stuff with me as possible.

One of the things I decided to leave home was my backup Time Machine drive. “Oh, I won’t need this over the summer, what are the odds of file corruption or harddrive issues anyhow? I’ll be fine”, I thought to myself.

Which means, of course, that halfway through the summer a bunch of my files got corrupted and were therefore lost forever, and of course that block of lost data included my in-progress GH House project. NEVER ASSUME THAT YOU DO NOT NEED BACKUP.

What follows are some random in-progress renders that survived through being in posts I made to Facebook and Tumblr.

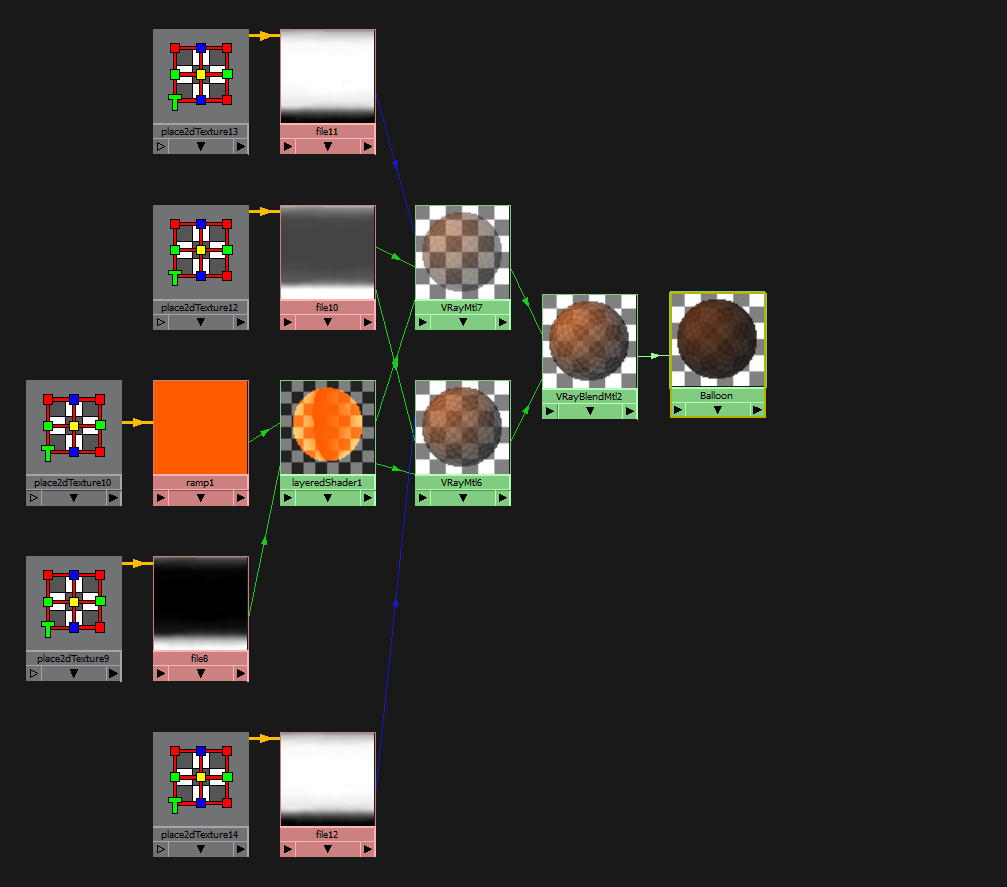
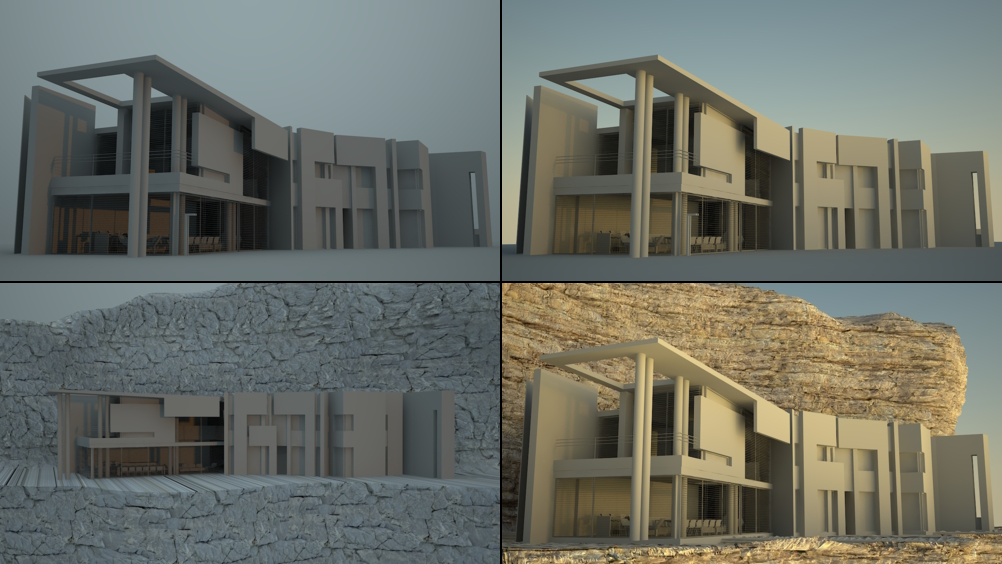
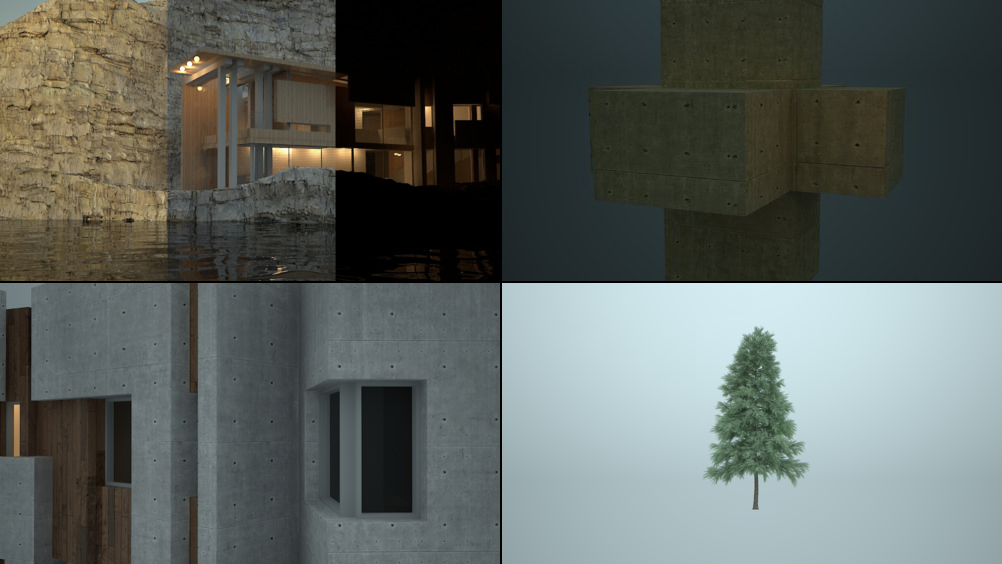
Here are a series of small in-progress renders showing shading and lighting tests:

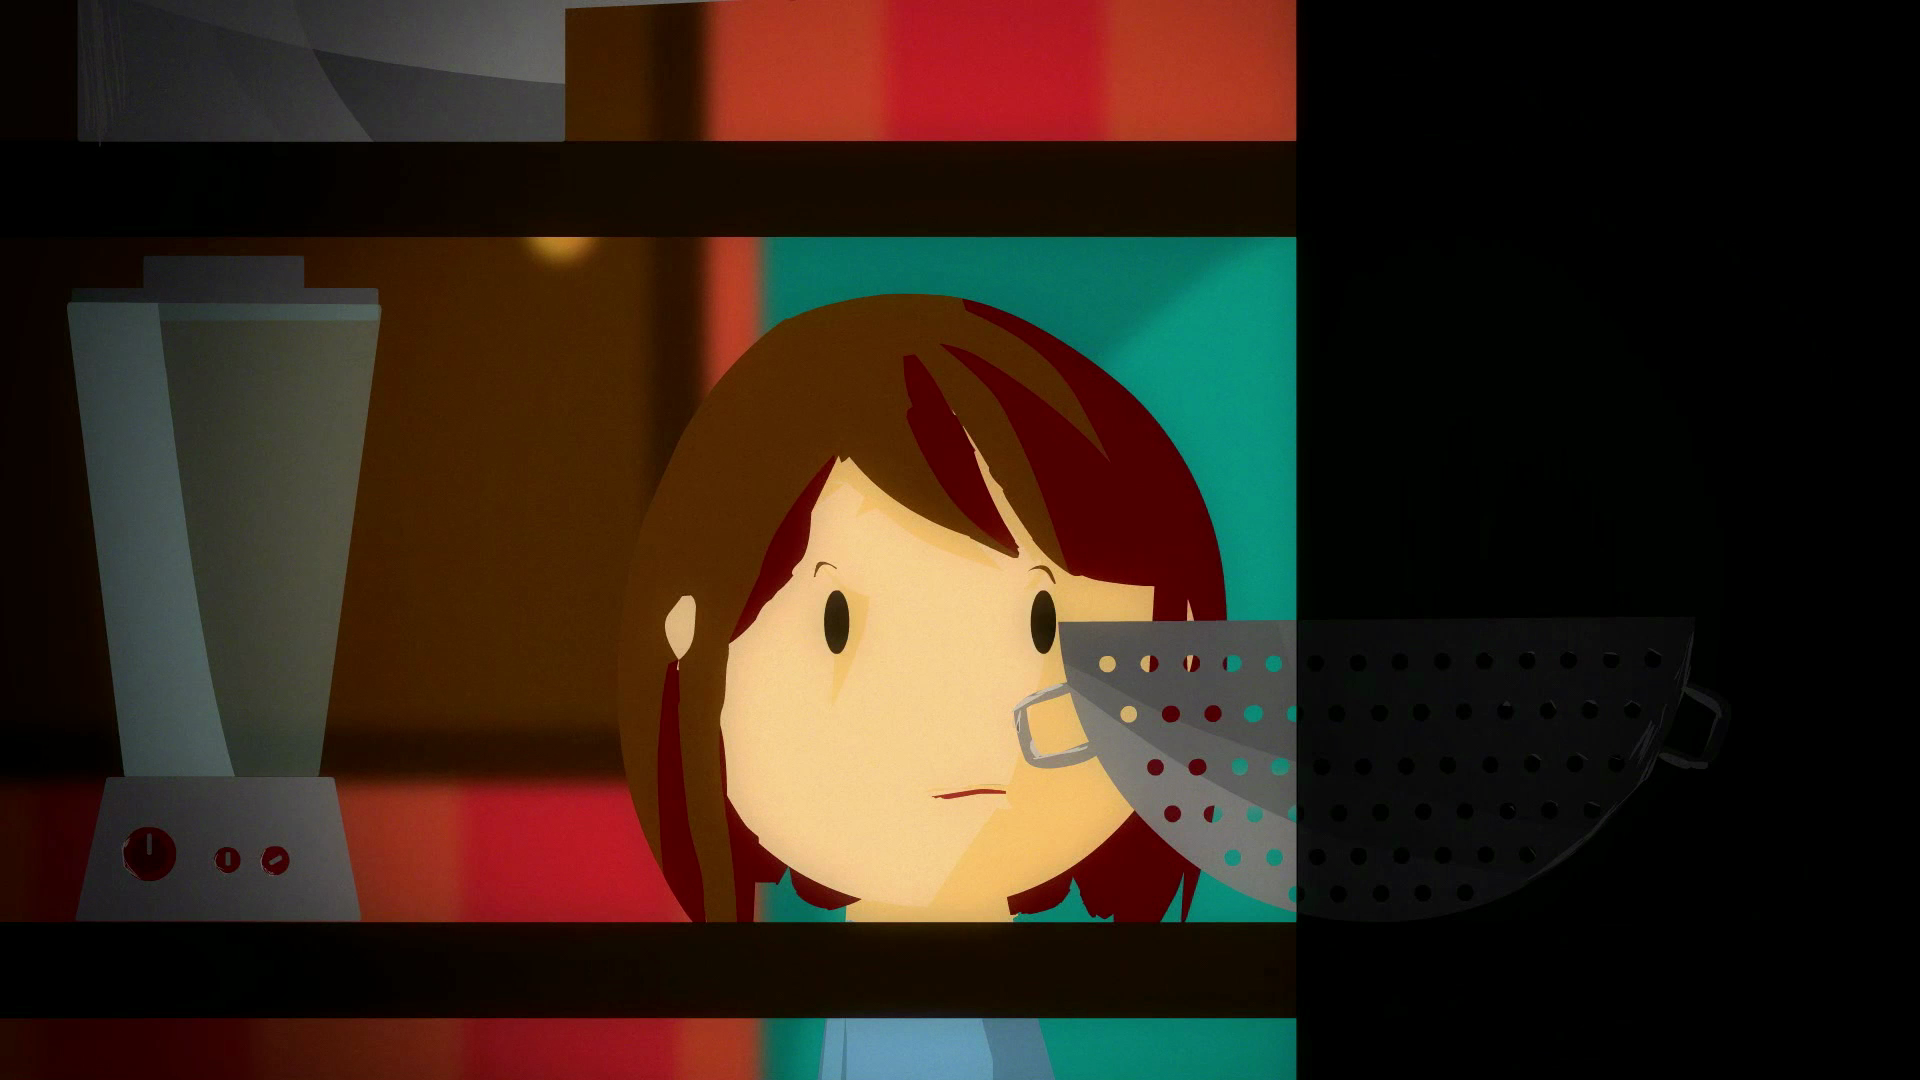
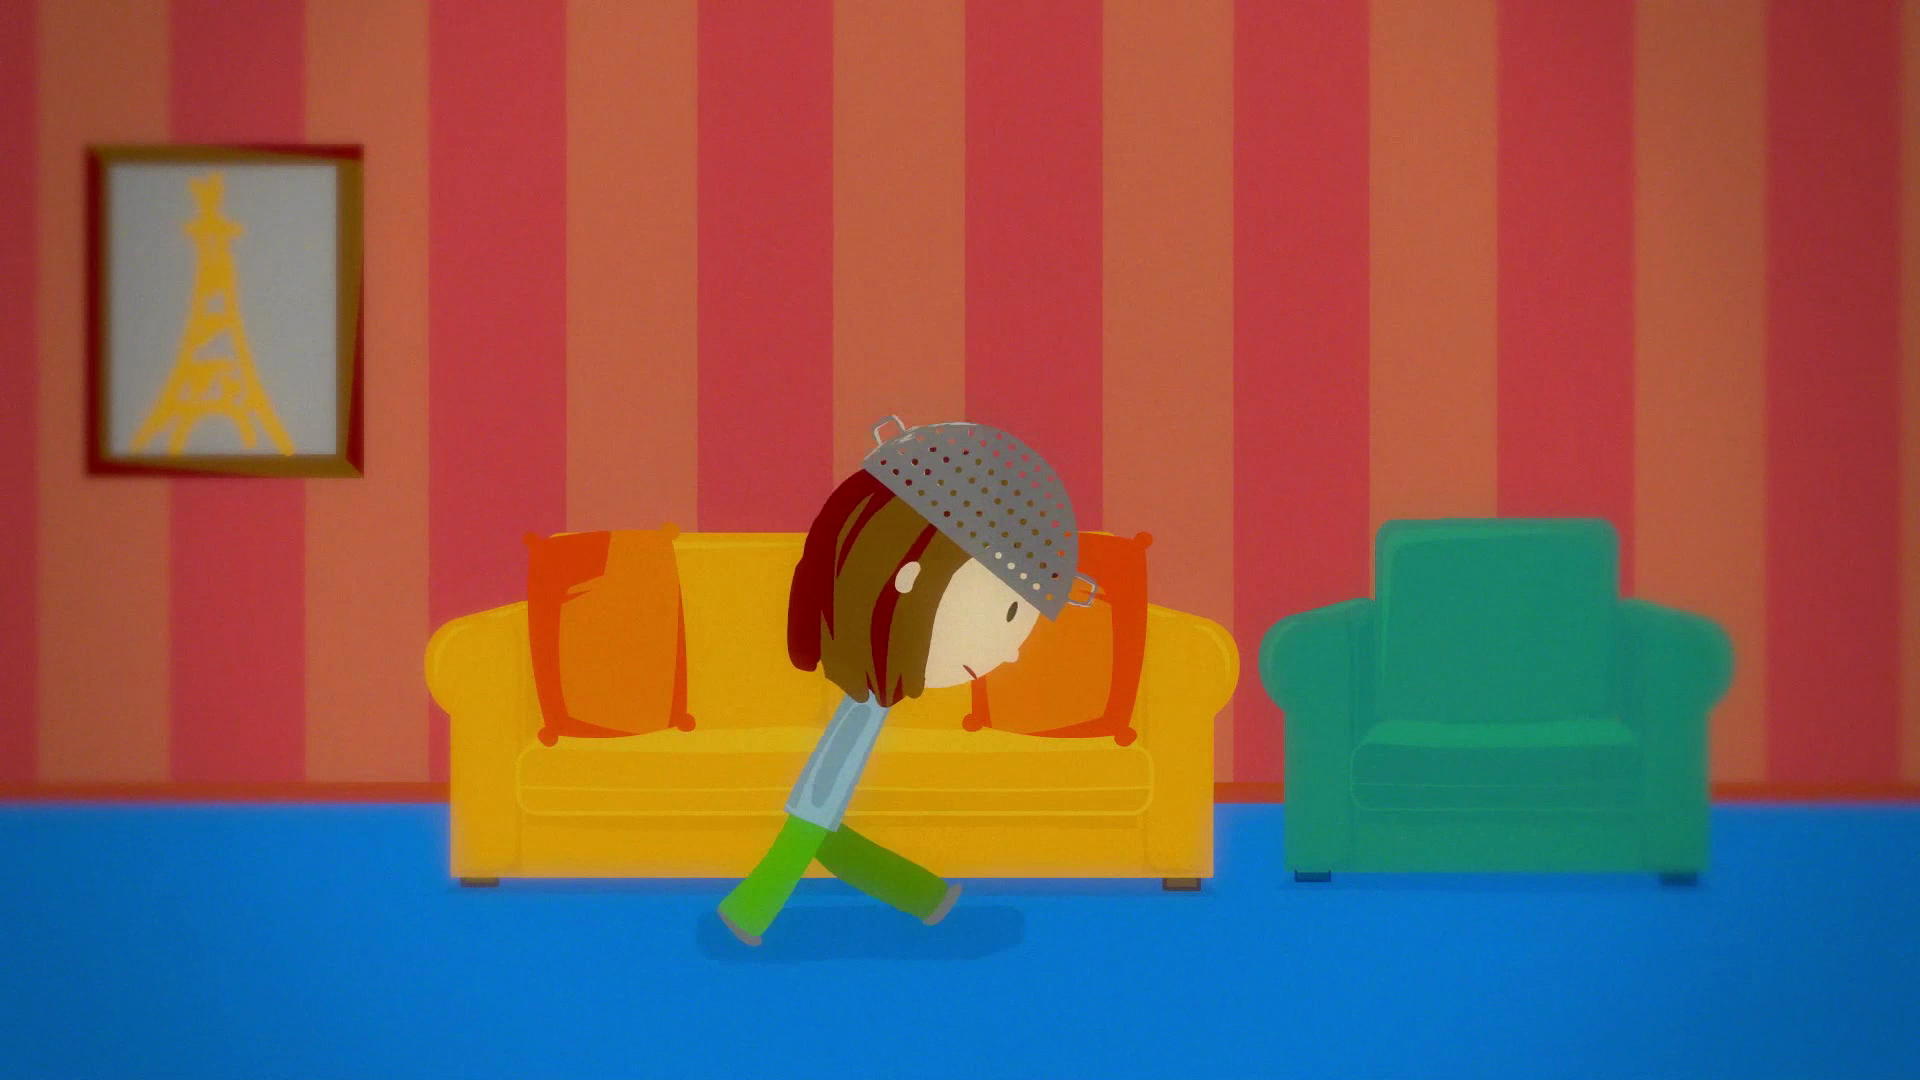
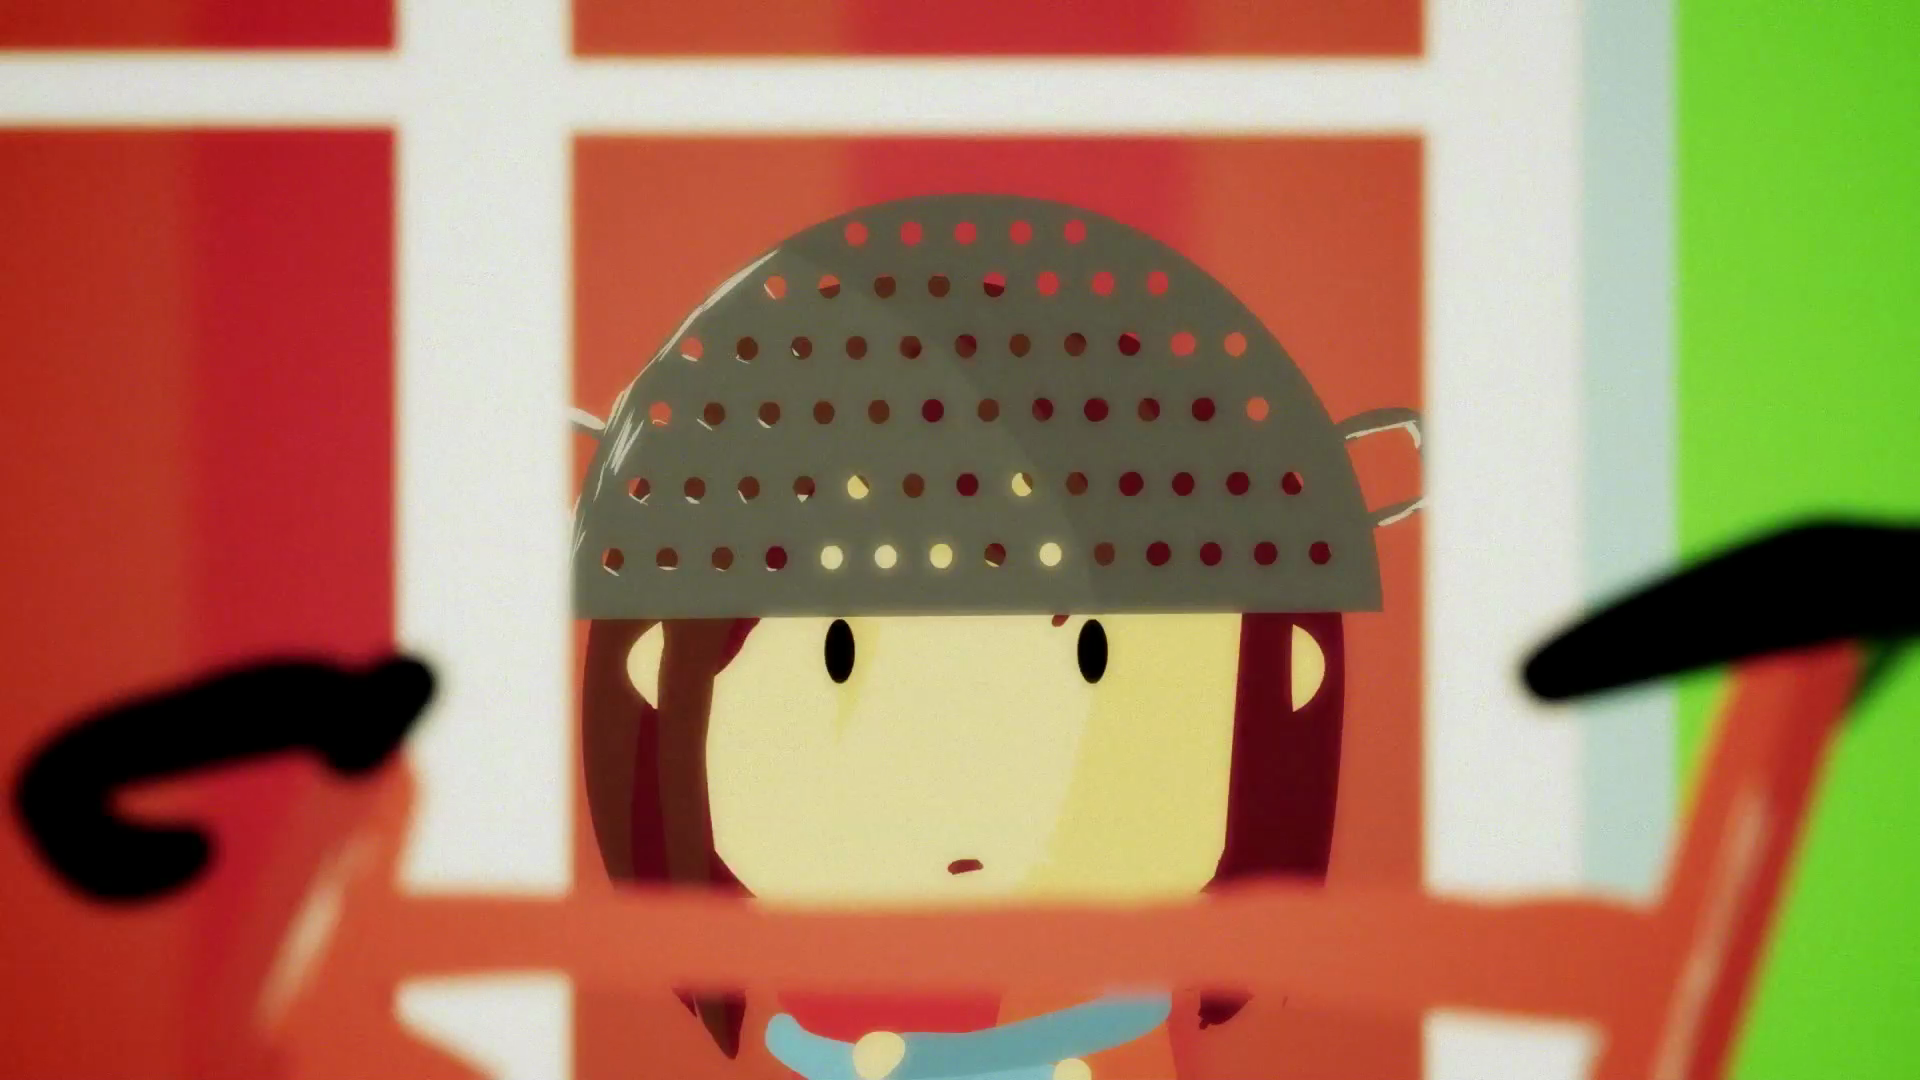
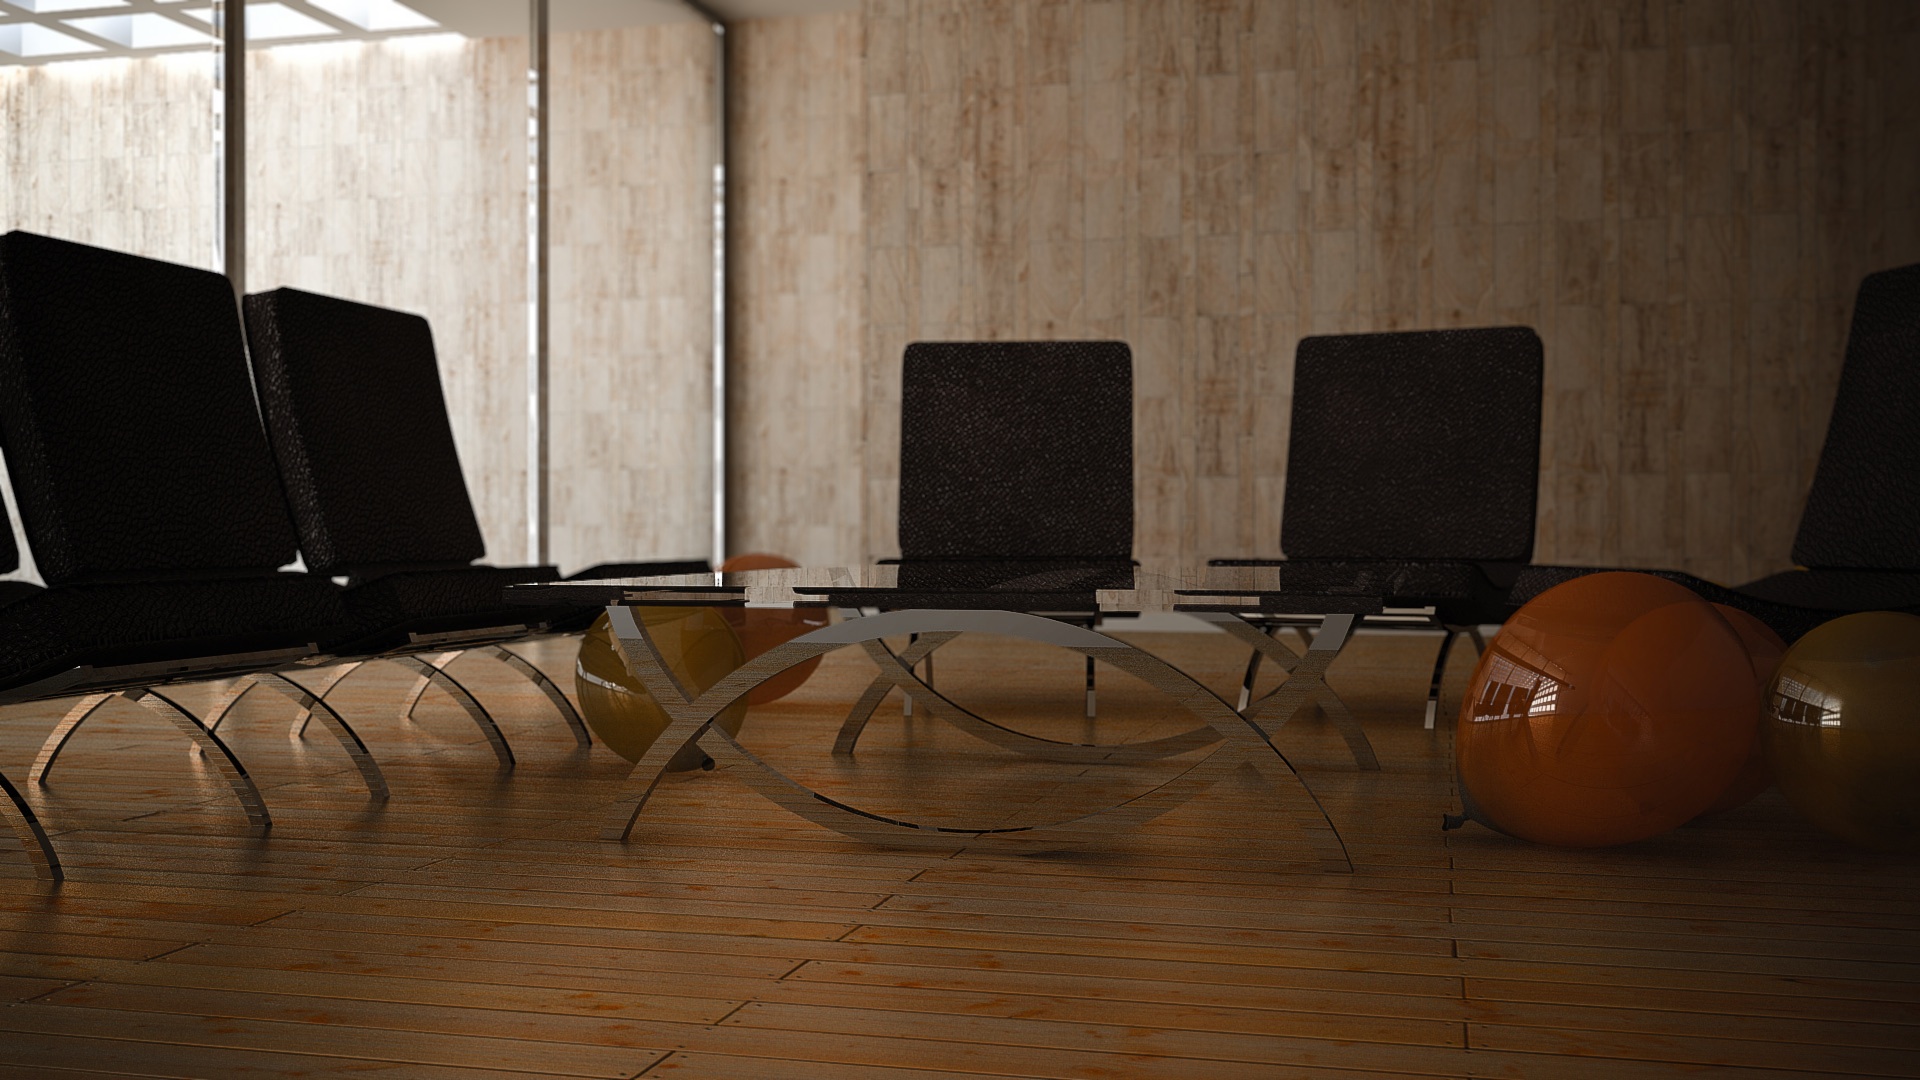
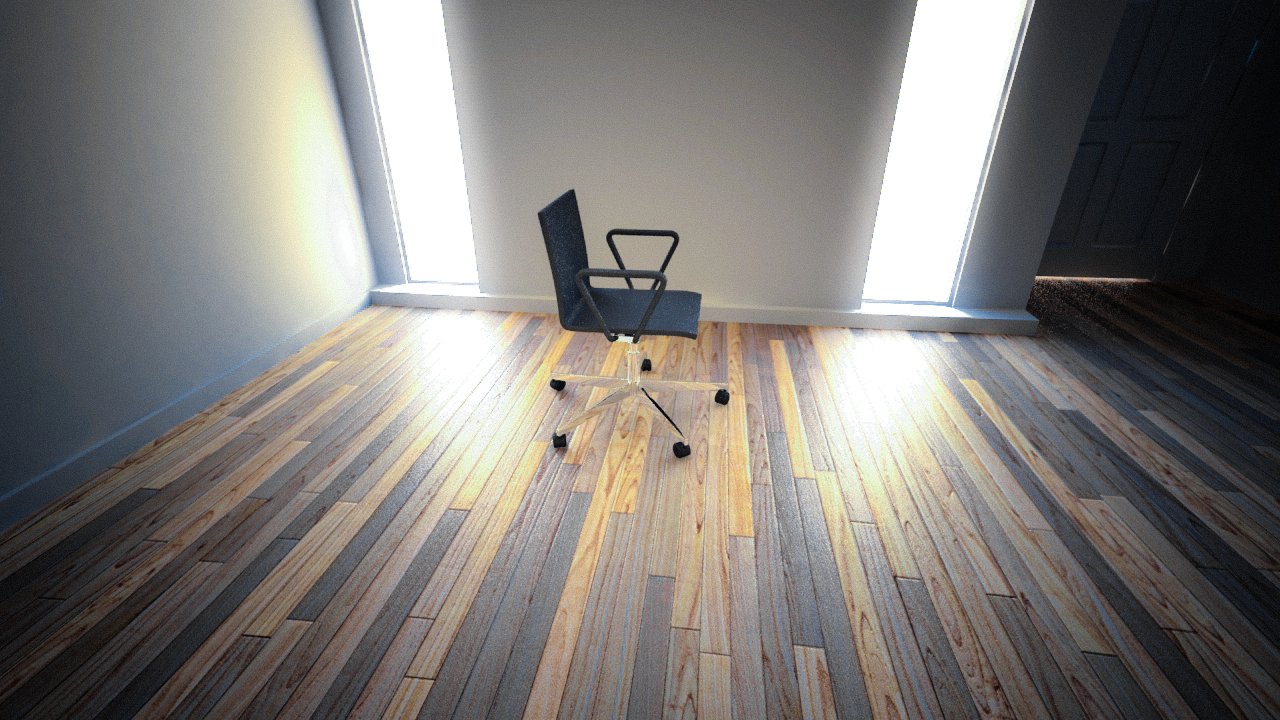
I also started playing with some ideas for the interior:

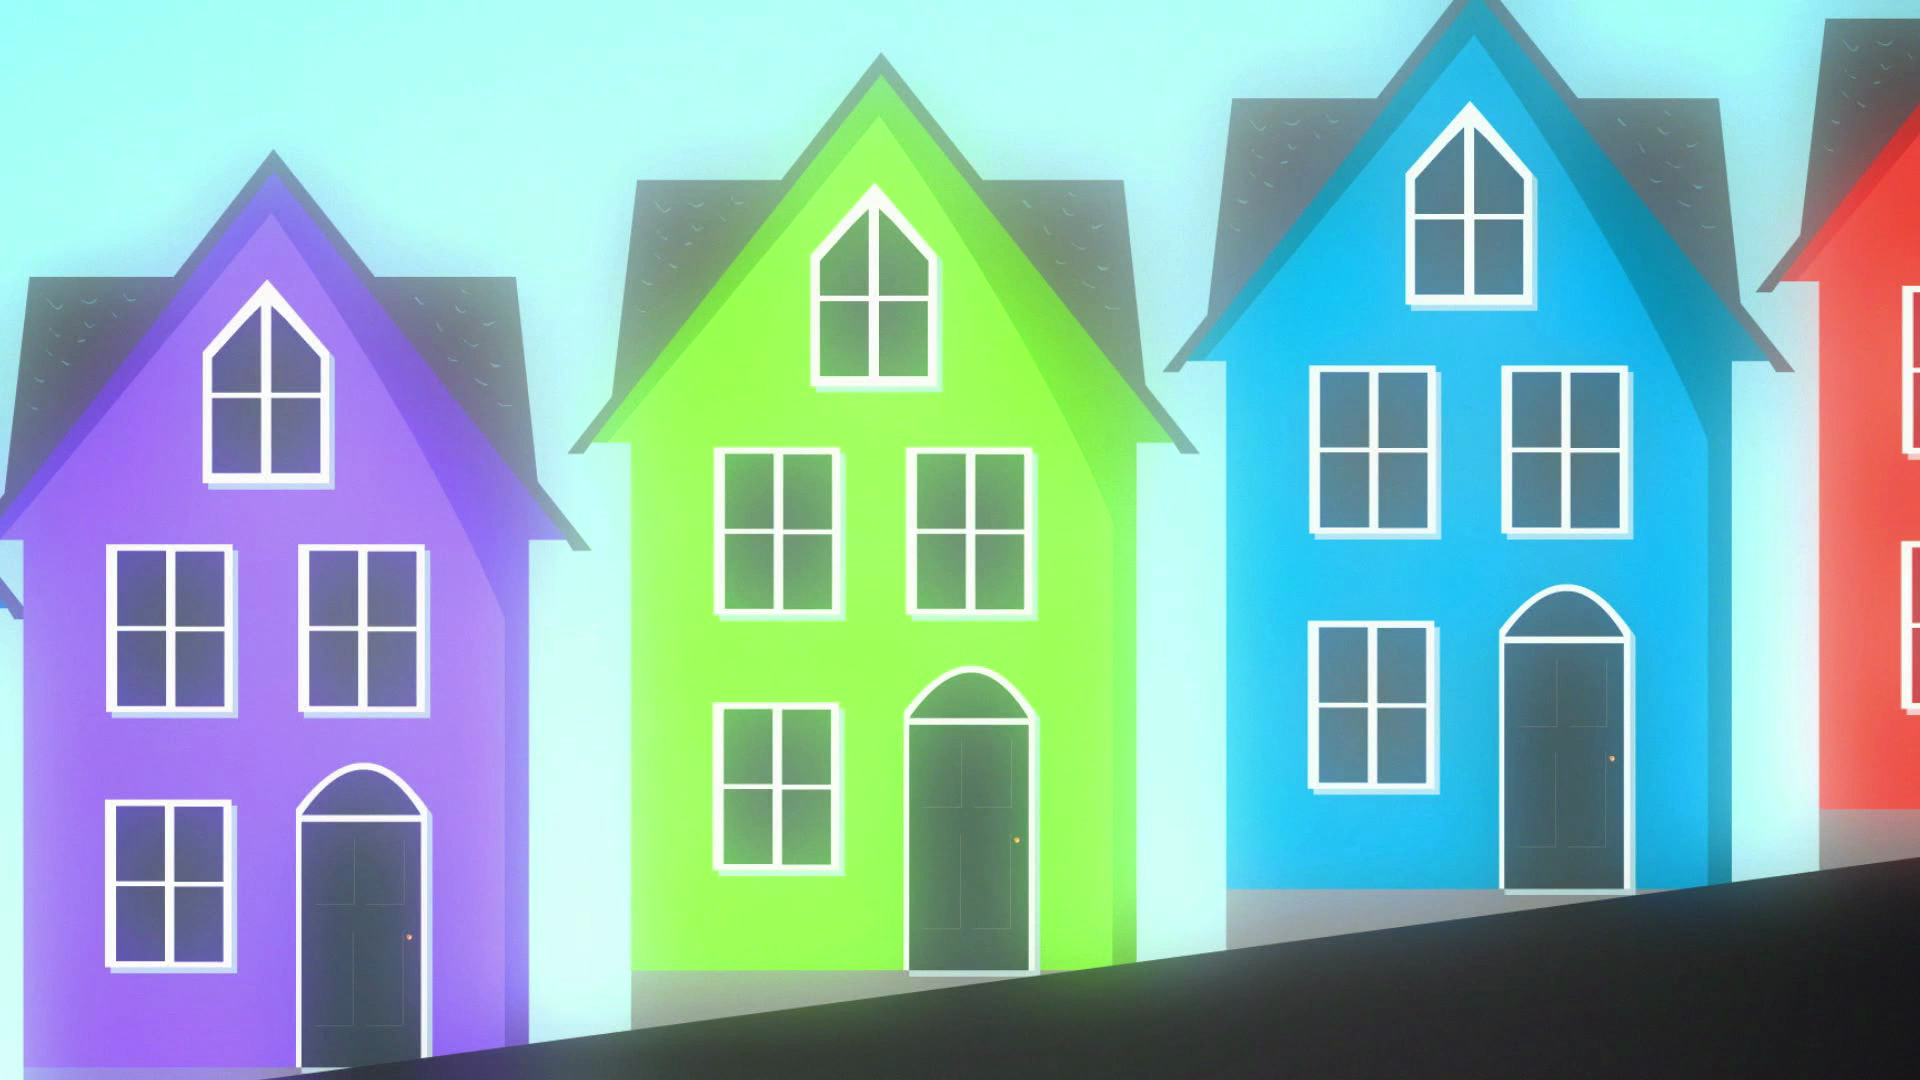
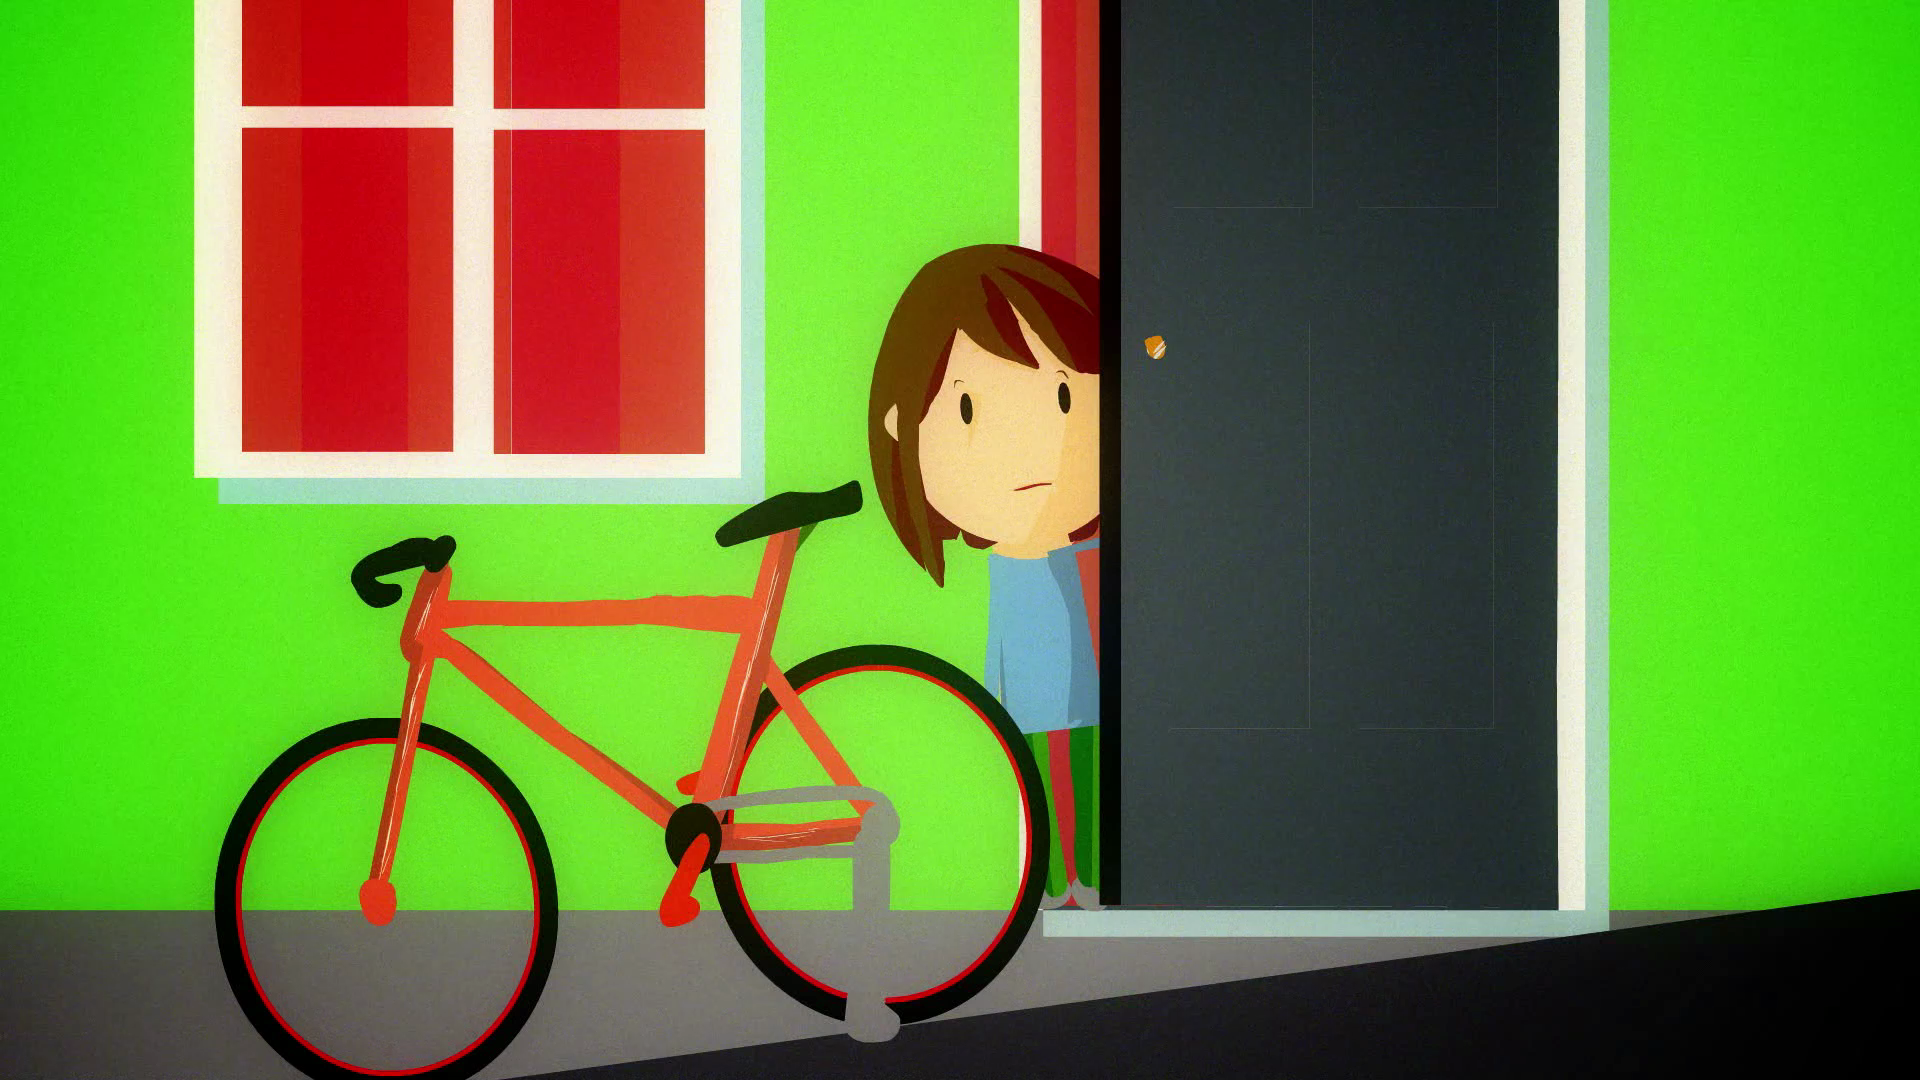
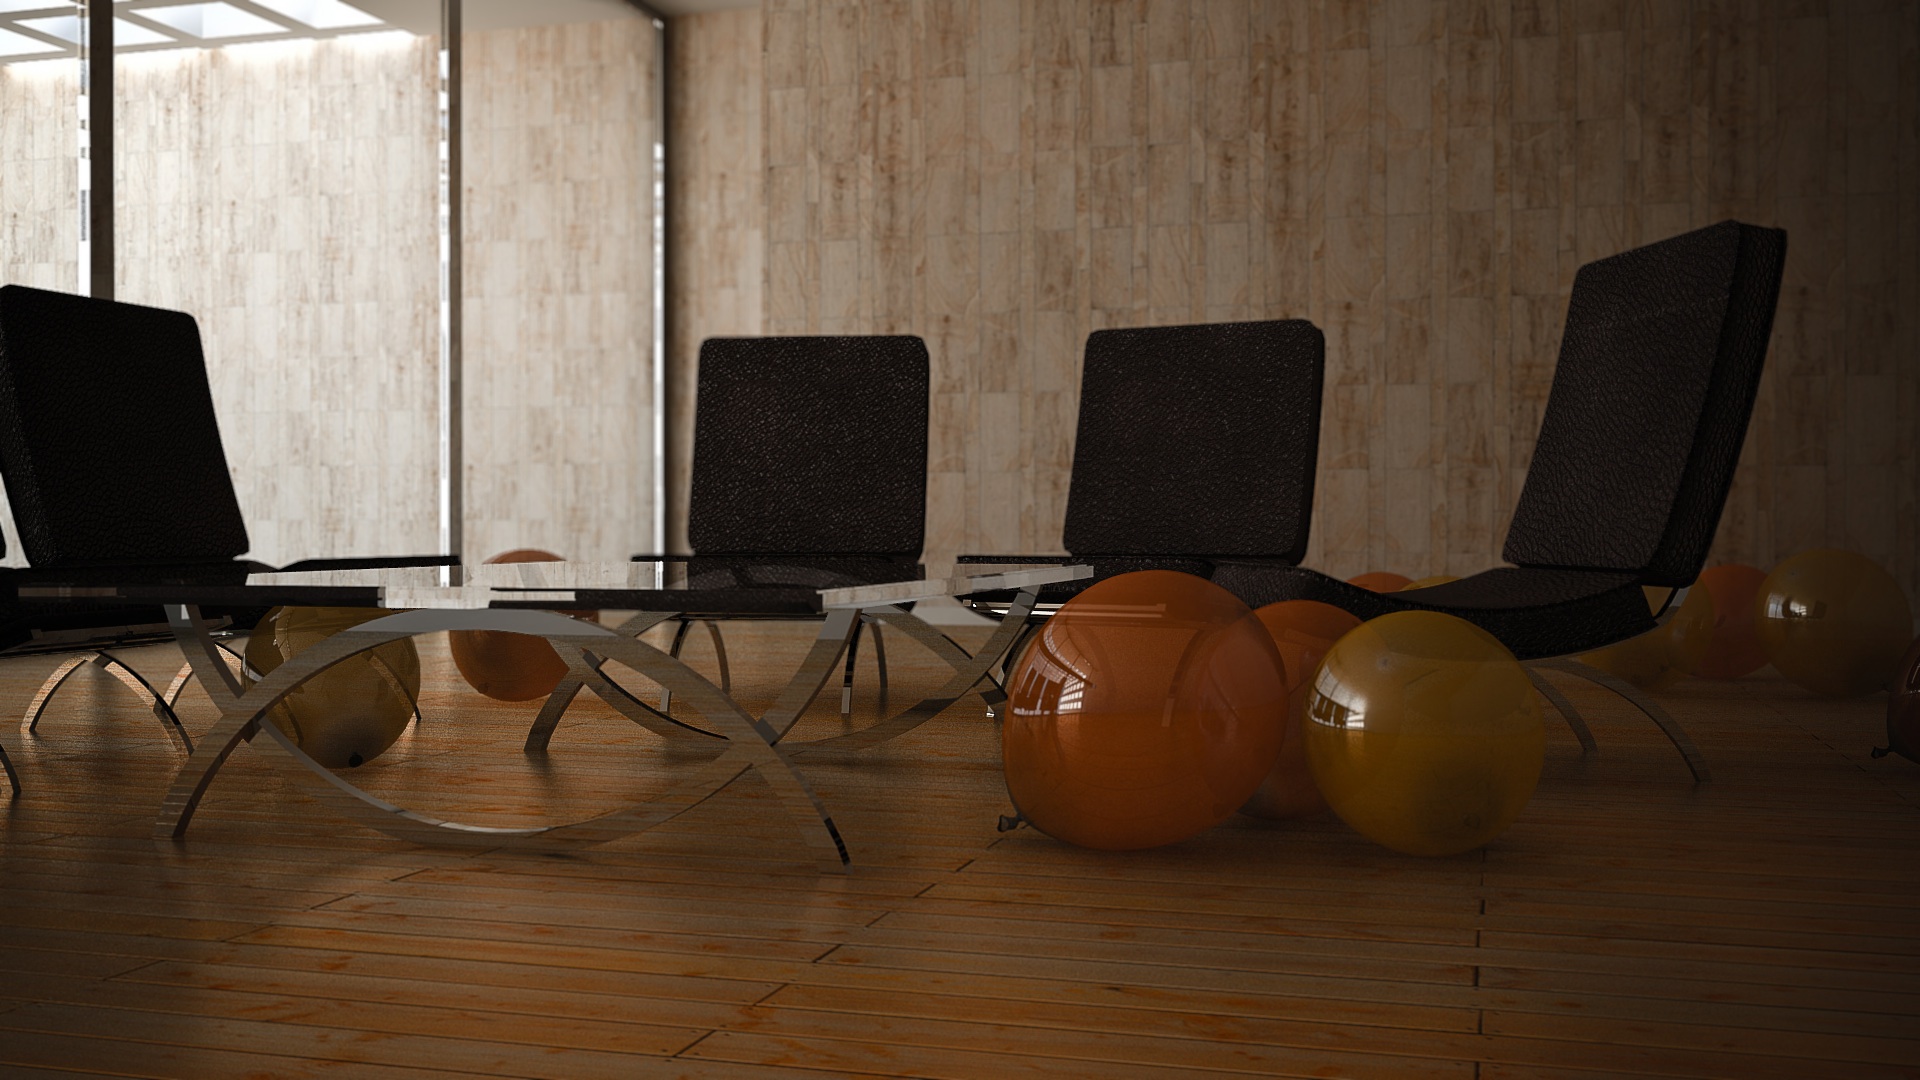
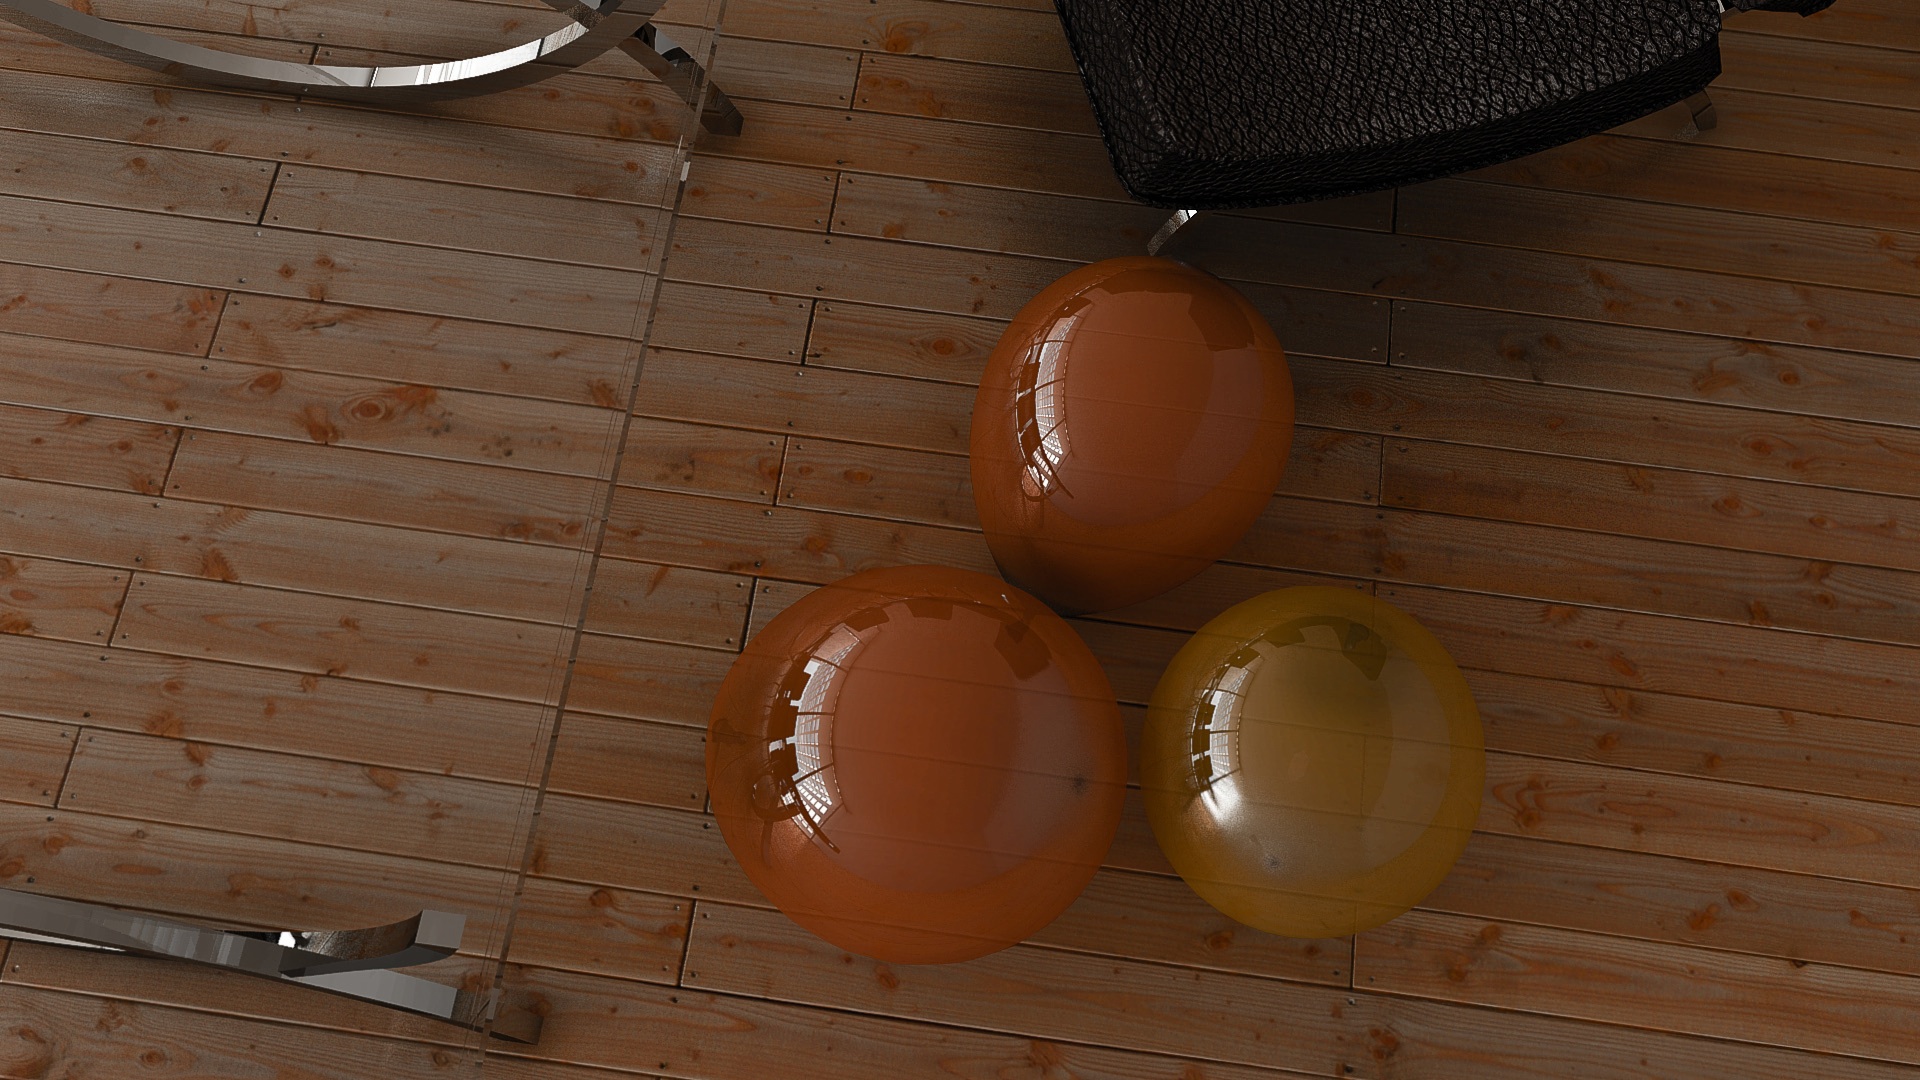
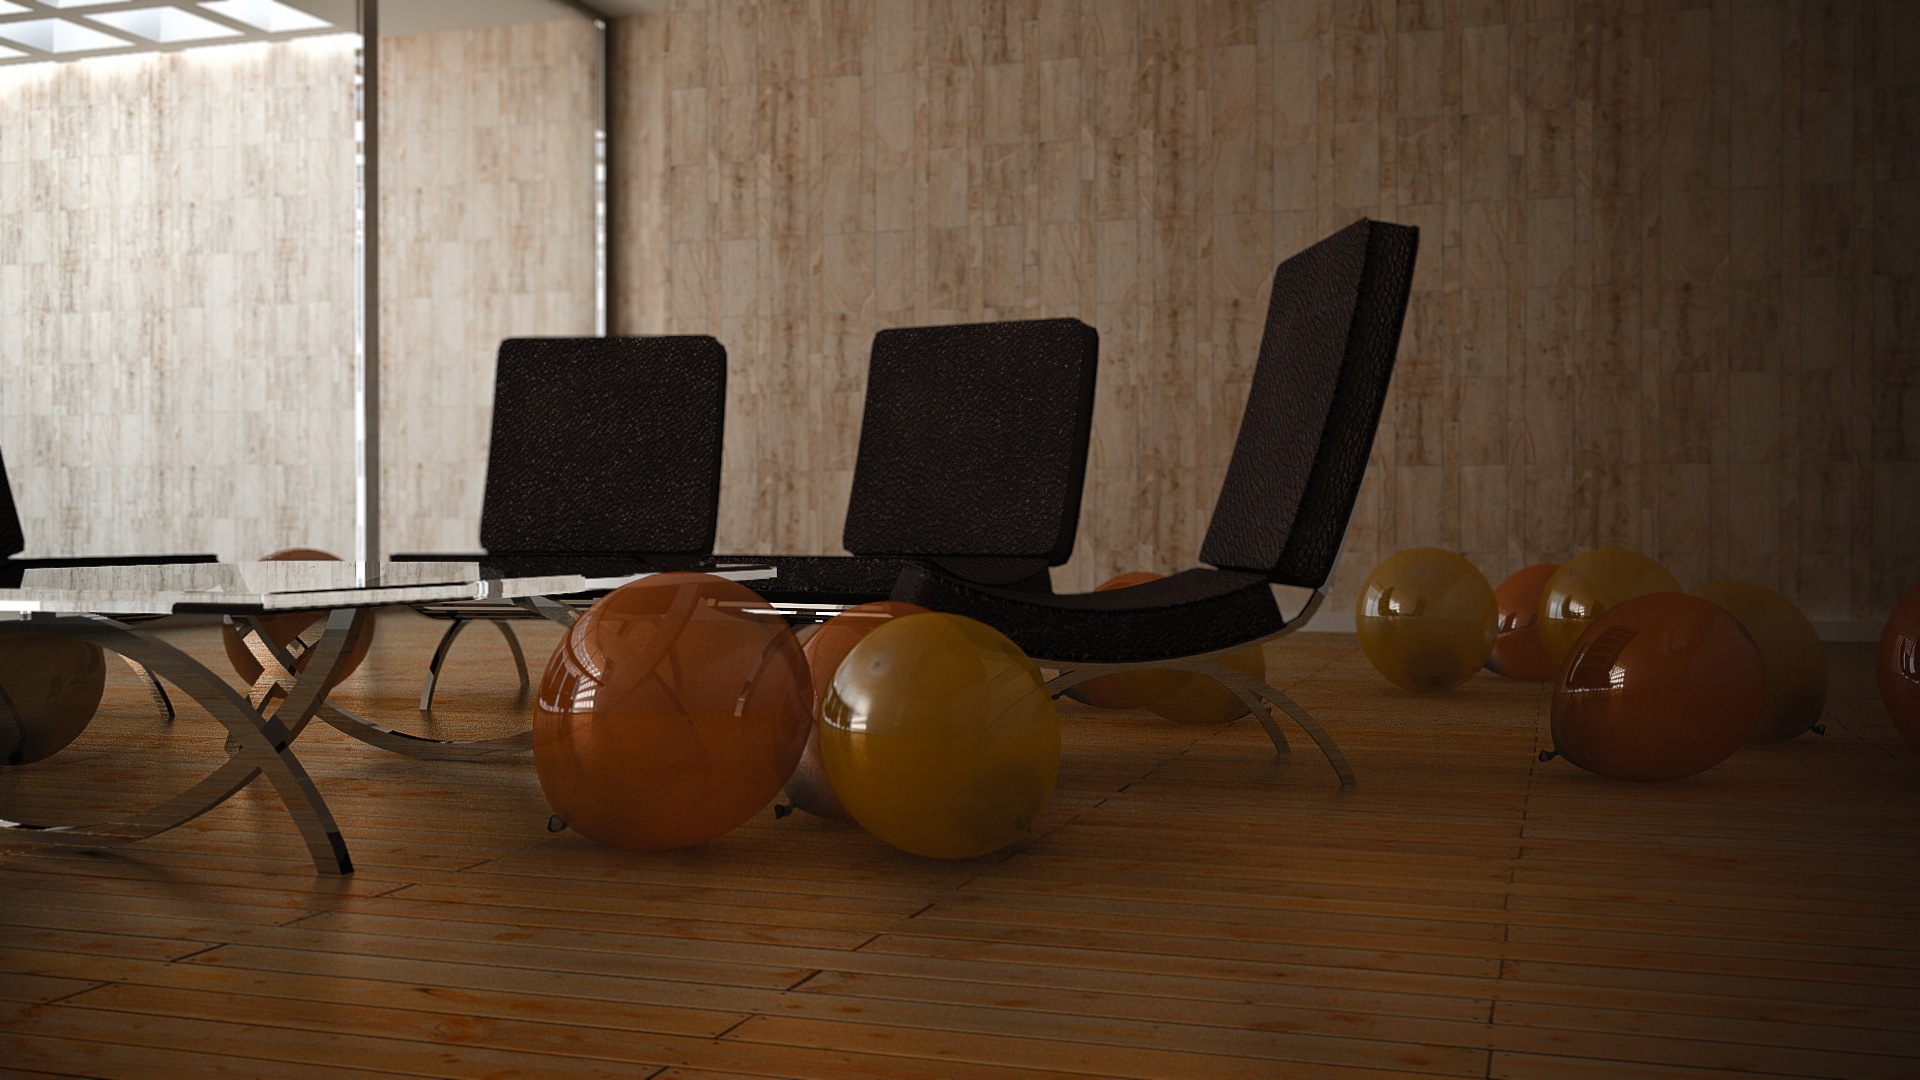
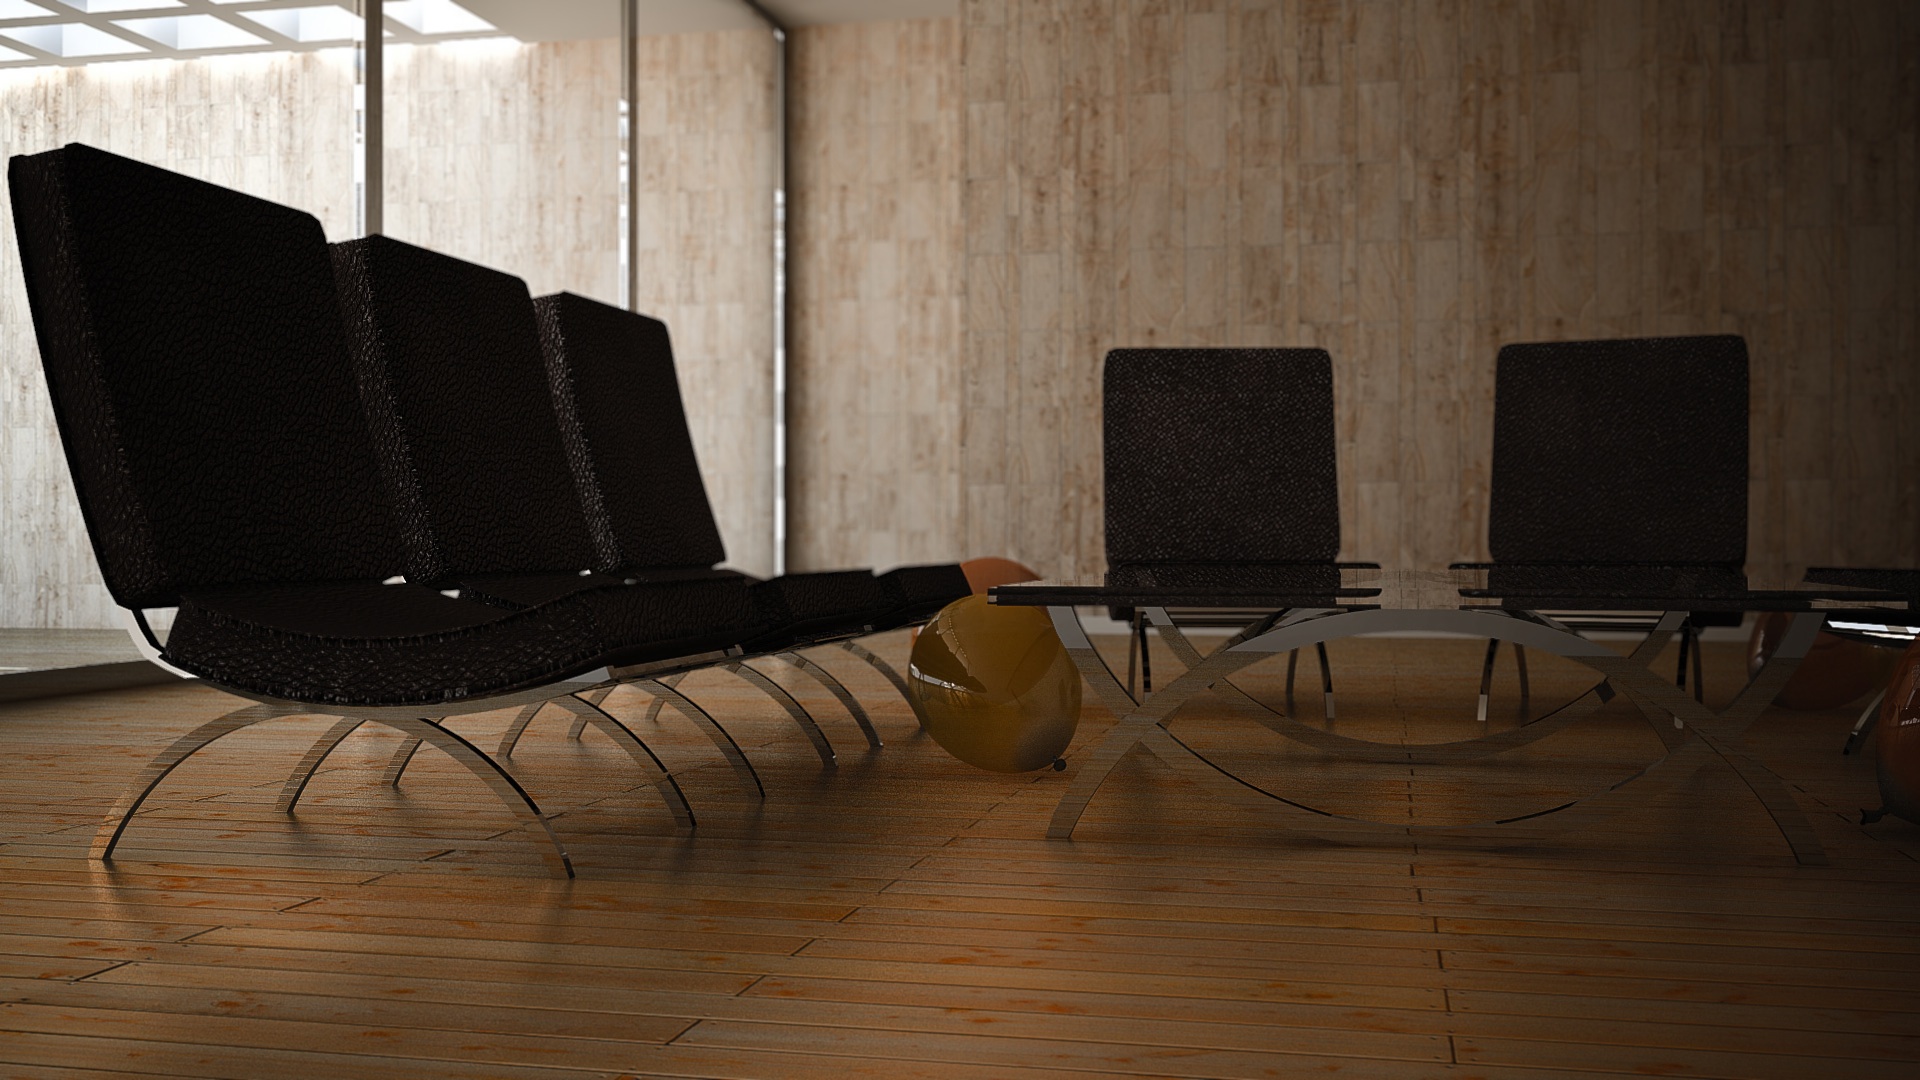
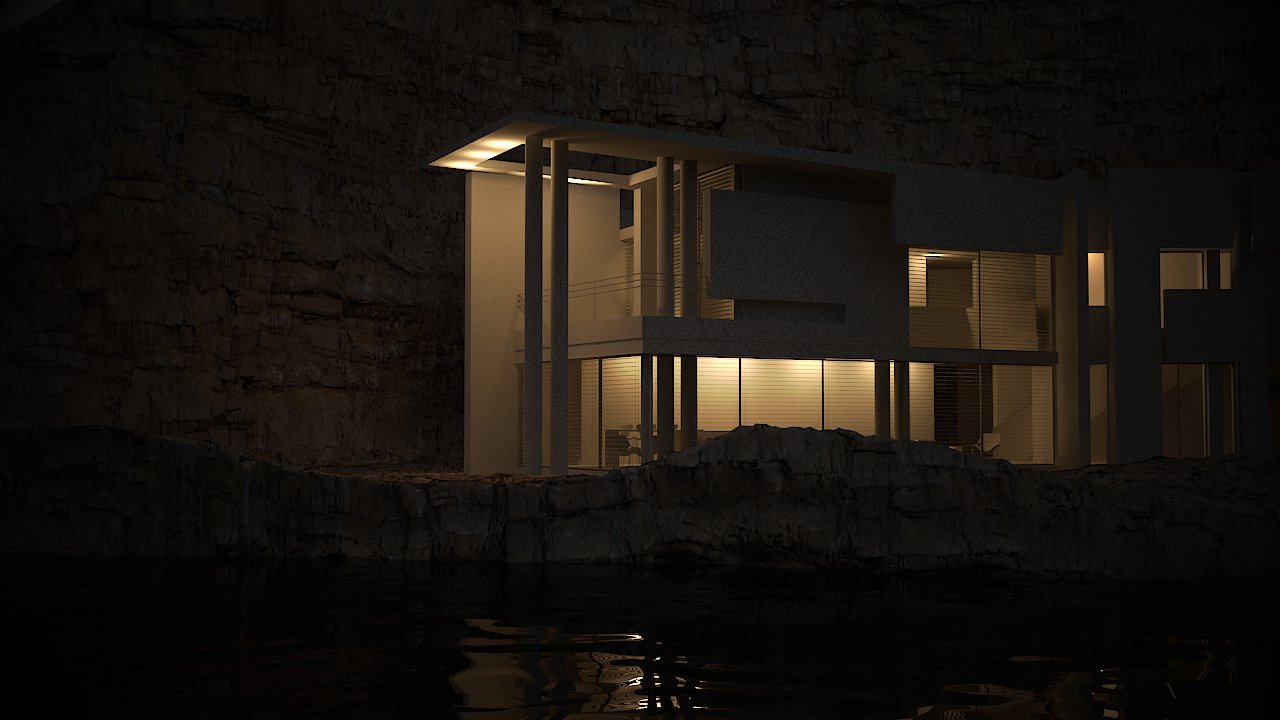
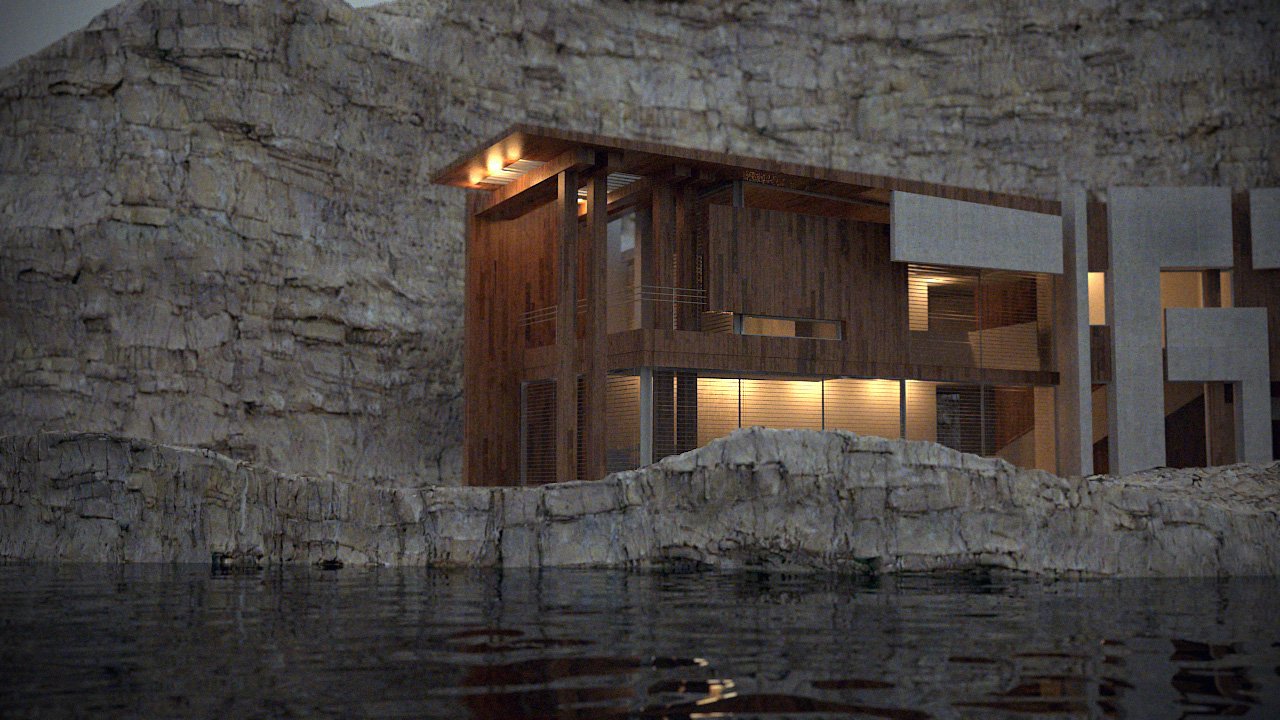
…and finally, some larger in-progress renders. These renders represent where the project was when I lost all of the data:

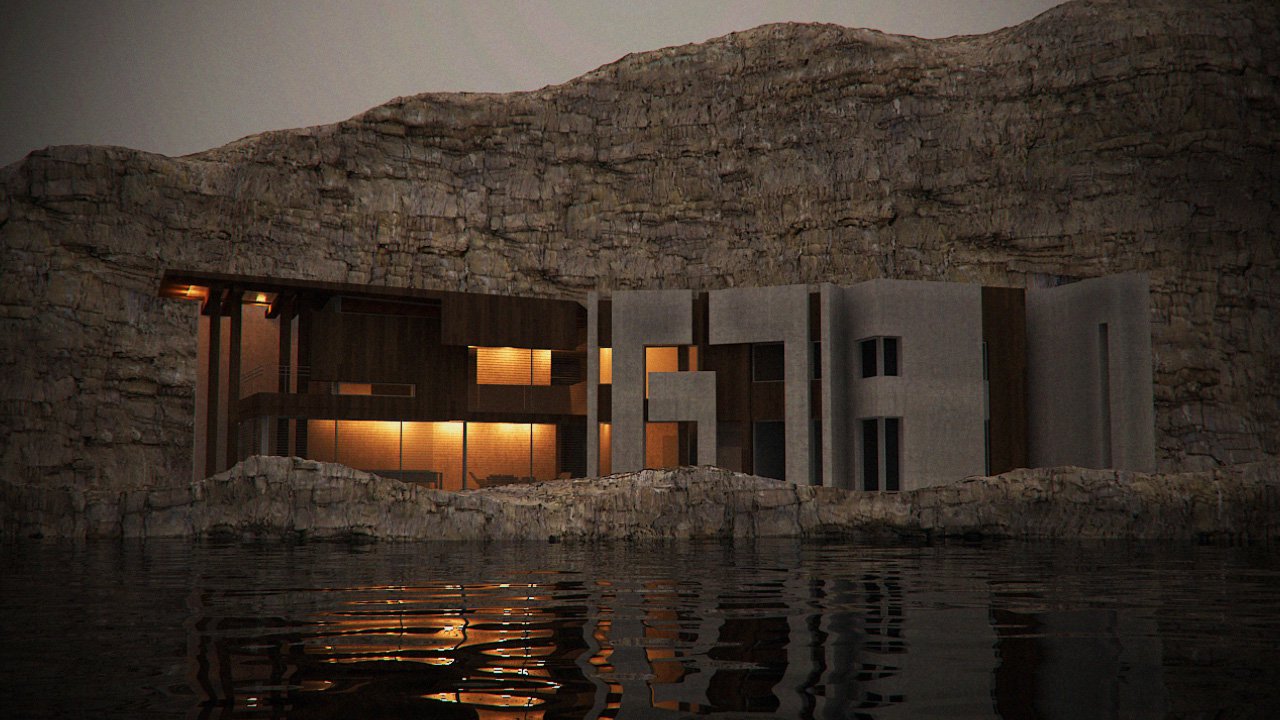
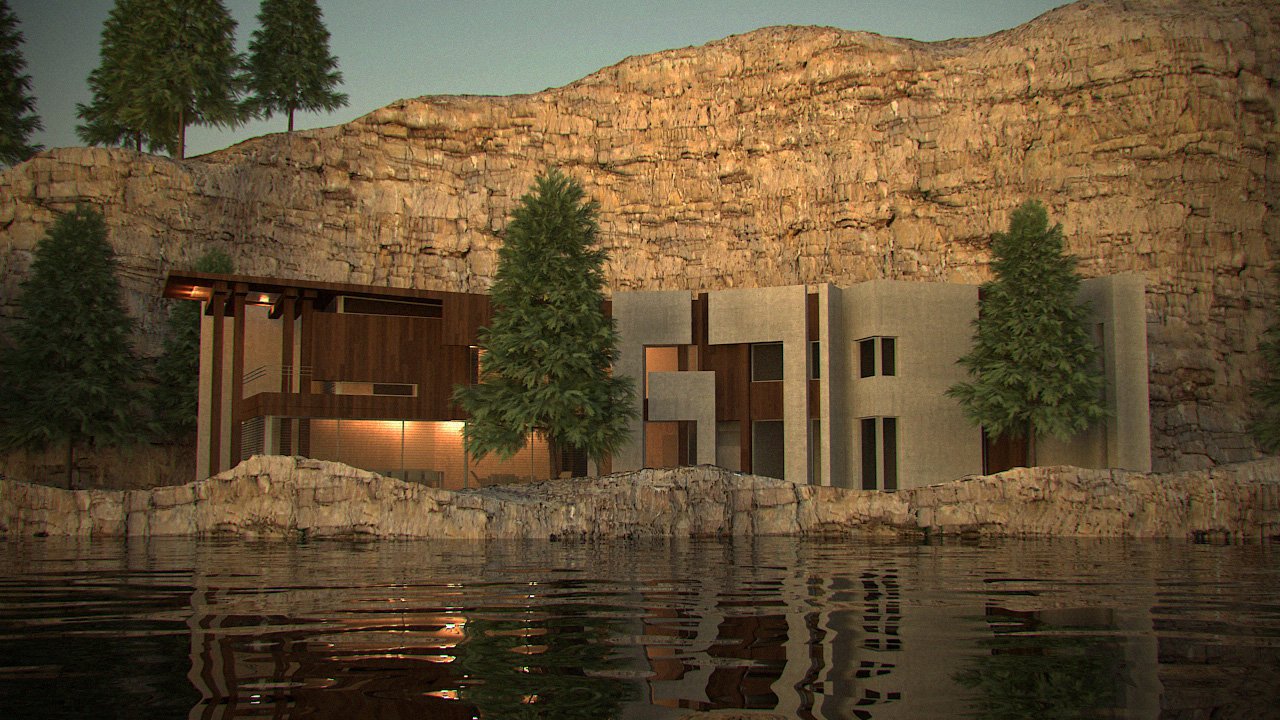
In the end, the fact that I lost the project isn’t as important as the fact that I learned quite a lot from tinkering with this project. However, losing all of the data for this project was definitely a major bummer. But, lesson learned: BACK UP ALL THE TIME.

Animation Final Project Stills

For my Computer Animation class’s final, I decided to go for a change in pace and work in 2D instead of in Maya. I want to tweak a few things before I post the finished animation, but I have two more finals to get through first. So for now, here are some stills:

Why cd when you can go?

I learned a sweet trick from fellow Penn CIS student Alexey Komissarouk’s blog today: the ‘go’ command!

So in a standard *nix bash CLI, you have you’re typical cd command. We all know how to use cd.

But have you ever accidentally cd’d a file? “cd /stuff/blah.txt” makes no sense and just gets you a “Not a directory” error. So then you have to backtrack and use vim or emacs or nano or whatever… blarg. If you’re using emacs or vim, you like efficiency and you’ve already lost efficiency by wasting a perfectly good moment trying to cd into a file.

Enter the ‘go’ command!

Add this bit of code to your .bashrc file and replace $EDITOR with the CLI text editor of your choice:

go()
{
if [ -f $1 ]
then
$EDITOR $1
else
cd $1 && ls
fi
}

and you’re all done! Now when you go to a directory, bash will cd and when you go to a file, bash will fire up vim or emacs or whatever.

As a side note, it might be fun to modify the ‘go’ command even further to automatically launch actions for other filetypes as well, like run javac whenever a .java is encountered or launch .jar files or run gcc or make whenever C++ makefiles are encountered. That’s left as an exercise to the reader though!

Chairs…. now with Balloons!

Oops, I haven’t posted in a while…

A few weeks back I decided to try out overhauling one of my previous projects with VRay. I figured the chairs project would be fun, so…

Wwwwaaaayyyy prettier than before. I really like VRay, although I feel that setting it up is a bit more involved than MentalRay is. Still haven’t made too many inroads with Photorealistic Renderman yet, so I can’t comment on that quite yet.

Oh, also, as you can see, I added balloons too. I like balloons.

I decided to add balloons after seeing an article on RonenBerkerman.com a while back about shading balloons using VRay in 3DSMax. I’m using VRay in Maya, however, so I had to figure out how to recreate the shader in Maya’s Hypershade. The shader network winded up looking like this:

It’s *almost* fully procedural, minus that one black and white ramp image that I wound up using for a lot of things. Replacing that image with a procedural ramp shader to make the entire shader fully procedural probably wouldn’t be very hard at all, but I got lazy :p

I was originally going to post breakdowns of all of the settings for each node in the shading network as well, but again, I’m lazy. So instead, here’s the shader in a Maya .ma file!

A few more renders:

As soon as my last finals are over in about a week, I’ll catch up with my backlog of things that need to be posted. I’m planning on posting a series of posts introducing some concepts in graphics programming that I learned in CIS277 this semester. I’m not going to go super duper in depth (for that, take CIS277! Dr. Norm Badler is an awesome professor.), but at the very least I’ll highlight some of the cooler things I learned. That class was really neat, we wound up writing our own 2D animation software from scratch and our final team project assignment was to build our own 3D modeling software. Basically, we made mini-Maya. My team (Adam Mally, Stewart Hills, and me) got some really neat stuff to work.

Speaking of Stewart, Stewart and I both will be interning at Pixar this summer! We got into their Pixar Undergraduate Program… uh… program. PUP essentially is a 10 week crash course on Pixar’s production pipeline, so we’ll be learning about everything from modeling to simulation to using Photorealistic Renderman. I’m really looking forward to that.