Thoughts on Ray Bounce Depth
I finally got around to doing a long overdue piece of analysis on Takua Render: looking at the impact of ray bounce depth on performance and on the final image.
Of course, in real life, light can bounce around (almost) indefinitely before it is either totally absorbed or enters our eyeballs. Unfortunately, simulating this behavior completely is extremely difficult in any type of raytracing solution because in a raytrace solution, letting a ray bounce around indefinitely until it does something interesting can lead to extremely extremely long render times. Thus, one of the first shortcuts that most raytracing (and therefore pathtracing) systems take is cutting off rays after they bounce a certain number of times. This strategy should not have much of an impact on the final visual quality of a rendered image, since the more a light ray bounces around, the less each successive bounce contributes to the final image anyway.
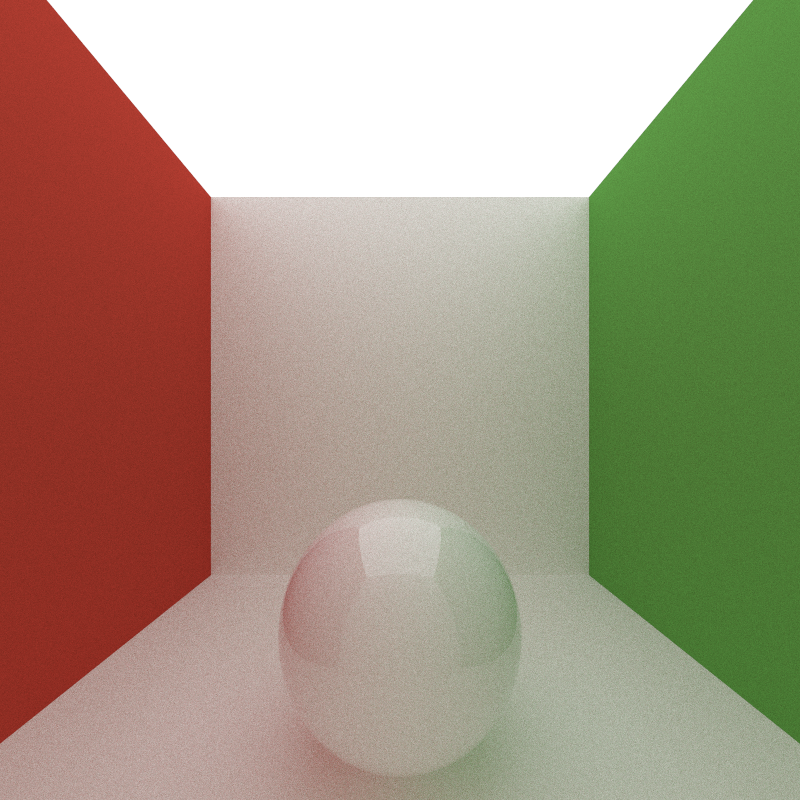
With that in mind, I did some tests with Takua Render in hopes of finding a good balance between ray bounce depth and quality/speed. The following images or a glossy white sphere in a Cornell Box were rendered on a quad-core 2.5 GhZ Core i5 machine.
For a reference, I started with a render with a maximum ray bounce depth of 50 and 200 samples per pixel:

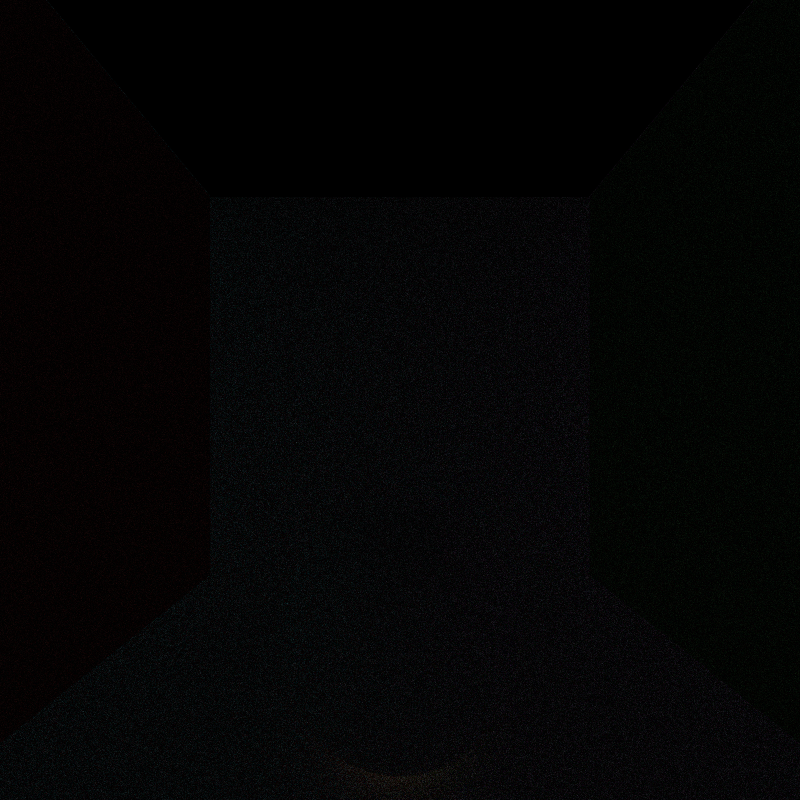
Then I ran a test render with a maximum of just 2 bounces; essentially, this represents the direct lighting part of the solution only, albeit generated in a Monte Carlo fashion. Since I made the entire global limit 2 bounces, no reflections show up on the sphere of the walls, just the light overhead. Note the total lack of color bleeding and the dark shadow under the ball.

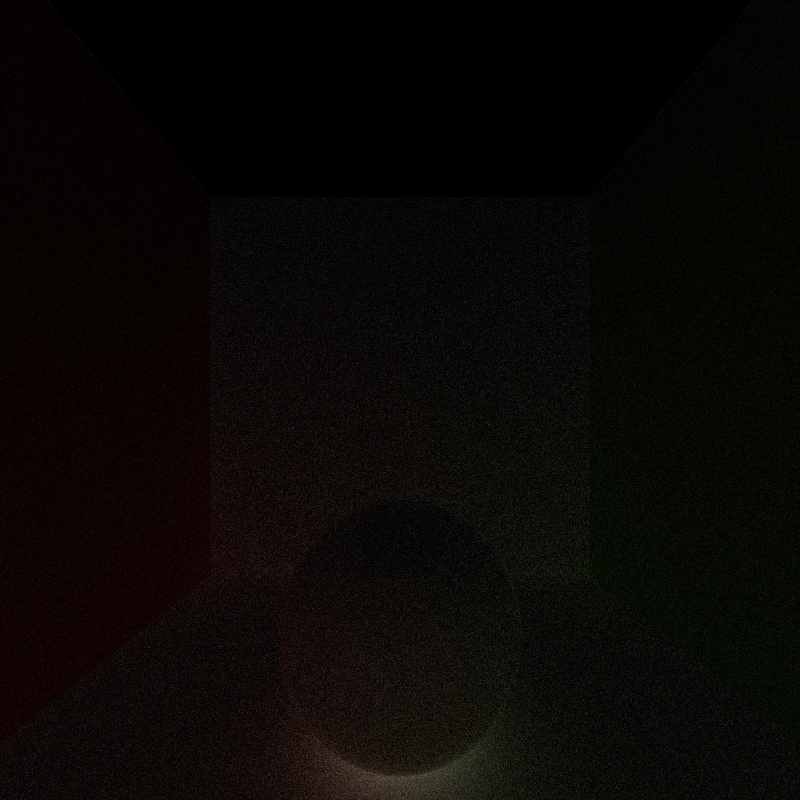
The next test was with a maximum of 5 bounces. In this test, nice effects like color bleeding and indirect illumination are back! However, compared to the reference render, the area under the sphere still has a bit of dark shadowing, much like what one would expect if an ambient occlusion pass had been added to the image. While not totally accurate to the reference render, this image under certain artistic guidelines might actually be acceptable, and renders considerably faster.

Differencing the 5 bounce render from the reference 50 bounce render shows that the 5 bounce one is ever so slightly dimmer and that most of the difference between the two images is in the shadow area under the sphere. Ignore the random fireflying pixels, which is just a result of standard pathtracing variance in the renders:
The next test was 10 bounces. At 10 bounces, the resultant images is essentially visually indistinguishable from the 50 bounce reference, as shown by the differenced image included. This result implies that beyond 10 bounces, the contributions of successive bounces to the final image are more or less negligible.

Finally, a test with a maximum of 20 bounces is still essentially indistinguishable from both the 10 bounce test and the 50 bounce reference:
Interestingly, render times do not scale linearly with maximum bounce depth! The reason for this relationship (or lack thereof) can be found in the fact that the longer a ray bounces around, the more likely it is to find a light source and terminate. At 20 bounces, the odds of a ray finding a light source is very very close to the odds of a ray finding a light source at 50 bounces, explaining the smallness of the gap in render time between 20 and 50 bounces (especially compared to the difference in render time between, say, 2 and 5 bounces).