A Volumetric Renderer for Rendering Volumes
The first assignment of the semester for CIS460 was to write, from scratch in C++, a volumetric renderer. Quite simply, a volumetric renderer is a program that can create a 2D image from a 3D discretized data set. Such data set is more often referred to as a voxel grid. In other words, a volumetric renderer makes pictures from voxels. Such renderers are useful in visualizing medical imaging data and some forms of 3D scans and blah blah blah…
…or you can make pretty clouds.

One of the first things I ever tried to make when I first was introduced to Maya was a cloud. I quickly learned that there simply is no way to get a nice fluffy cloud using polygonal modeling techniques. Ever since then I’ve kept the idea of making clouds parked in the back of my head, so when we were assigned the task of writing a volumetric renderer that could produce clouds, obviously I was pretty excited.
The coolest part of studying computer graphics from the computer science side of things has got to be the whole idea of “well, I want to make X, but I can’t seem to find any tool that can do X, so I guess…. I’LL JUST WRITE MY OWN PROGRAM TO MAKE X.”
I won’t go into detailed specifics about implementing the volumetric renderer, as that is a topic well covered by many papers written by authors much smarter than me. Also, future CIS460 students may stumble across this blog, and half the fun of the assignment is figuring out the detailed implementation for oneself. I don’t want to ruin that for them ;) Instead, I’ll give a general run-through of how this works.
The way the volumetric renderer works is pretty simple. You start with a big ol’ grid of voxels, called… the voxel grid or voxel buffer. From the camera, you shoot an imaginary ray through each pixel of what will be the final picture and trace that ray to see if it enters the voxel buffer. If the ray does indeed hit the voxel buffer, then you slowly sample along the ray a teeny step at a time and accumulate the color of the pixel based on the densities of the voxels traveled through. Lighting information is easy too: for each voxel reached, figure out how much stuff there is between that voxel and any light sources, and use a fancy equation to weight the amount of shadow a voxel receives. “But where does that voxel grid come from?”, you may wonder. In the case of my renderer, the voxel grid can either be loaded in from text files containing voxel data in a custom format, or the grid can be generated by sampling a Perlin noise function for each voxel in the grid.
So obviously volumetric renderers are pretty good for rendering clouds, as one can simply represent a cloud as a bunch of discrete points where each point has some density value. However, discretizing the world has a distinct disadvantage: artifacting. In the above render, some pixel-y artifacting is visible because the voxel grid I used wasn’t sufficiently high resolution enough to make each voxel indistinguishable. The problem is even more obvious in this render, where I stuck the camera right up into a cloud:
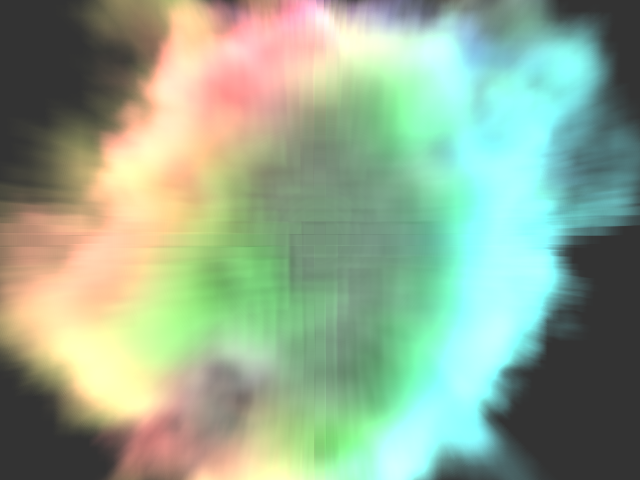
(sidenote for those reading out of interest in CIS460: I implemented multiple arbitrary light sources in my renderer, which is where those colors are coming from)
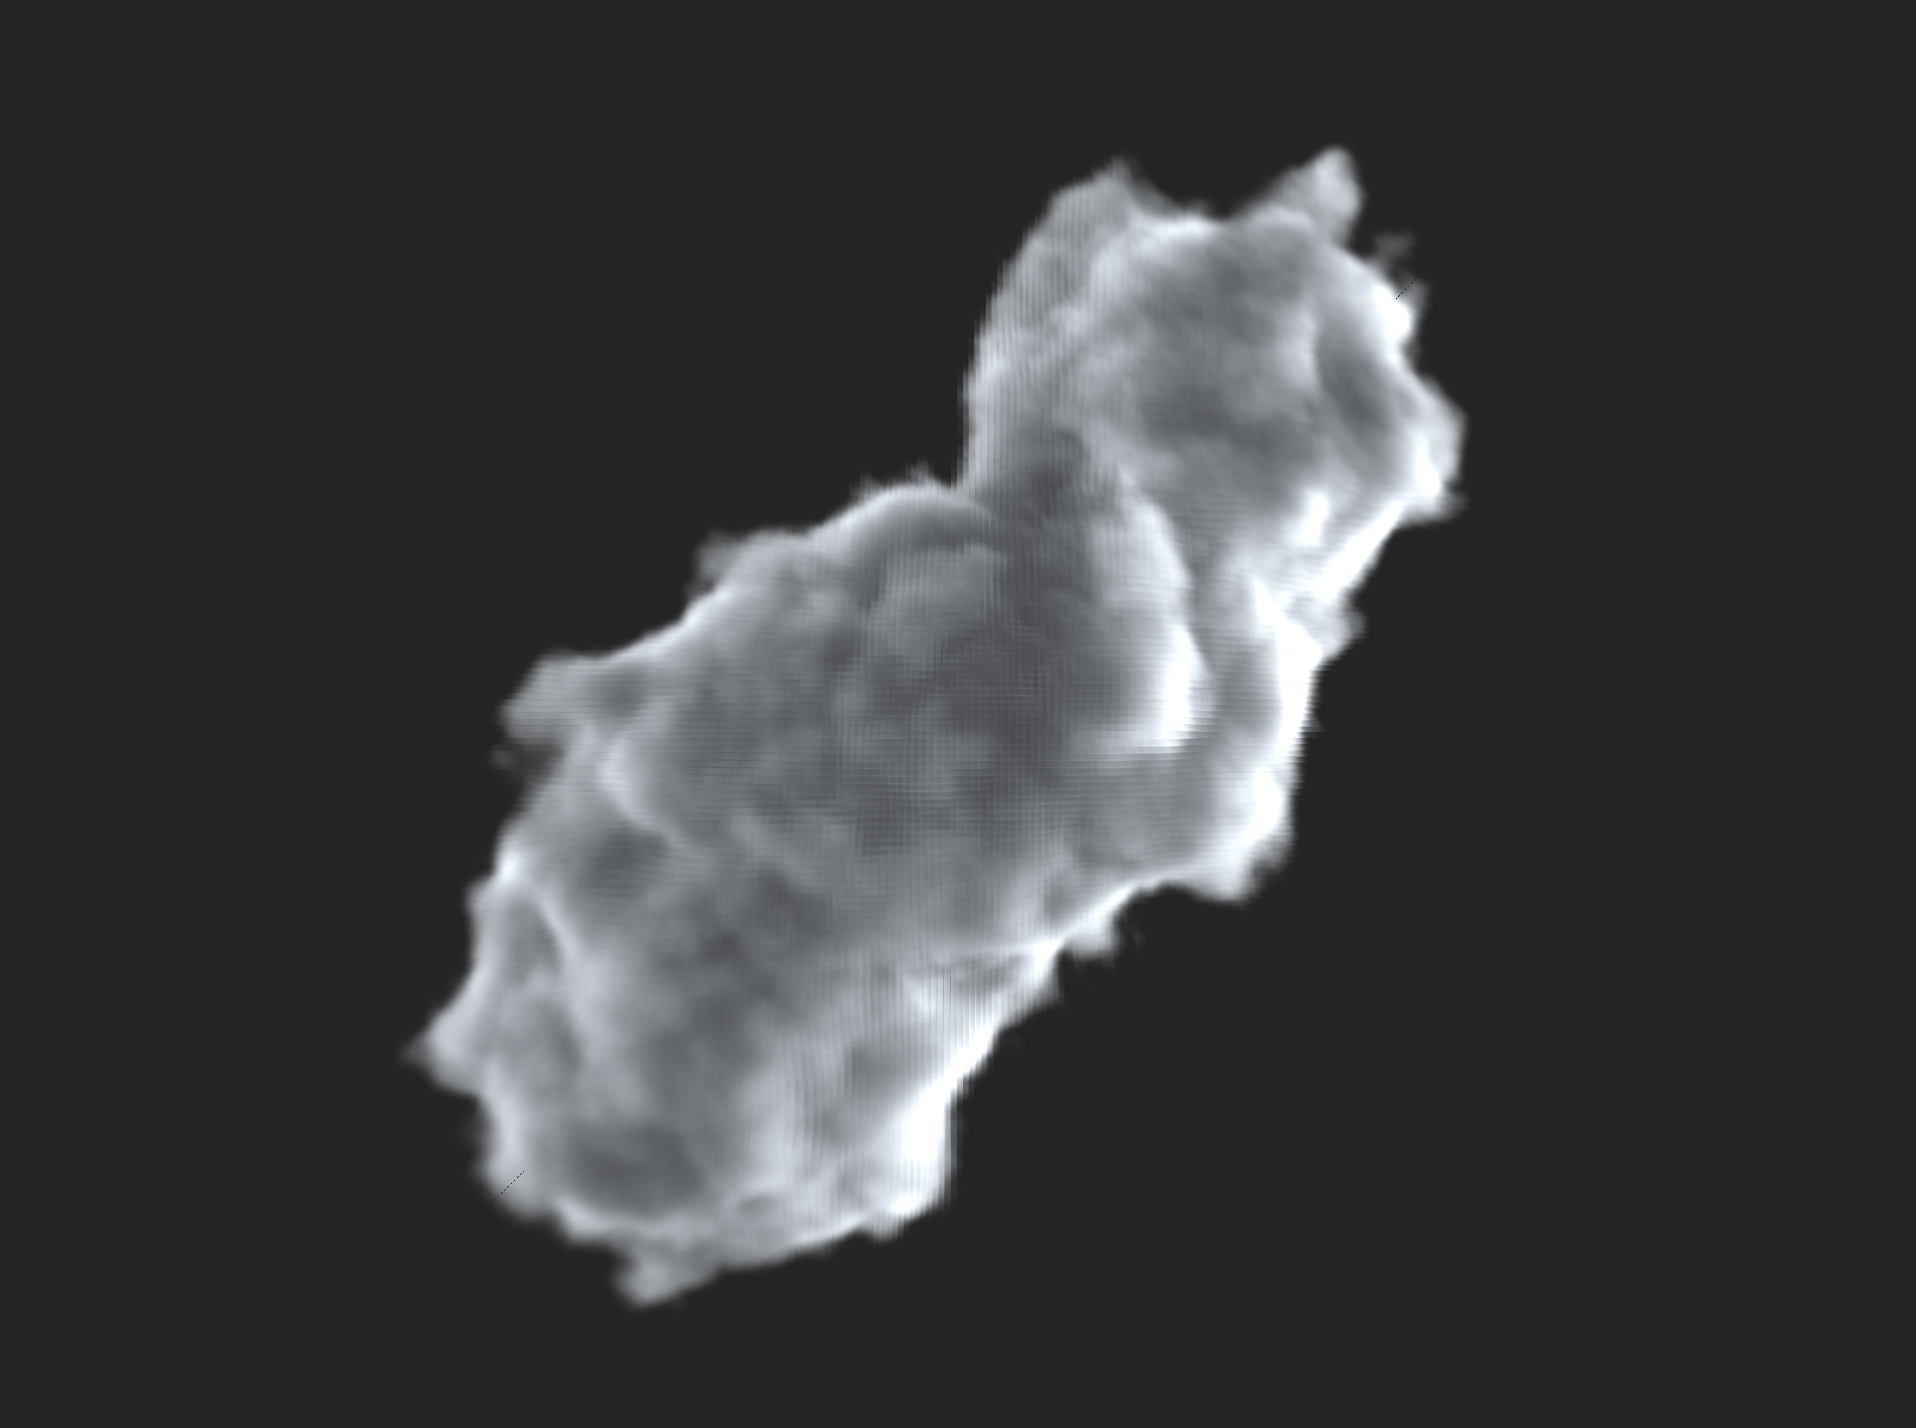
There are four ways to deal with the artifacting issue. The first is to simply move the camera further away. Once the camera is sufficiently far away, even a relatively low resolution grid will look pretty smooth:

A second way is to simply dramatically increase the resolution of the voxel mesh. This technique can be very very very memory expensive though. Imagine a 100x100x100 voxel grid where each voxel requires 4 bytes of memory… the total memory required is about 3.8 MB, which isn’t bad at all. But lets say we want a grid 5 times higher in resolution… a 500^3 grid needs 476 MB! Furthermore, a 1000x1000x1000 grid requires 3.72 GB! Of course, we could try to save memory by only storing non-empty voxels through the use of a hashmap or something, but that is more computationally expensive and gives no benefit in the worst case scenario of every voxel having some density.
A third alternative is to use trilinear interpolation or some other interpolation scheme to smooth out the voxel grid as its being sampled. This technique can lead to some fairly nice results:
At least in the case of my renderer, there is a fourth way to deal with the artifacting: instead of preloading the voxel buffer with values from Perlin noise, why not just get rid of the notion of a discretized voxel buffer altogether and directly sample the Perlin noise function when raymarching? The result would indeed be a perfectly smooth, artifact free render, but the computational cost is extraordinarily high compared to using a voxel buffer.
Of course, one could just box blur the render afterwards as well. But doing so is sort of cheating.
I also played with trying to get my clouds to self illuminate, with the hope of possibly eventually making explosion type things. Ideally I would have done this by properly implementing a physically accurate black body system, but I did not have much time before the finished assignment was due to implement such a system. So instead, my friend Stewart Hills and I came up with a fake black body system where the emmitance of each voxel was simply determined by how far the voxel is from the outside of the cloud. For each voxel, simply raycast in several random directions until each raymarch hits zero density, pick the shortest distance, and plug that distance into some exponential falloff curve to get the voxel’s emittance. Here’s a self-glowing cloud:
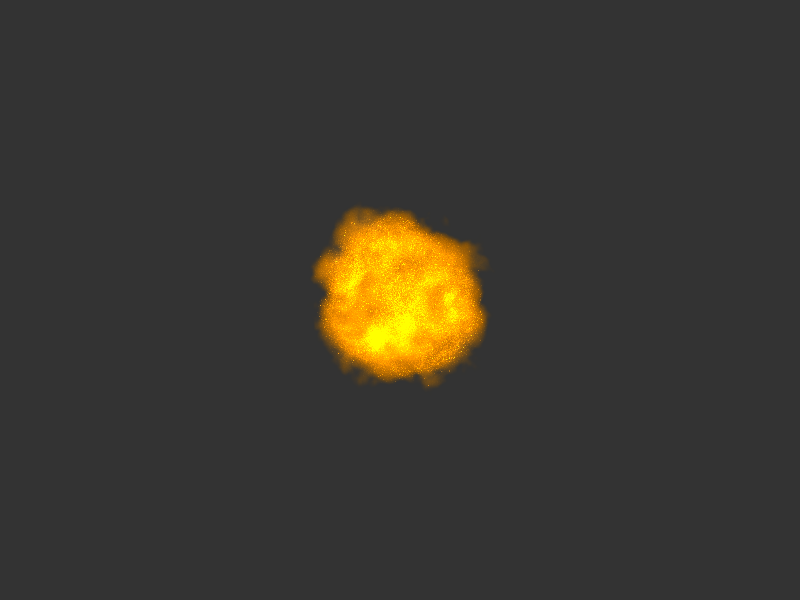
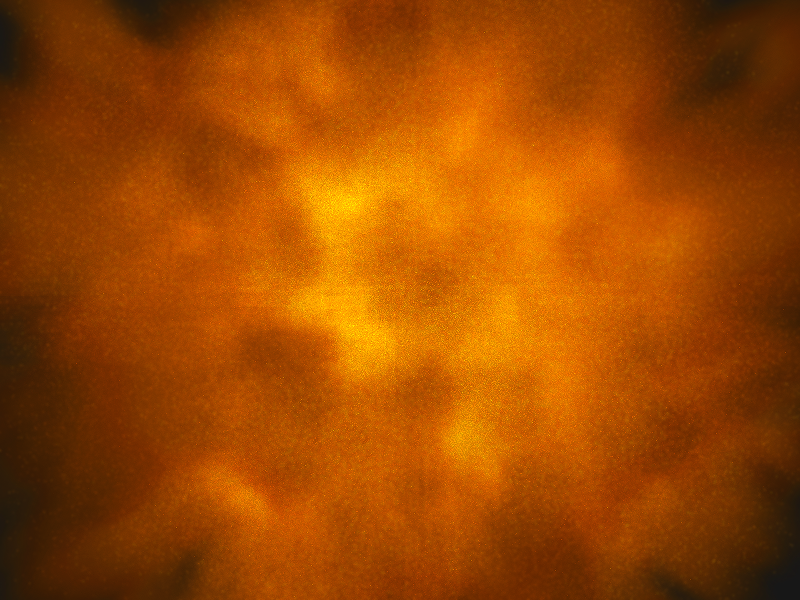
…not even close to physically accurate, but pretty good looking for a hack that was cooked up in a few hours! A closeup shot:
So! The volumetric renderer was definitely a fun assignment, and now I’ve got a cool way to make clouds! Hopefully I’ll be able to integrate this renderer into some future projects!