Revision 3, Old Renders
At the beginning of the semester, I decided to re-architect Takua again, hence the lack of updates for a couple of weeks now. I’ll talk more in-depth about the details of how this new architecture works in a later post, so for now I’ll just quickly describe the motivation behind this second round of re-architecting. As I wrote about before, I’ve been keeping parallel CPU and GPU branches of my renderer so far, but the two branches have increasingly diverged. On top of that, the GPU branch of my renderer, although significantly better organized than the experimental CUDA renderer from spring 2012, still is rather suboptimal; after TAing CIS565 for a semester, I’ve developed what I think are some better ways of architecting CUDA code. Over winter break, I began to wonder if merging the CPU and GPU branches might be possible, and if such a task could be done, how I might go about doing it.
This newest re-structuring of Takua accomplishes that goal. I’m calling this new version of Takua “Revision 3”, as it is the third major rewrite.
My new architecture centers around a couple of observations. First, we can observe that the lowest common denominator (so to speak) for structured data in CUDA and C++ is… a struct. Similarly, the easiest way to recycle code between CUDA and C++ is to implement code as inlineable, C style functions that can either be embedded in a CUDA kernel at compile time, or wrapped within a C++ class for use in C++. Therefore, one possible way to unify CPU C++ and GPU CUDA codebases could be to implement core components of the renderer using structs and C-style, inlineable functions, allowing easy integration into CUDA kernels, and then write thin wrapper classes around said structs and functions to allow for nice, object oriented C++ code. This exact system is how I am building Takua Revision 3; the end result should be a unified codebase that can compile to both CPU and GPU versions, and allow for both versions to develop in near lockstep.
Again, I’ll go into a more detailed explanation once this process is complete.
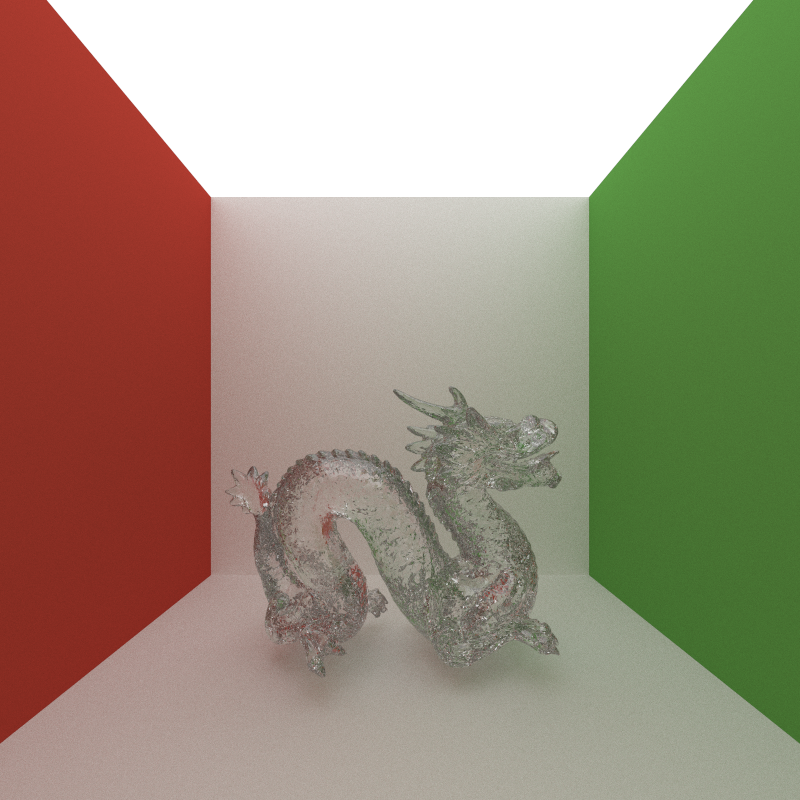
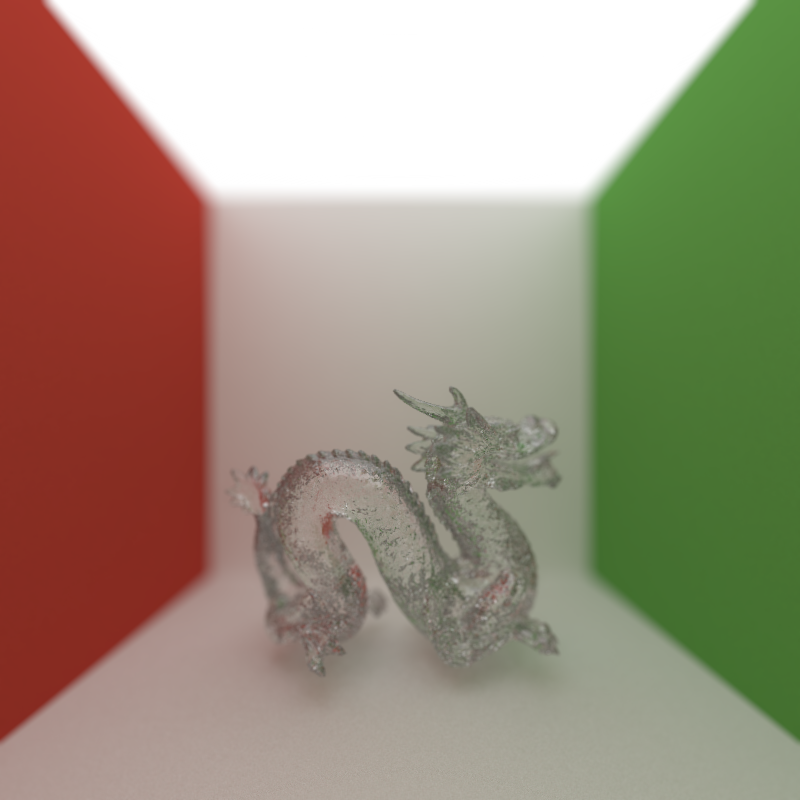
I’ll leave this post with a slightly orthogonal note; whilst in the process of merging code, I found some images from Takua Revision 1 that I never posted for some reason. Here’s a particularly cool pair of images from when I was implementing depth of field. The first image depicts a glass Stanford dragon without any depth of field, and the second image depicts the same exact scene with some crazy shallow aperture (I don’t remember the exact settings). You can tell these are from the days of Takua Revision 1 by the ceiling; I often made the entire ceiling a light source to speed up renders back then, until Revision 2’s huge performance increases rendered cheats like that unnecessary.