Throwback- Holiday Card 2011
Two years ago, I was asked to create CG@Penn’s 2011 Holiday Card. Shortly after finishing that particular project, I started writing a breakdown post but for some reason never finished/posted it. While going through old content for the move to Github Pages, I found some of my old unfinished posts, and I’ve decided to finish up some of them and post them over time as sort of a series of throwback posts.
This project is particularly interesting because almost every approach I took two years ago to finish this project, I would not bother using today. But its still interesting to look back on!
Amy and Joe wanted something wintery and nonreligious for the card, since it would be sent to a very wide and diverse audience. They suggested some sort of snowy landscape piece, so I decided to make a snow-covered forest. This particular idea meant I had to figure out three key elements:
- Conifer trees
- Modeling snow ON the trees
- Rendering snow
Since the holiday card had to be just a single still frame and had to be done in just a few days, I knew right away that I could (and would have to!) cheat heavily with compositing, so I was willing to try more unknown elements than I normally would throw into a single project. Also, since the shot I had in mind would be a wide, far shot, I knew that I could get away with less up-close detail for the trees.
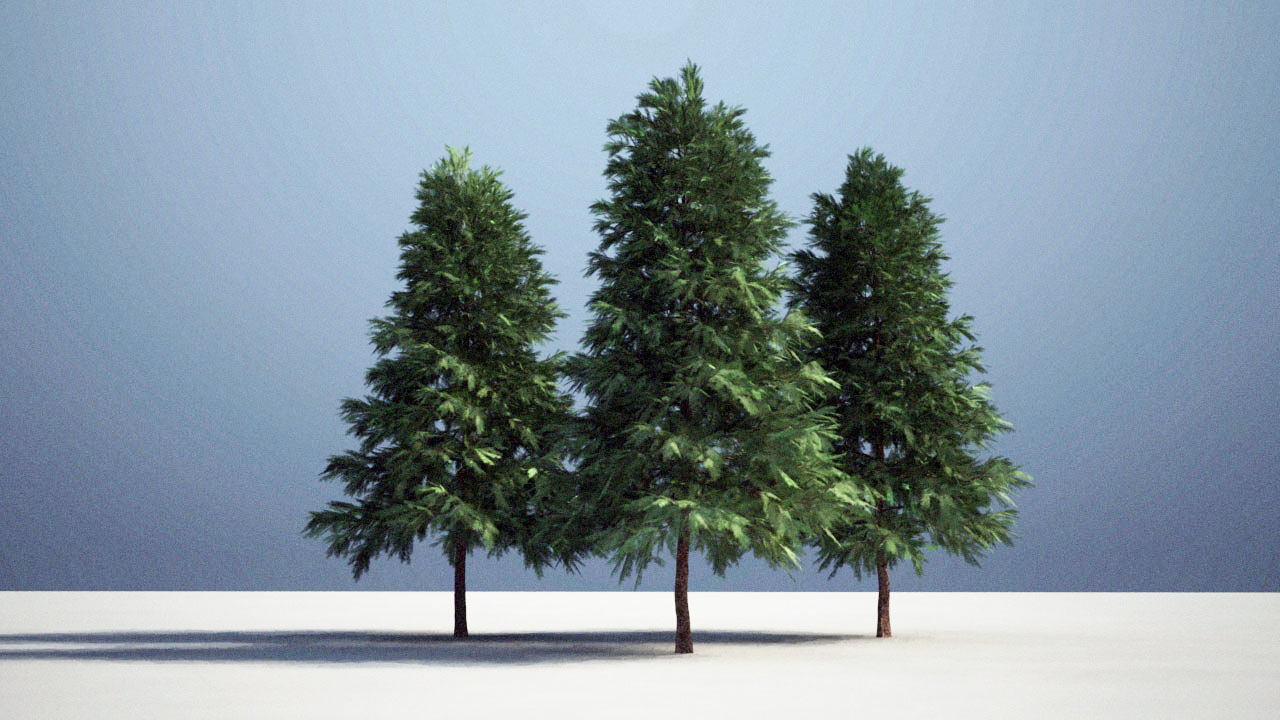
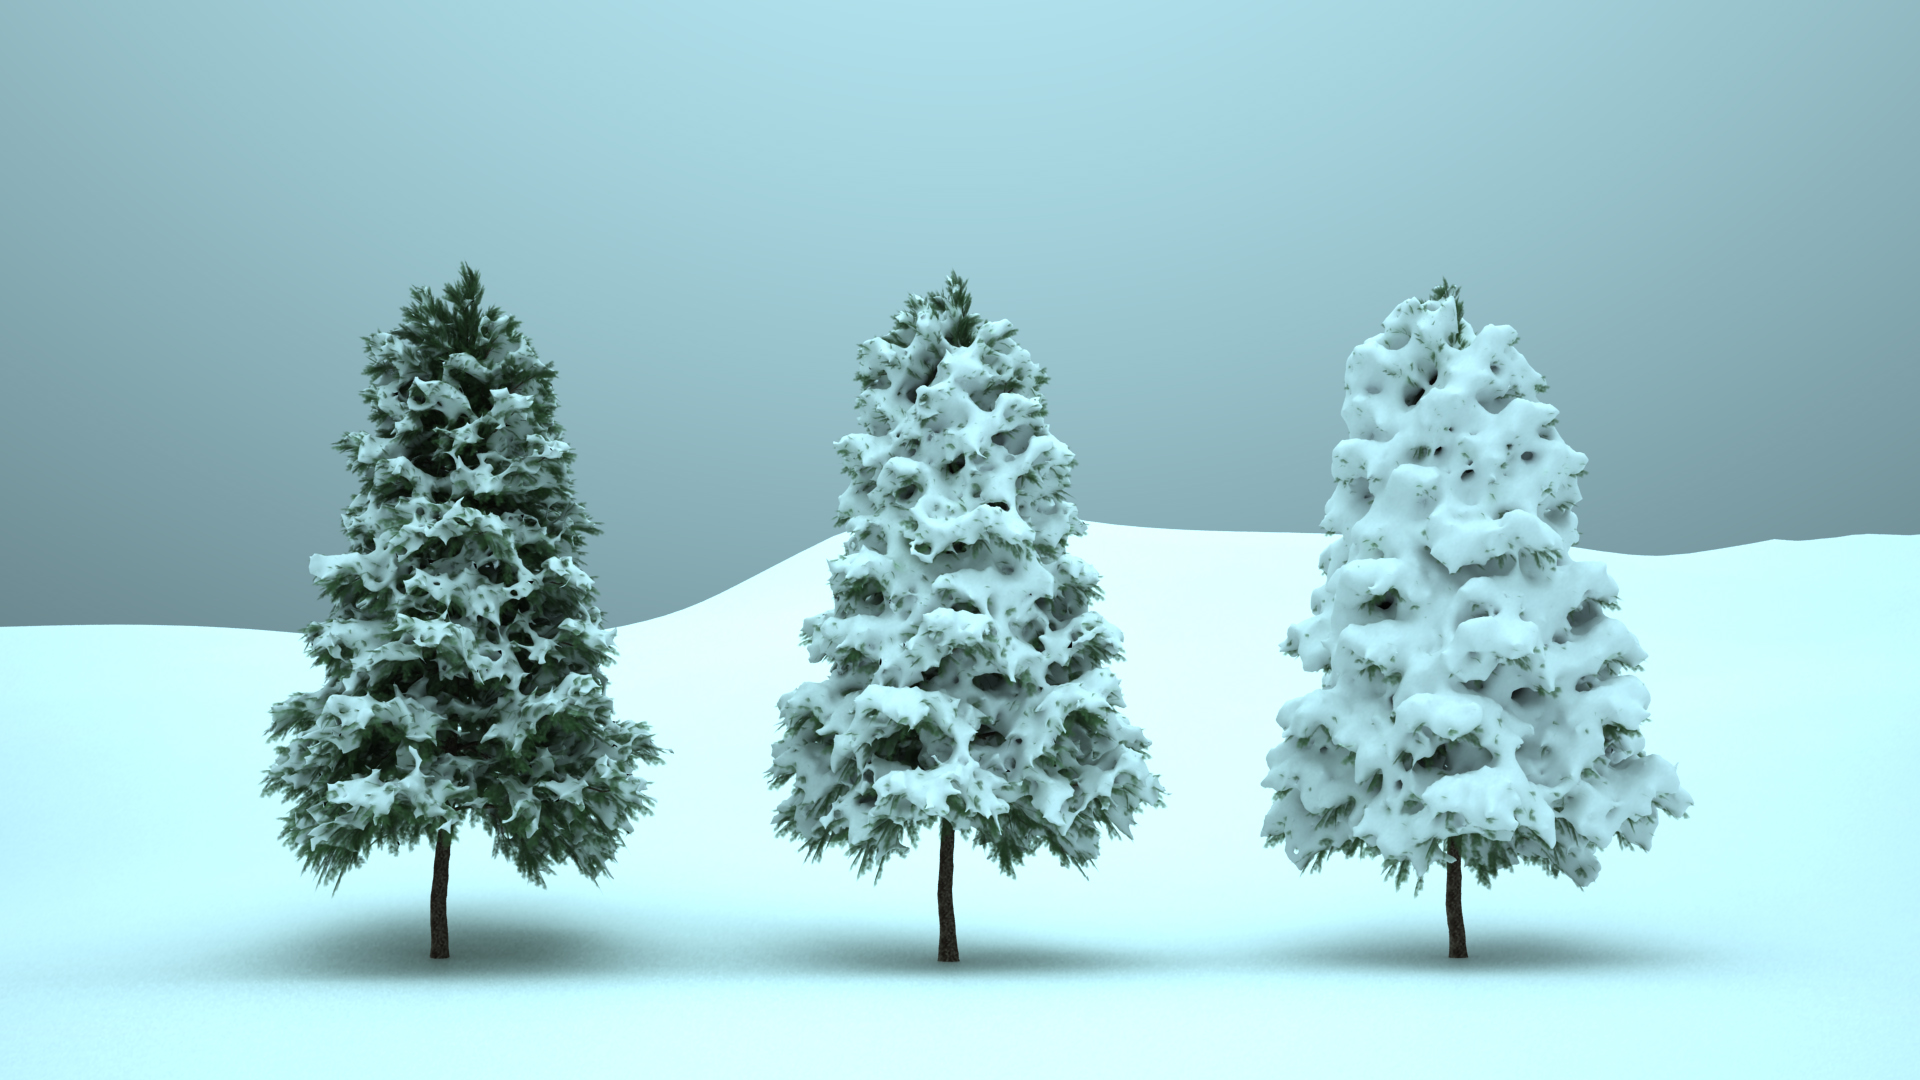
I started by creating a handful of different base conifer tree models in OnyxTree and throwing them directly into Maya/Vray (this was before I had even started working on Takua Render) just to see how they would look. Normally models directly out of OnyxTree need some hand-sculpting and tweaking to add detail for up-close shots, but here I figured if they looked good enough, I could skip those steps. The result looked okay enough to move on:
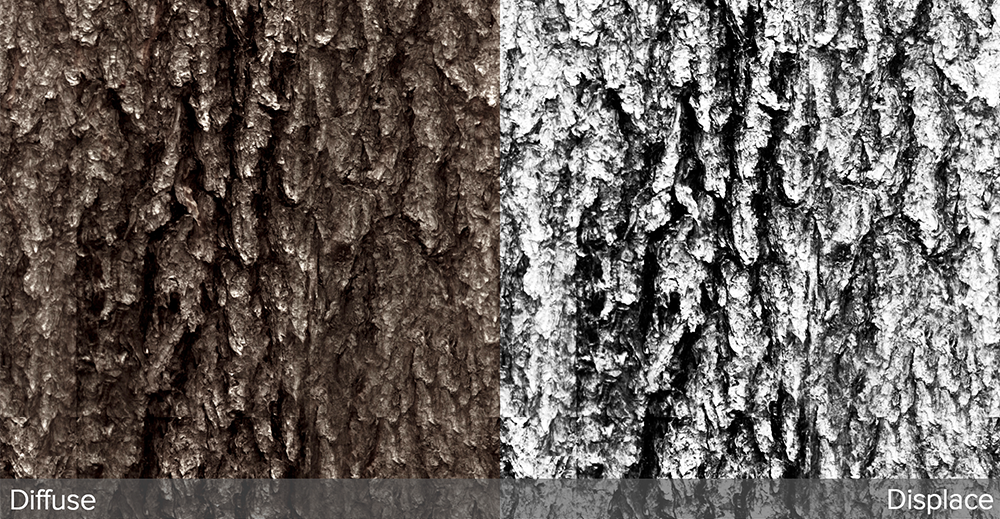
The textures for the bark and leaves were super simple. To make the bark texture’s diffuse layer, I pulled a photograph of bark off of Google, modified it to tile in Photoshop, and adjusted the contrast and levels until it was the color I wanted. The displacement layer was simply the diffuse layer converted to black and white and with contrast and brightness adjusted. Normally this method won’t work well for up close shots, but again, since I knew the shot would be far away, I could get away with some cheating. Here’s a crop from the bark textures:
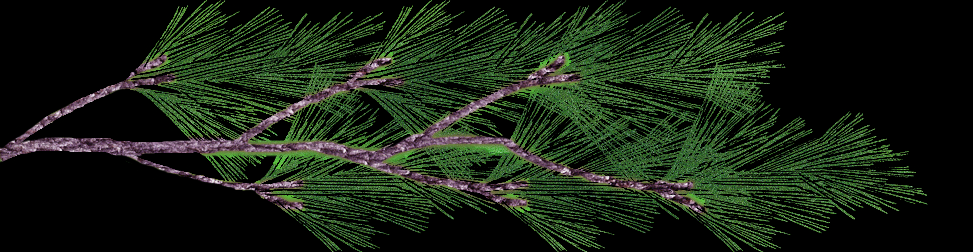
The pine needles were also super cheatey. I pulled a photo out of one of my reference libraries, dropped an opacity mask on top, and that was all for the diffuse color. Everything else was hacked in the leaf material’s shader; since the tree would be far away, I could get away with basic transparency instead of true subsurface scattering. The diffuse map with opacity flattened to black looks like this:
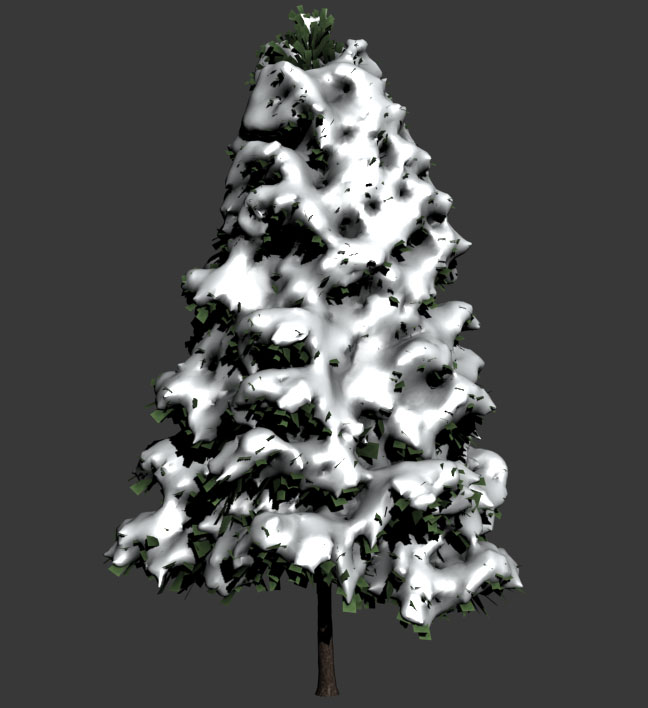
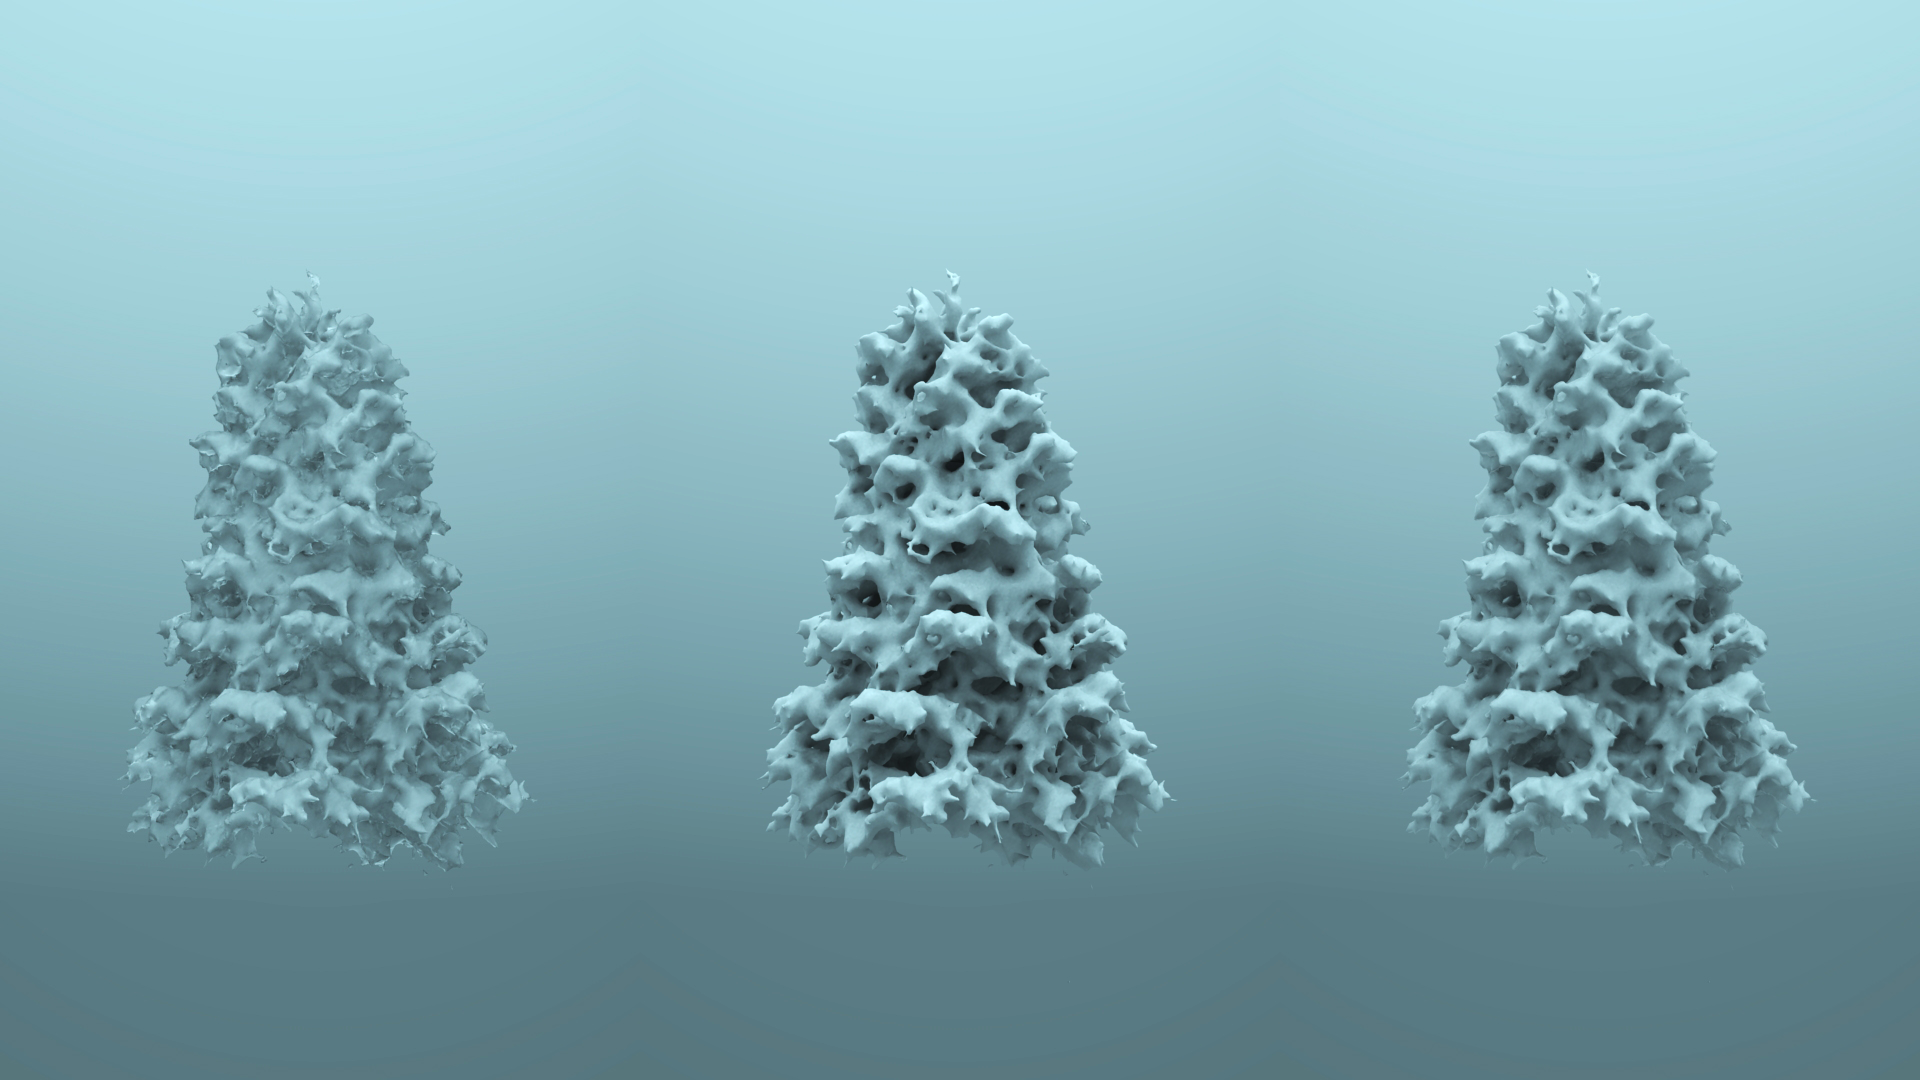
With the trees roughed in, the next problem to tackle was getting snow onto the trees. Today, I would immediately spin up Houdini to create this effect, but back then, I didn’t have a Houdini license and hadn’t played with Houdini enough to realize how quickly it could be done. Not knowing better back then, I used 3dsmax and a plugin called Snowflow (I used the demo version since this project was a one-off). To speed up the process, I used a simplified, decimated version of the tree mesh for Snowflow. Any inaccuracies between the resultant snow layer and the full tree mesh were acceptable, since they would look just like branches and leaves poking through the snow:
I tried a couple of different variations on snow thickness, which looked decent enough to move on with:
The next step was a fast snow material that would look reasonably okay from a distance, and render quickly. I wasn’t sure if the snow should have a more powdery, almost diffuse look, or if it should have a more refractive, frozen, icy look. I wound up trying both and going with a 50-50 blend of the two:
The next step was to compose a shot, make a very quick, simple lighting setup, and do some test renders. After some iterating, I settled for this render as a base for comp work:
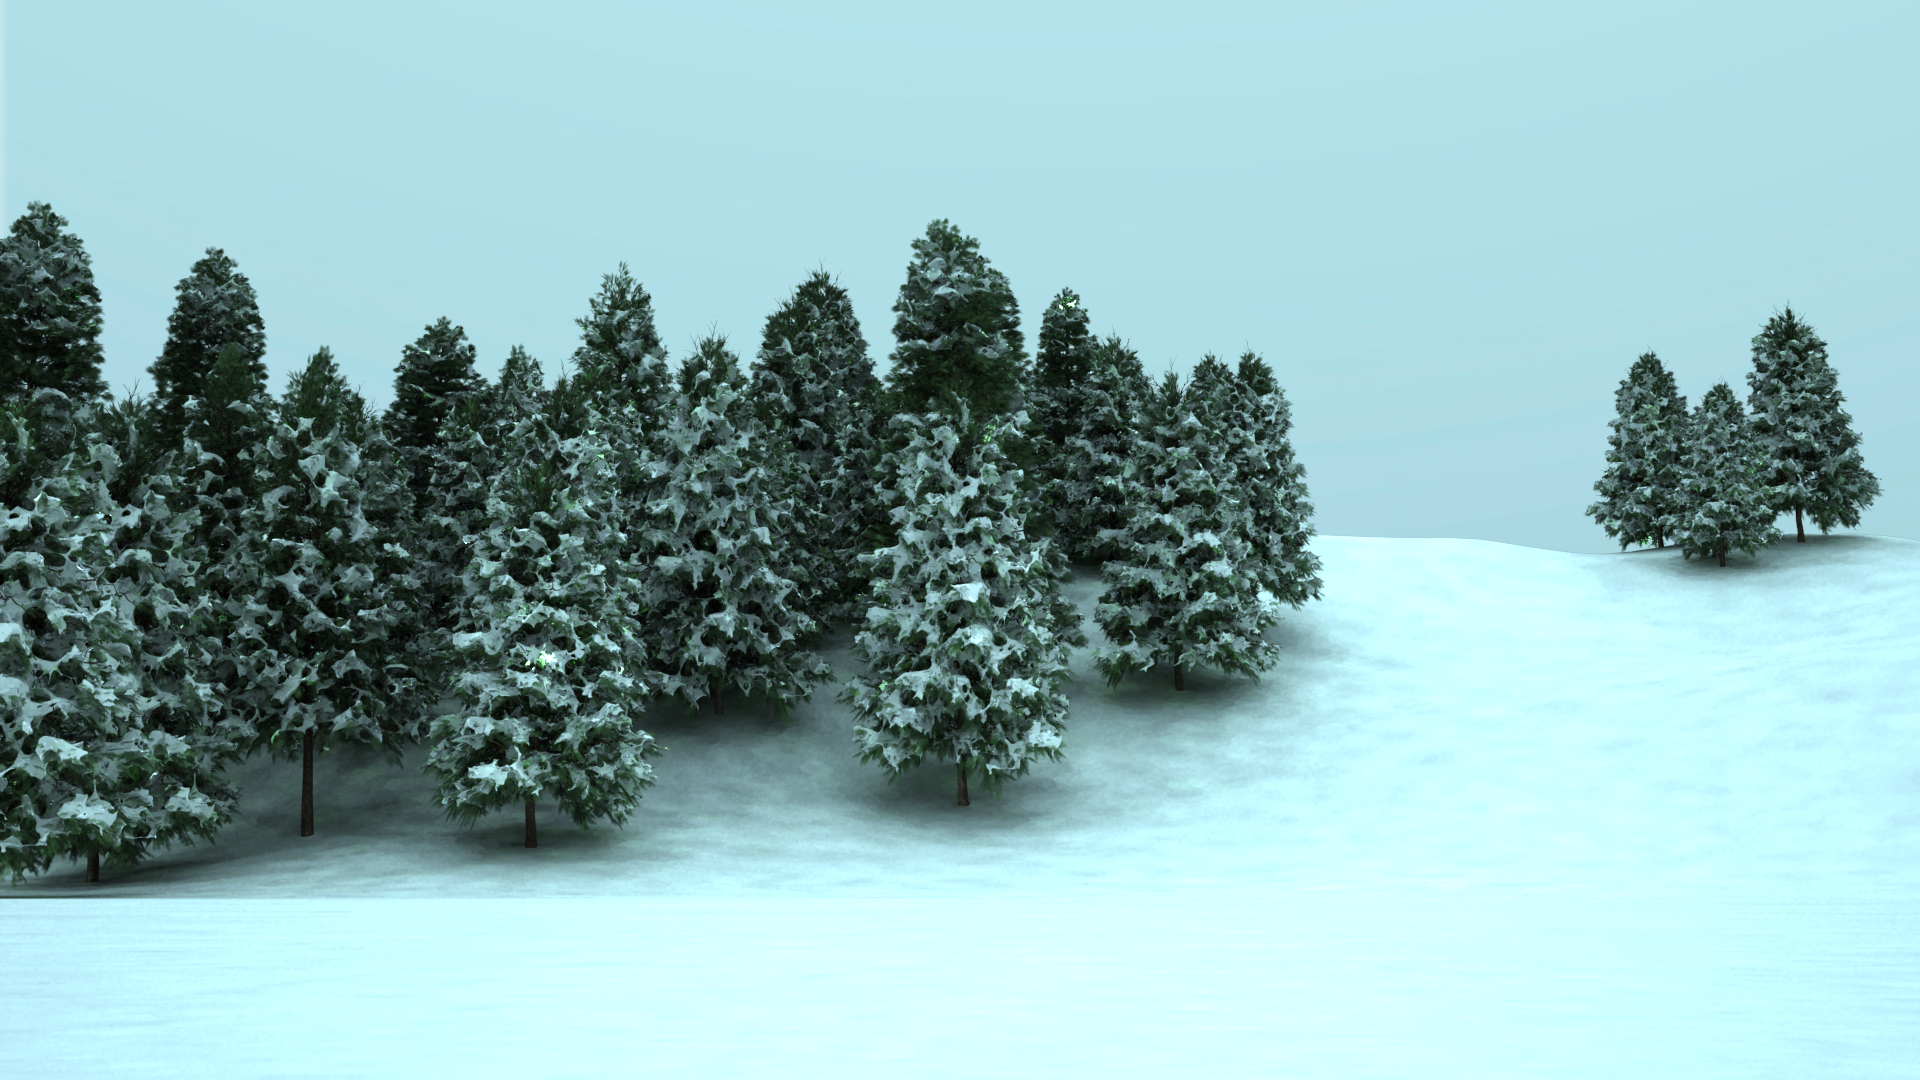
The base render is very blueish since the lighting setup was a simple, grey-blueish dome light over the whole scene. The shadows are blotchy since I turned Vray’s irradiance cache settings all the way down for faster rendertimes; I decided that I would rather deal with the blotchy shadows in post and have a shot at making the deadline rather than wait for a very long rendertime. I wound up going with the thinner snow at the time since I wanted the trees to be more recognizable as trees, but in retrospect, that choice was probably a mistake.
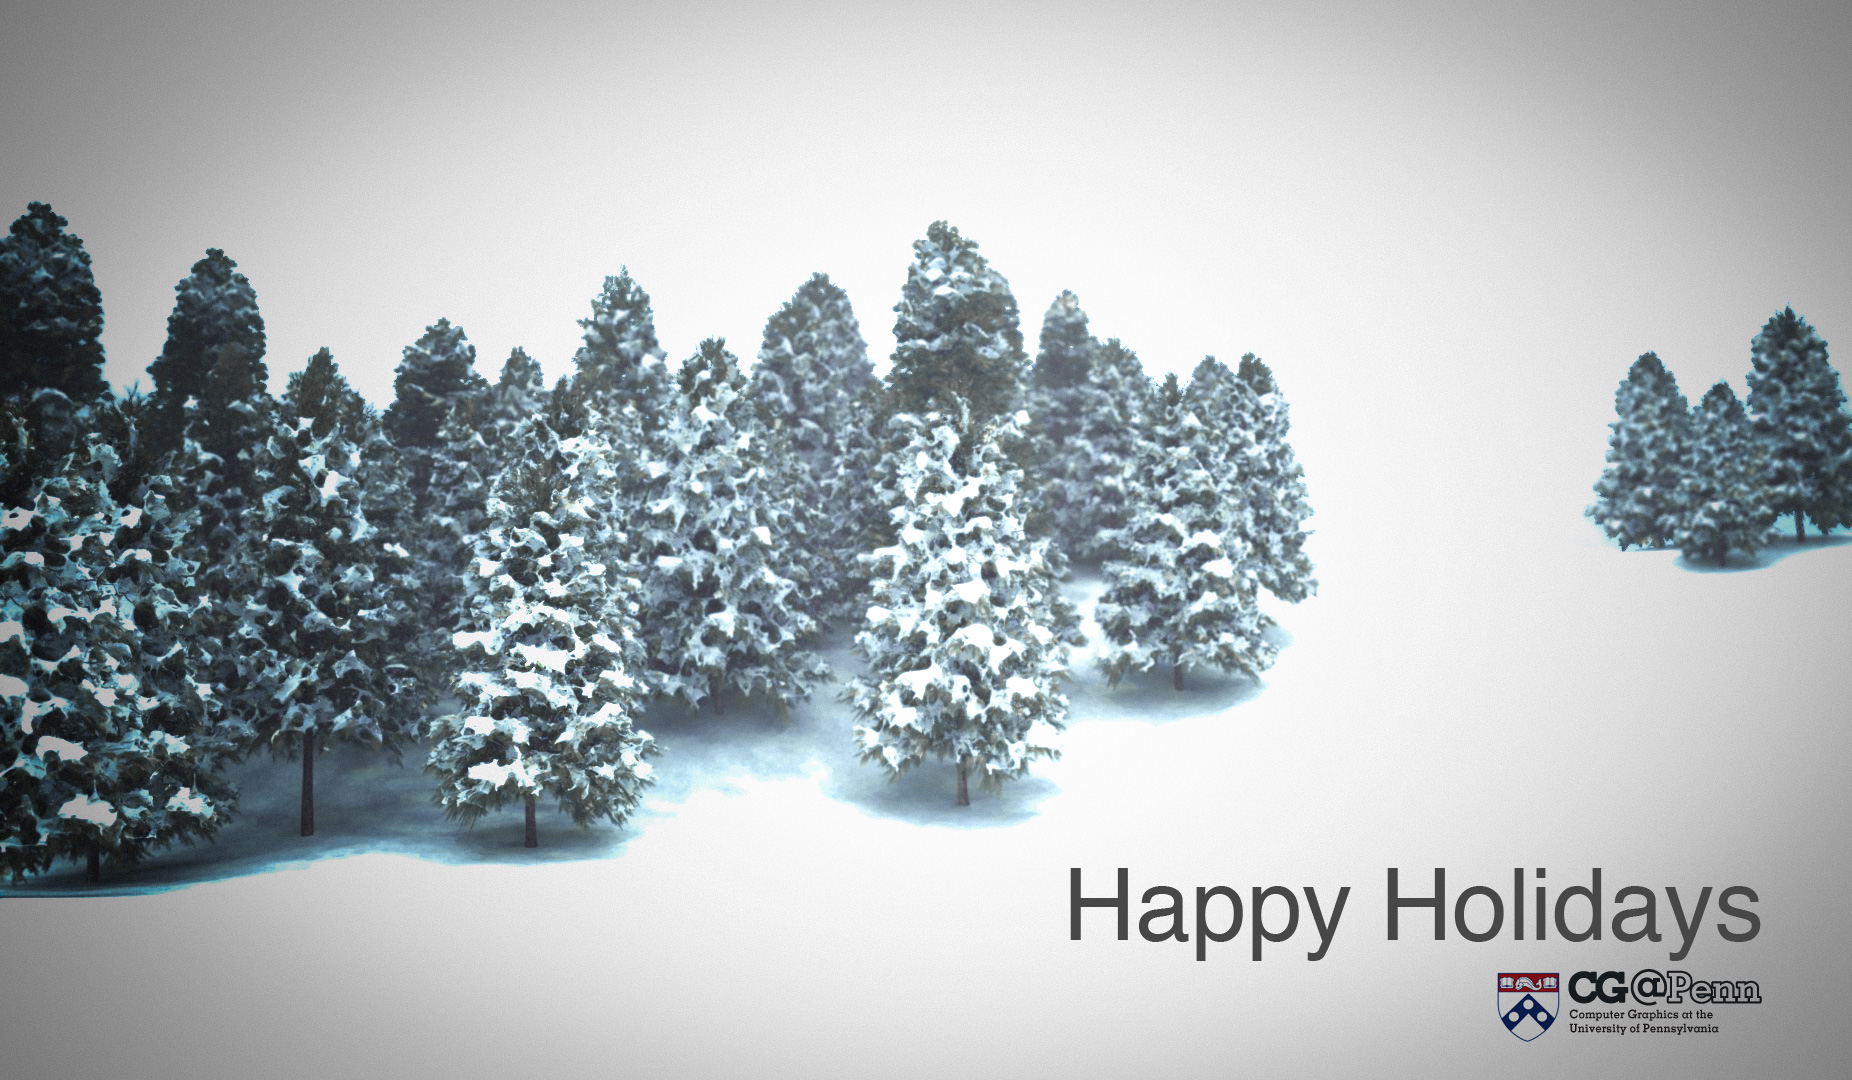
The final step was some basic compositing. In After Effects, I applied post-processed DOF using a z-depth layer and Frischluft, color corrected the image, cranked up the exposure, and added vignetting to get the final result:
Looking back on this project two years later, I don’t think the final result looks really great. The image looks okay for two days of rushed work, but there is enormous room for improvement. If I could go back and change one thing, I would have chosen to use the much heavier snow cover version of the trees for the final composition. Also, today I would approach this project very very differently; instead of ping-ponging between multiple programs for each component, I would favor a almost pure-Houdini pipeline. The trees could be modeled as L-systems in Houdini, perhaps with some base work done in Maya. The snow could absolutely be simmed in Houdini. For rendering and lighting, I would use either my own Takua Render or some other fast physically based renderer (Octane, or perhaps Renderman 18’s iterative pathtracing mode) to iterate extremely quickly without having to compromise on quality.
So that’s the throwback breakdown of the CG@Penn Holiday 2011 card! I learned a lot from this project, and looking back and comparing how I worked two years ago to how I work today is always a good thing to do.